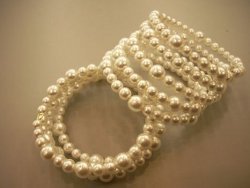
Liquid Sculpey® Raindrop Bracelet

Creating unique jewelry is the perfect rainy-day craft activity. This sleek bracelet combines Liquid Sculpey® polymer clay with copper metal for contrast. Here are the steps to make this fun and fashionable project!
A few reasons I love working with Liquid Sculpey®:
- It’s easy to use.
- Endless design possibilities.
- The result is both flexible and strong!
- No kneading required (which is wonderful because I have arthritis in my hands).
- No harsh smell.
- Simple to clean up.
- It’s fun!
Time to CompleteUnder an hour
Main MaterialClay
Materials List
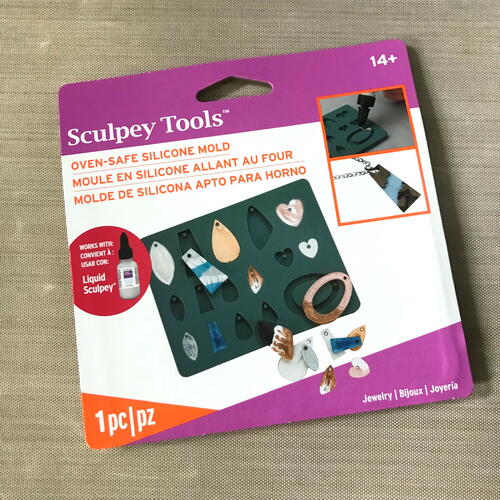
- Sculpey Tools™ Oven-Safe Silicone Mold: Jewelry
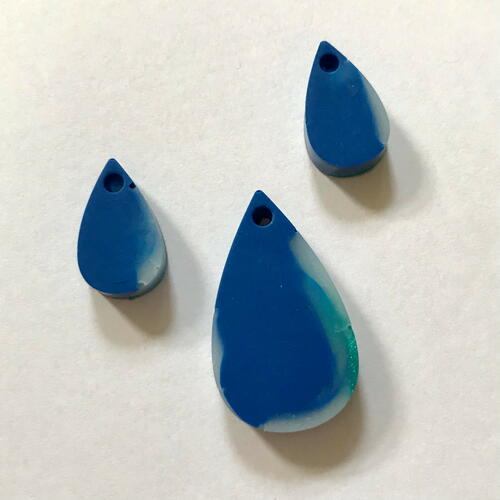
- Liquid Sculpey® in Blue, Translucent Turquoise, and Peacock Pearl
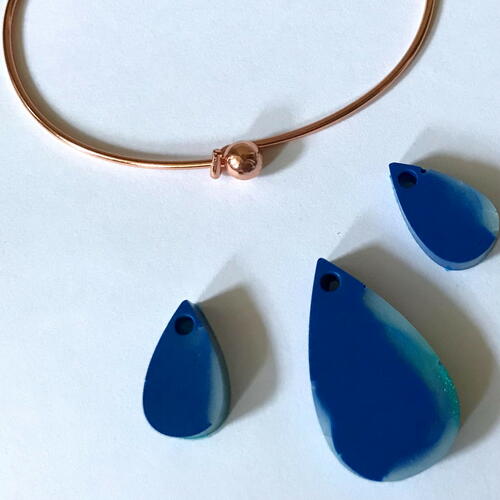
- Bracelet blank shape (use whatever metal and style you would like for your bracelet)
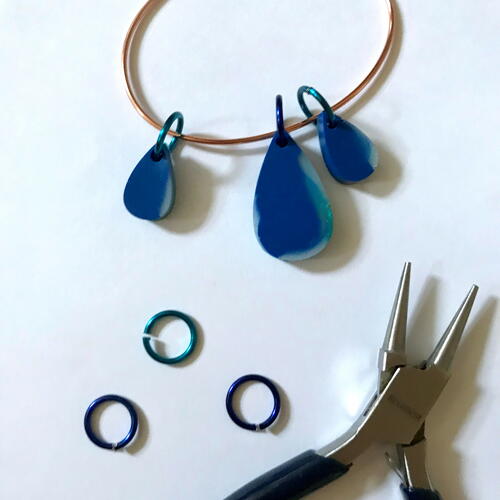
- Colorful metal jump-rings (in colors of your choosing)
- Jewelry pliers
- Jump-ring closing tool
- Toothpicks (or similar disposable tool)
- Oven-safe baking dish
- Oven mitts
Instructions
-
Preheat the silicone mold according to the instructions on the package. It will be warm when removing from the oven so do this carefully (use a potholder and place it on a heat-safe surface).
-
When the mold is cooler to the touch place it on your (covered) work surface.
-
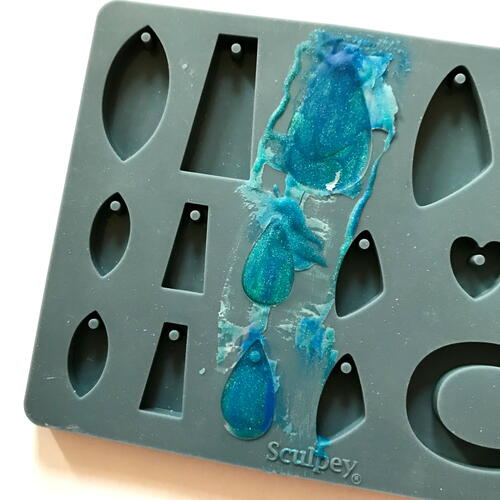
It’s time to use the Liquid Sculpey® clay! Shake the (closed) bottles thoroughly before use. Using the Jewelry mold, fill the three droplet shapes with the clay in random areas. Continue until the shapes are full to the top and even.
-
Combine the colors slightly using a toothpick. For this project just a little swirl was made in the clay.
-
Remove any visible air bubbles with a toothpick and by lifting the mold slightly from the table and dropping it down gently.
-
Next, use the enclosed squeegee tool to remove excess clay. Gently scrape it along the top of the mold and wipe off any excess (if there’s a lot scrape it into a container to reuse).
-
Carefully place the filled mold into an oven-safe dish (I used ceramic). Be sure it stays evenly balanced or the clay can run out of the mold.
-
Bake according to the Liquid Sculpey® clay’s instructions on the package. Check it in increments of 5 minutes, and remove when the clay is relatively solid. When making this tutorial the Liquid Sculpey® took about 15 minutes in the oven to harden, but this can vary based on your oven and clay thickness.
-
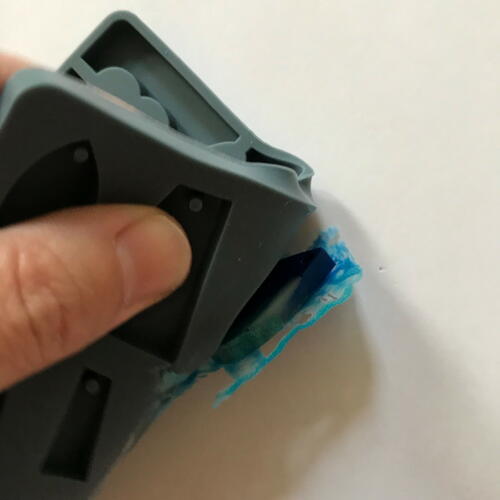
Carefully remove the mold from the oven (use protective mitts) and allow it to cool.
-
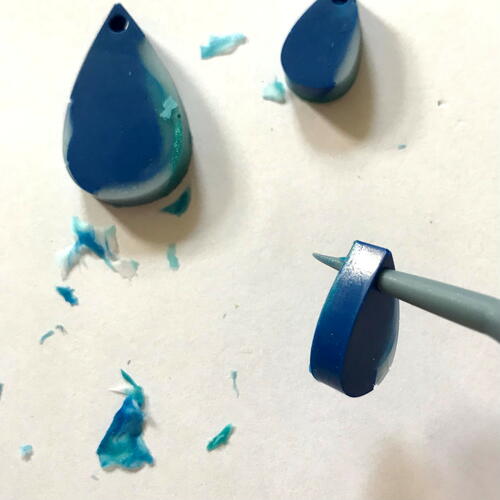
Pop the clay pieces out of the molds onto a clean work surface. Trim or pull off the excess clay around the shape.
-
Connect the jump-rings to the raindrop shapes. Make sure they are fully closed and smooth.
-
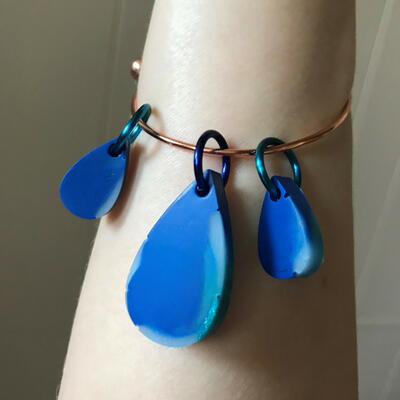
Slide the jump-rings onto the blank bracelet, and enjoy your new jewelry!