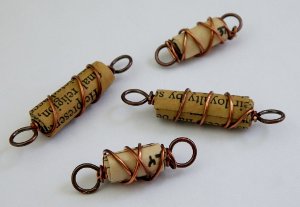
Wire Wrapped Paper Beads
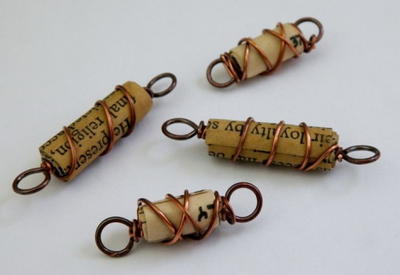
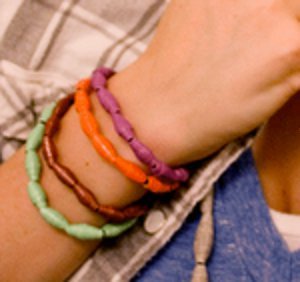
No need to spend tons of money on decorative beads...with this Wire Wrapped Paper Beads tutorial, you can easily create unique beads for jewelry making with materials you probably have already. This is a great way to use up paper scraps from paper you love too much to part with! Create unique jewelry pieces for you and all your loved ones with this easy to follow jewelry tutorial.
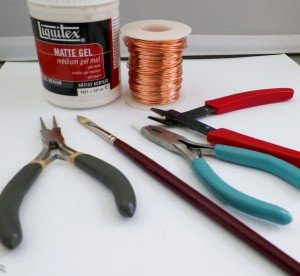
Materials:
- Round nose pliers
- Flush cutters
- Chain nose pliers
- Ruler
- Copper wire 18 gauge and 20 gauge
- Paint brush
- Some kind of adhesive sealant and protector for decoupage (such as Mod Podge or Liquitex)
- Old book with aged pages
- Liver of sulfur (optional)
- Steel wool (optional)
Instructions:
- First tear out a few aged pages from an old book. Take your paint brush and adhesive/sealant of your choice. Coat both sides of you pages, twice, let dry between coats.
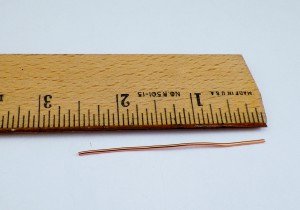
- Cut 2 ½ inch pieces from your 18 gauge copper wire for however many beads that you want to make.
- With the 2 ½” wires you just cut make simple straight loop links. When you get all your links made, and you would like them to be oxidized. Then now is the time to apply your liver of sulfur. Go ahead and cut 3 – 4 pieces of your 20 gauge copper wire approximately 1 ½ to 2 feet long (you can wrap 3 or 4 beads with 2 ft. pieces. Apply the liver of sulfur to these pieces as well. Use steel wool to clean and polish. Your links can go in a tumbler if you have one.
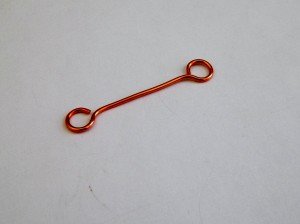
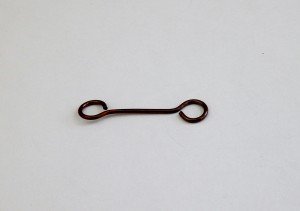
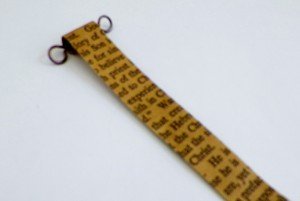
- Cut your aged paper into strips, long ways. Cut them just a little smaller than the area between the loops on your links, approximately ¾”. So that you will have plenty of room to make a wrap on each side of the loop, between the link loop and the paper.
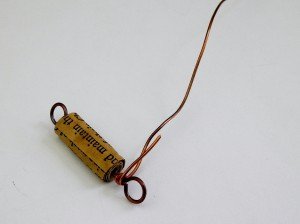
- Start rolling one end of the aged paper strip (just enough to get a little curl in the end to make it easier to get started rolling). Unroll, and now place the link at the end of the paper in the little curl and start rolling. Roll as much as you want, depending on the size of bead that you want. Be sure to keep the paper straight as you roll. When you get to where you have about an inch left to roll, apply some of your adhesive/protector to the underside and finish rolling. Wipe off any excess, hold for a little bit till it starts to stick, then set your first wire wrapped paper bead to the side to dry, and repeat step #5 till you finish rolling the rest. Let dry overnight.
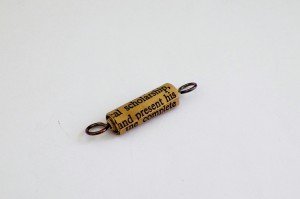
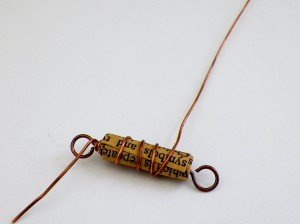
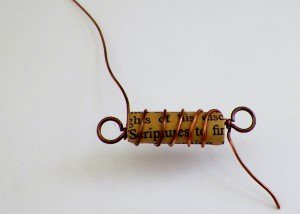
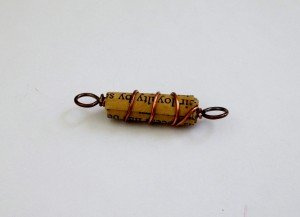
- Now take your long pieces of wire and make two wraps in between the link loop and edge of the paper, now continue up onto the paper for 4 or 5 wraps then back down to the area in between the paper and loop, make to wraps. Cut the ends of the wire and press down the ends. So you will have a neat wrap. Continue step #6 till you have all the wire wrapped paper beads done.
Read Next101+ Free Beading Patterns
Your Recently Viewed Projects
msmerricat 3526491
Feb 01, 2013
This is neat. I have quite a few old books that I can't bring myself to toss out. But the pages are loose and missing and I keep them for the prints and the covers.
Sea Lady
Mar 12, 2012
Thanks for the very clear instructions! This looks so easy, I can't wait to try it. The hardest part will be cutting the pages from old books (I LOVE books).
Mixed Kreations
Mar 14, 2012
Thanks Sea Lady. I went to the half price book store and bought an old book there to use for my projects.
Mixed Kreations
Mar 06, 2012
Sherry, Hope you enjoy making them as much as I did. Linda @MixedKreations
Sherrymusser 30633 05
Mar 04, 2012
I discovered the joy of paper beads this winter but I never thought to make them like this. Can't wait to try this out!
Report Inappropriate Comment
Are you sure you would like to report this comment? It will be flagged for our moderators to take action.
Thank you for taking the time to improve the content on our site.

