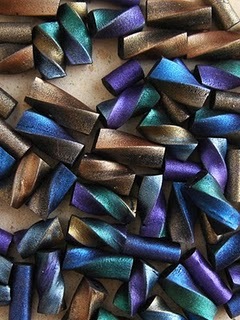
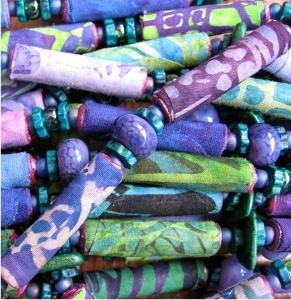
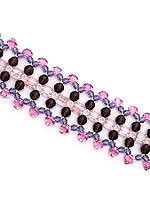
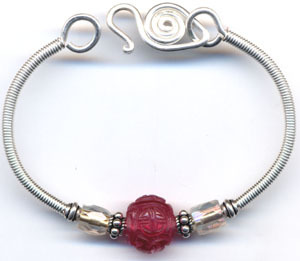
Spiral Metallic Tube Beads
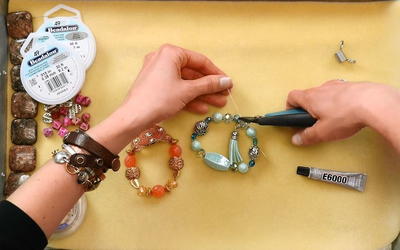
Make some cool spiral metallic tube beads with Marie Segal to add to your jewelry collection. DIY jewelry like this is fun to make and when you have a step by step pattern it makes it that much easier.
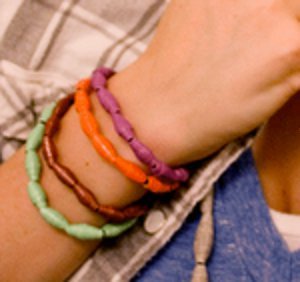
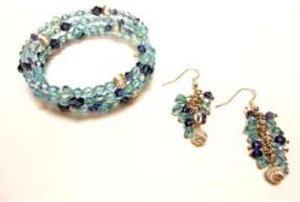
Love these beads, but not sure what to do with them? Check out How to Make an Anklet: 7 Jewelry Patterns for some inspiration.

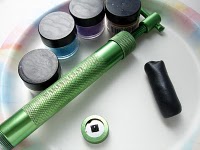
Materials:
- Makin's professional Extruder-M35055
- Makin's Clay Core Extruder Adapter-M35098 1mm,2mm, and 3mm size (these will put holes in the tube as you extrude to make beads)
- Black Cernit-900-100
- Kemper clay slicing blade
- Pearl-ex Pigments- I used reflex violet-644-3, aztec gold-658 -3, spring green-685-3, sky blue-647-3
- Paper plate
- Make- up applicator(I use my finger)
Instructions:
- Use the square disk that comes with the extruder set. It is also the same disk that we used with the checkerboard cane.
- Condition the black clay until it is smooth and warm.
-
Roll a coil that is just slightly smaller than the barrel of the extruder.
- Load up the barrel.
-
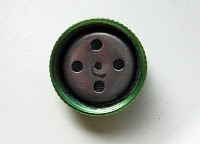
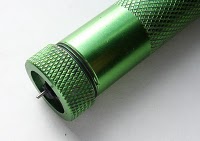
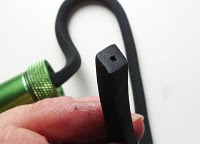
Put the square disk in to the end where the disks go, then add the 1mm or smallest core adaptor, the little peg will go through the square disk and will stick out of the disk when you screw the disk cap on the end of extruder barrel.
-
Put the cap with the adaptor and the disk on the end of the extruder barrel.
-
Turn the handle down and extrude the clay. This will be just a bit harder with the core adaptor. Go slowly and consistently.
- Using the clay blade cut the clay off around the little peg of the adaptor. Cut near the barrel end and turn the barrel as you hold the blade against the peg. Do not press against the peg hard.
-
Cut the square bead tube in half.
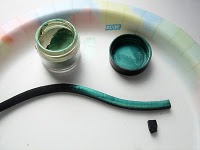
- Lay one half of the square tube on your paper plate. Add a tiny bit of Pearl-ex to the plate and rub your finger tip in it to spread out the clumps and cover the end of your finger tip.
-
Rub on to one side of the outside of the square tube. Rub a little at a time until the one side is covered and then do the other half. Do not put on too heavy of coat of pearl-ex and make sure you gently rub in to the clay when you apply it. By rubbing the powder into the clay you lodge the little particles of powder into the clay, it makes it less likely to rub off.
-
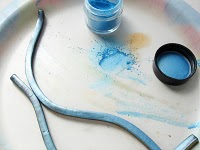
Now do the next color of pearl-ex on both square tube halves. Do not put a lot of powder out on the plate and try to keep it all in one area so you have room to cover all four sides on one plate. Remember to rub your finger on the plate in the powder so you do not have big chunks dropping on the square tube. If you get a very small spoon it is nice for putting a small amount of powder on the plate.
-
Do the next side of the tube and the next color of powder.
-
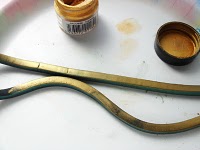
And finally the next color of powder. Sometimes I only use two colors of powder to cover the square tubes. Like gold and the copper. I cover two opposite sides of the square tube with one color (North and south) and then the other opposite sides (East and West) with the other color.
-
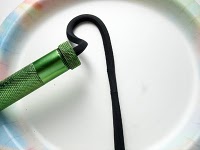
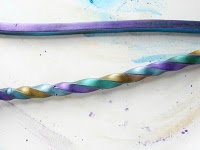
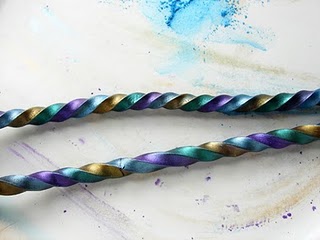
Once the tube is covered we are going to twist the tube. Hold one end of the tube with your left hand and roll the other end forward with your right hand, it will twist the square tube. Do not press hard just roll. Remember there is a hole inside the tube. You can also make the twist tight and more twisted or loose and less twisted.
-
Once the tube is twisted, bake on a piece of cardboard in a 275 degree F. pre-heated oven for 30 minutes shut off the oven and let cool a little. Pull out of the oven and while the beads are still warm cut sections with your clay slicing blade. This is easier when they are warm than when completely cool. If you let it cool completely, heat the oven again and warm up the bead for bit and then cut them when warm. This is also perfect for making the beads ahead of time, storing beads in the long tubes and then cutting them in the sizes you need them for the project you are working on at the time when you work on the project.

Read Next101+ Free Beading Patterns