Chinese Beads Tutorial
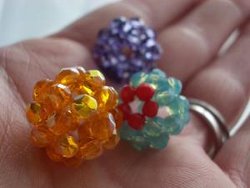
If you're looking for creative and fun beaded jewelry ideas, check out this project for Chinese Beads Tutorial from Candie Cooper. These tiny little balls of beads are so cute, and will make fantastic earrings for yourself or for one of your friends! It's a simple jewelry craft with beads, and if you like beaded jewelery, you'll want to create this cool new craft!
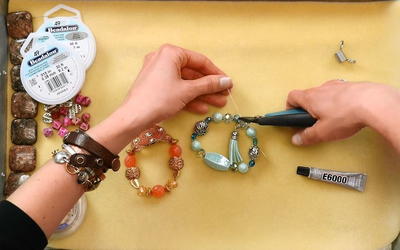
Materials:
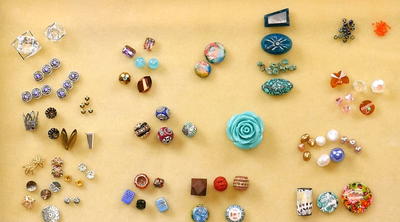
- 30 beads of any shape and size (just be sure the hole in the bead is big enough for the cord to pass through twice)
- good quality nylon cord
- bit of glue
Instructions:
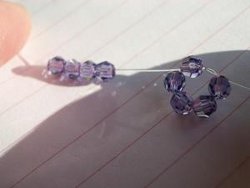
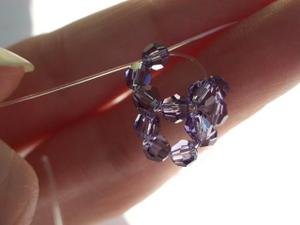
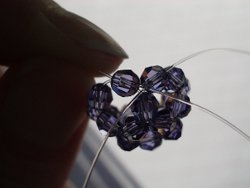
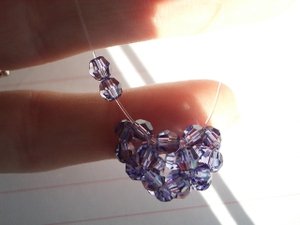
- Cut 20 iinches of cord and double it over so the ends meet and string 5 beads onto the left end/side of the tail.
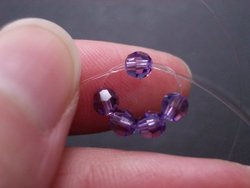
- Thread the right end of the cord through the 5th bead in the opposite direction that the left tail is going-I call this a 'cross'.
- Pull the two ends snug so it makes a star in the middle of your bead cluster.
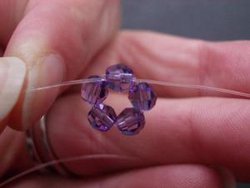
- String 4 beads onto the left tail.

- But on the 4th bead thread the right tail through in the opposite direction that the left tail is going (I call this a cross).
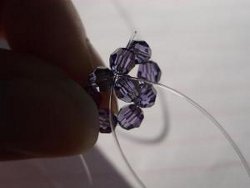
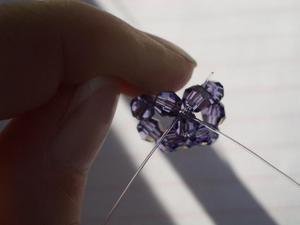
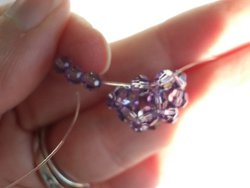
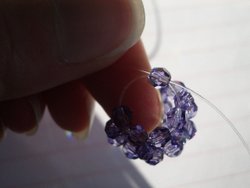
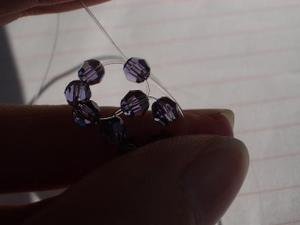
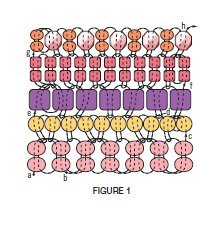
- Look carefully at the orientation here. At the top is the original 5 beads and in my fingers is the 4 beads. The right cord comes out and goes into the bead directly to the right of it.
- This is how it should look. Notice how the cord looks like it is going through two beads side by side.
- String 3 beads onto the left tail and cross the right tail through the 3rd bead.
- String the right tail through the bead directly to the right of it again.
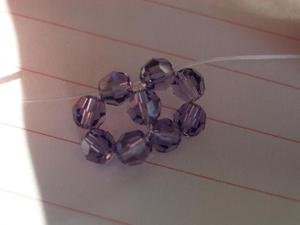
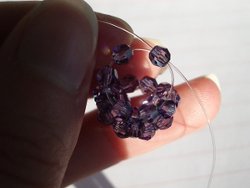
- Repeat the last three steps two more times so that you will have a total of 4 clusters around your central star at this point.
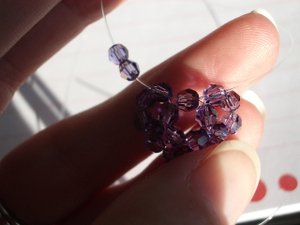
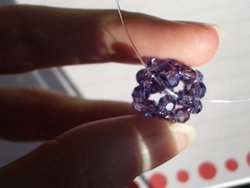
- Now run your right tail through the two beads to the right of the bead where the right tail comes out (as seen in picture) and string 2 beads onto the left tail.

- Cross the right tail through the 2nd bead and pull the two ends snug. This completes the top half of the bead, making sort of a dome shape.
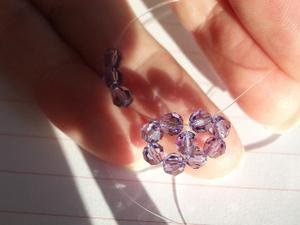
- The right tail goes through the bead just next to it.
- String 3 beads onto the left tail.
- Right tail goes through the 3rd bead, making the cross.
- Now this time, the right tail goes through two beads to the right of it.
- String 2 beads on the left tail.
- Right tail crosses through the second bead.
- Repeat the last the last three steps two more times!
- String the remaining bead on the left tail.
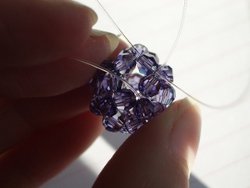
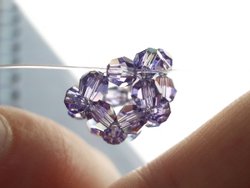
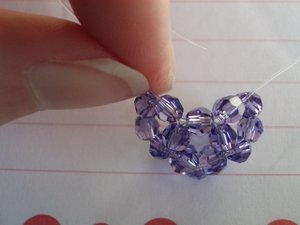
- The left tail with the bead on it goes across and through the bead on the left, then it keeps going through the remaining 3 beads in the cluster of 5. Same goes for the right tail except it goes through the right side, opposite the left. Remember that the cord should make a triangle at each bead junction and the cord must pass through each bead twice. Tie the tails in a knot where they meet up.

- Trim the ends and dot the knot with some glue to secure.
Read Next101+ Free Beading Patterns
Your Recently Viewed Projects
Thanks for your comment. Don't forget to share!
sunshine6957 90910 35
Nov 05, 2011
Could you please do a demo that shows the thread? It is very hard to see the clear thread and the placement of the beads and where the thread is going. Maybe use black thread and white beads. Thank you very much for sharing, I really like the design and have some nice swarovski bicones for this project.
JennyBee1
Sep 15, 2011
@tahdeah 9098606, Please contact the pattern designer directly for help. The designer is specified in the byline. --Editor of FaveCrafts
Report Inappropriate Comment
Are you sure you would like to report this comment? It will be flagged for our moderators to take action.
Thank you for taking the time to improve the content on our site.

![Pill Bottle Crafts: Reuse Pill Bottles [15 Ideas]](http://irepo.primecp.com/2017/06/334076/PILL-BOTTLE-CRAFTS-Header_Category-CategoryPageDefault_ID-2274135.jpg?v=2274135)