Teacher Appreciation Tissue Box Cover
Teachers and educators are sure to love this Teacher Appreciation Tissue Box Cover. Made using simple easy-to-find materials, this project is great to give as a thank you gift or a back to school present. You can easily change the book spines to read whatever you'd like and can personalize this tissue box cover with your child's teacher's name. This is a sweet and meaningful gift that's sure to be treasured and appreciated for years to come.

Materials:
- Xyron 9" Creative Station
- Xyron 5" Creative Station
- Xyron Mega Runner
- Xyron 150 Create-a-Sticker
- Xyron Glue Stick
- Xyron Wishblade
- Doodlebug Paper Plus Kits
- DCWV 'The Edumacation Stack'
- May Arts Ribbon
- Websters Pages Trim
- Sillhouette Studio Pattern ( Mini Carrier)
- Sillhouette Studio School Die Cuts
- Crattime Flatback Buttons
- Box making card
- Pattern 1 (cut 3)
- Pattern 2 (cut 1)
- Pattern 3 (cut 4)
Instructions:
- The structure of the Kleenex box is made from box making card that I drew the measurements on and cut with a craft knife. I used hot glue to hold everything together. Please reference patterns 1-3 in the materials list.
- Take Patterns 1 and 2 and fold over to make book shapes.

- Slot them down over the box form. Leave the cut out with the 2"x2" until last, this is the top of the tissue box.


- From here on in the fun starts with decorating. Grab your Xyron Adhesives and lets get covering!
- To add a realistic effect and make the books looked stacked, I cut strips of paper and using the Xyron Mega Runner joined them together down the edge on the patterned side and then folded them back forming a seam.
- I used the Xyron Glue Stick and rubbed adhesive around the protruding edges of the 'book' covers, place the glued seam of the joined pieces of paper along the edges of the 'book' covers and wrap the patterned paper around underneath the book cover edge and pressed down on the top. This should give you one colour on top and the colour of the other book cover underneath.
- I Put the final top piece of paper through the Xyron 9" Creative Station and applied, using a craft knife cut the paper over the 2" x 2" hole and fold back inside the box.

- The fake page effect is done by cutting out strips of paper coredinations beige cardstock and I distressed it with sand paper.

- I used a ruler and a brown gel pen and drew in broken lines very close to each other, apply Xyron Adhesive by running the strips through the Xyron 5" Creative Station and wrap around the box.


- I diecut out the subject titles using the Xyron Wishblade. The patterns were downloaded from Silhouette Studio. I ran the pieces through the Xyron 1.5" create-a-sticker and applied to the spines of the books!

- To apply the ribbon around the books, run it through the Xyron 1.5" create-a-sticker and wrap around.
- Finish by adding the ribbon bow and tag.

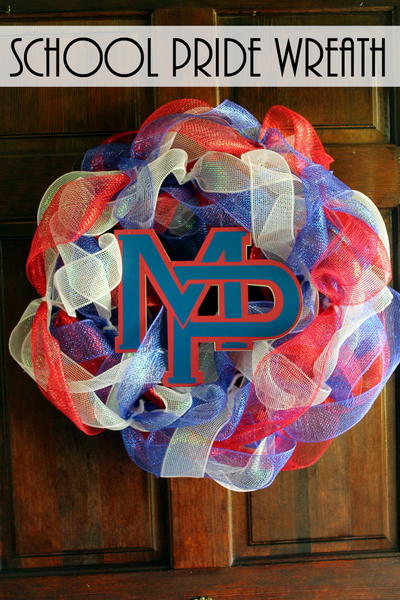
Read NextSchool Pride Wreath