101+ Thanksgiving Crafts for Kids and Adults
Your completed guide to Thanksgiving crafts for adults, toddlers, and more.

You'll just gobble up these Thanksgiving crafts for kids and adults! With great Thanksgiving decor projects, centerpieces, edible crafts for kids, and fun projects for teens, these crafts for Thanksgiving will have you ready for the holiday season in no time.
This ultimate guide of Thanksgiving crafts for adults and kids will also give you great ideas for hostess gifts, in case you're traveling to someone's home for the holidays. And if you're the lucky one who is hosting Thanksgiving dinner, there are some great projects to make to help you set the table, serve food, and make your guests feel right at home.
Entertain everyone in the family with fun projects for all ages! The Thanksgiving crafts for older kids will challenge them enough that they'll feel proud of their autumnal creations. It's a great bunch of charming projects fun to peruse.
Want more holiday ideas sent straight to your inbox? Subscribe to one of our holiday newsletters!
Subscribe to 101 Days of Holiday Recipes and CraftsSubscribe to 365 Days of HolidaysSubscribe to AllFreeHolidayCraftsSubscribe to FaveCrafts
Table of Contents
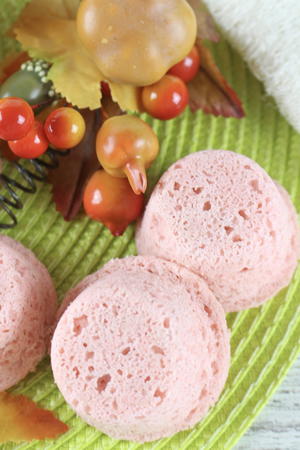
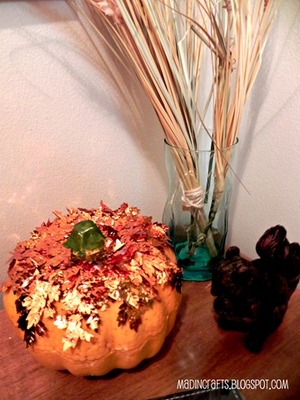
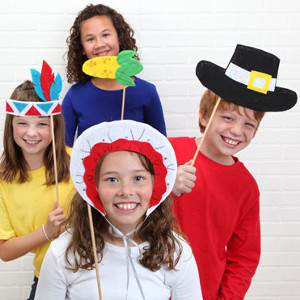
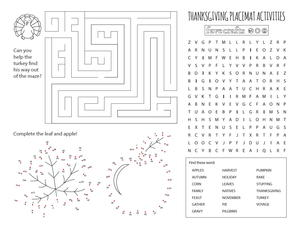
Thanksgiving Crafts for Teens
Start here! If your teen is looking for ways to get involved during Thanksgiving break, these are some wonderful craft ideas for turkey day! From glitter pumpkins to adorable garland and more, invite them to help you decorate the home for guests this year.
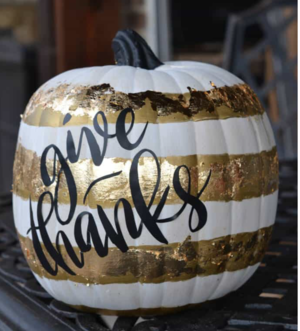
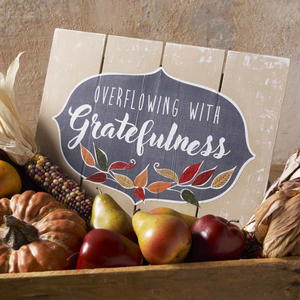
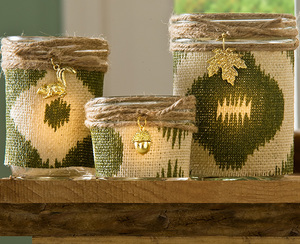

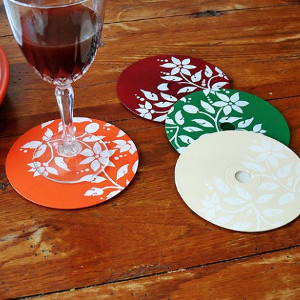
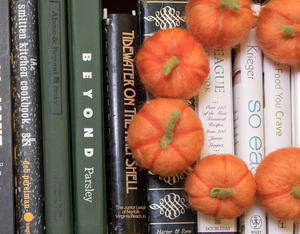
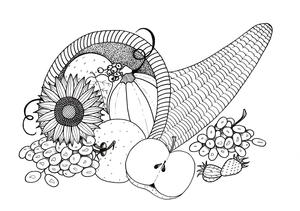
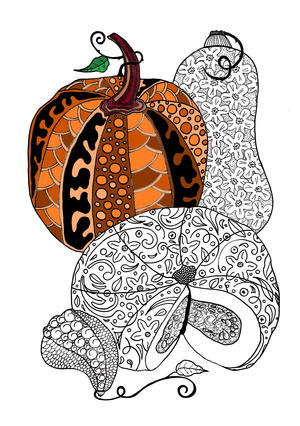
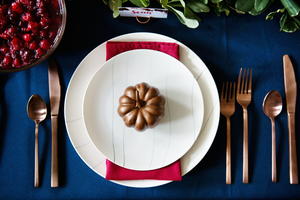


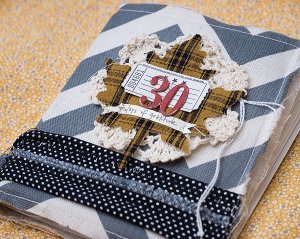
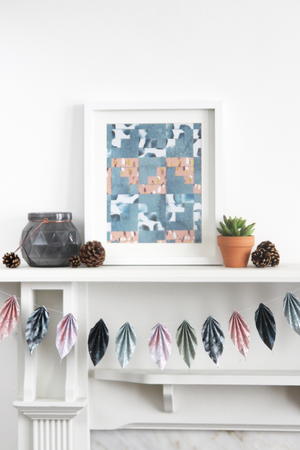
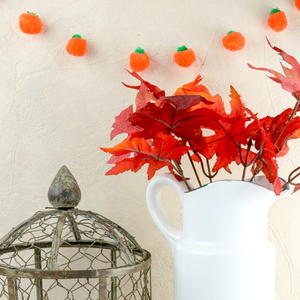
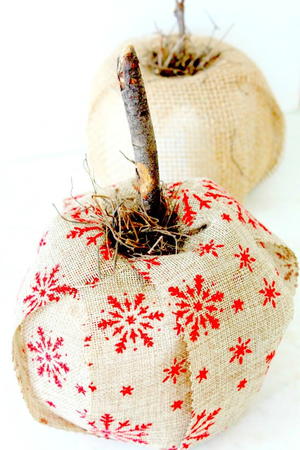
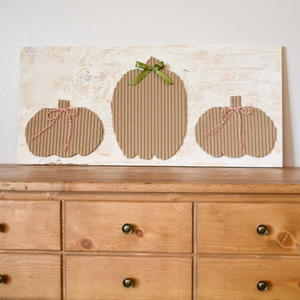

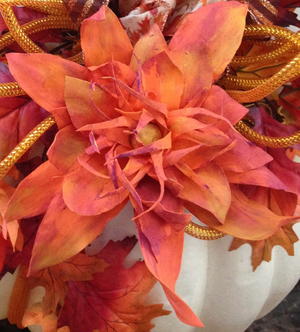
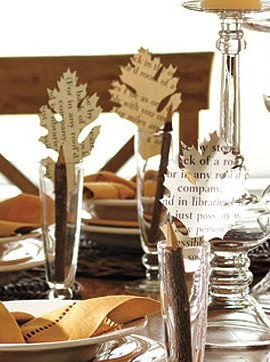
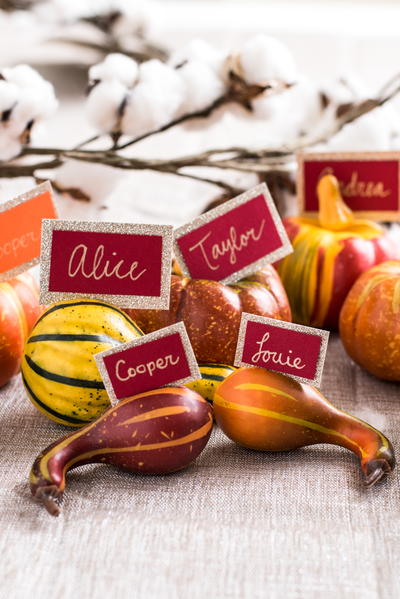
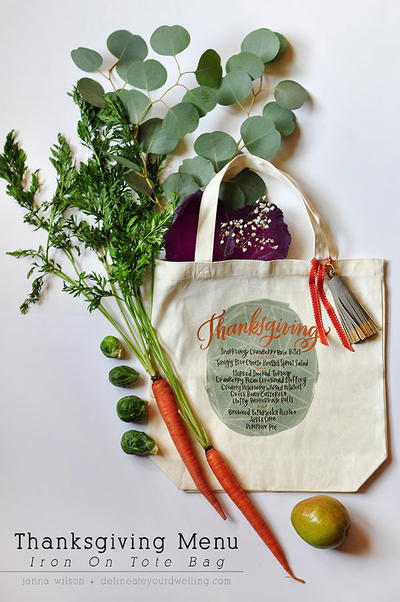
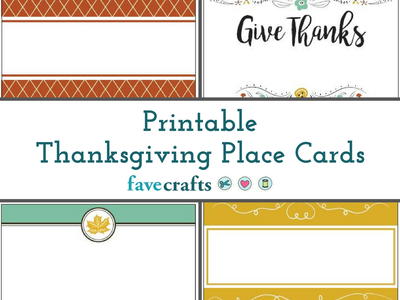
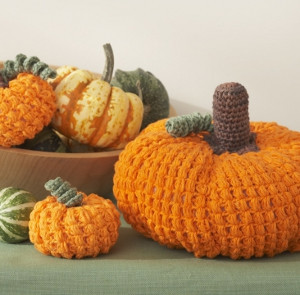
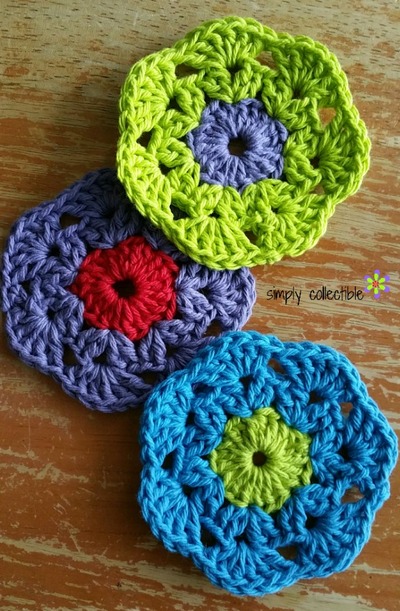
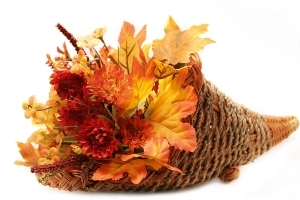
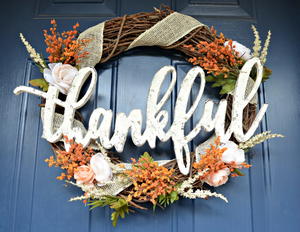
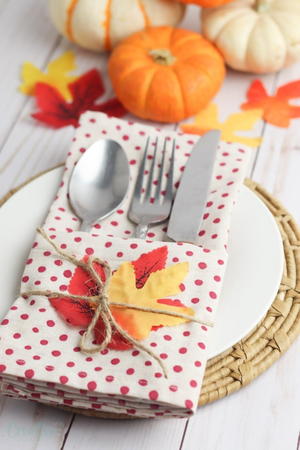
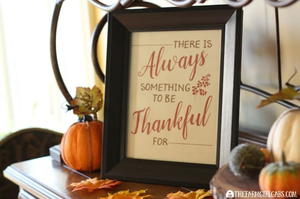
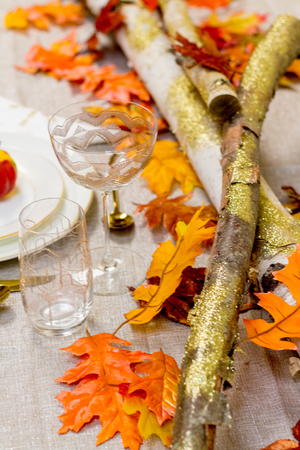
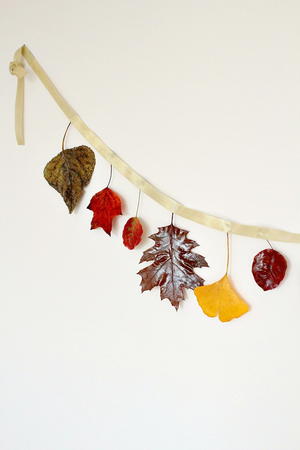
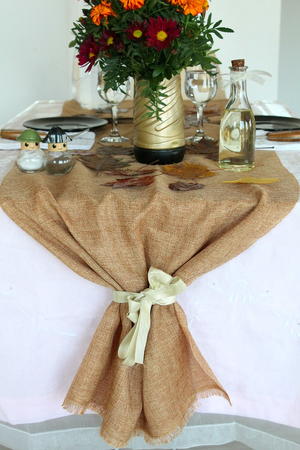
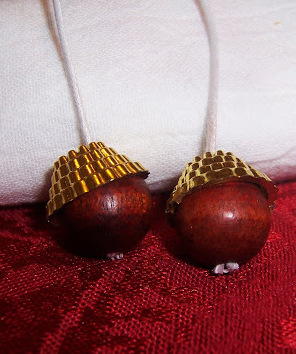
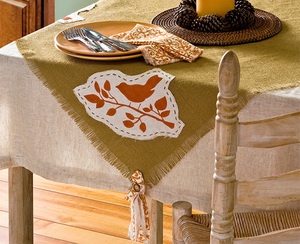
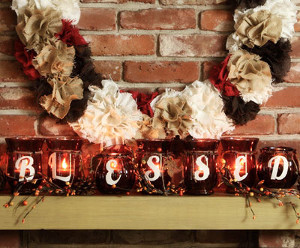
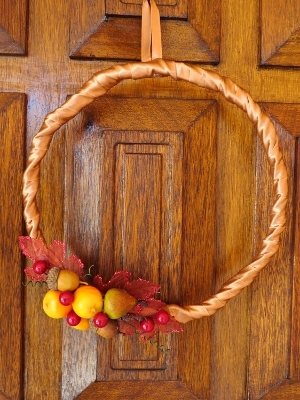
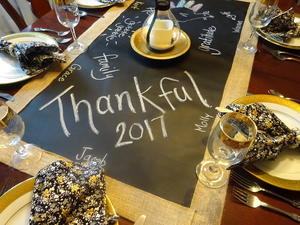
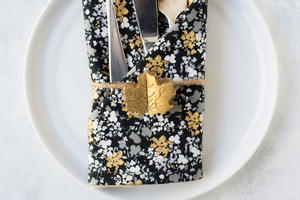
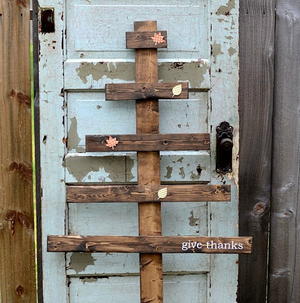
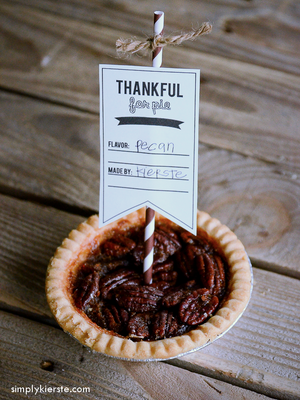
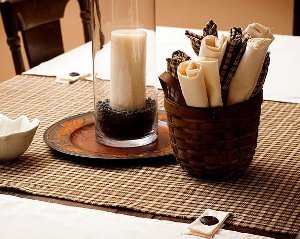
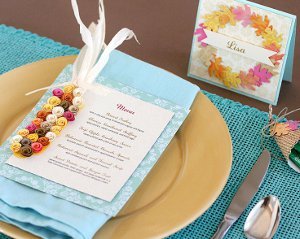
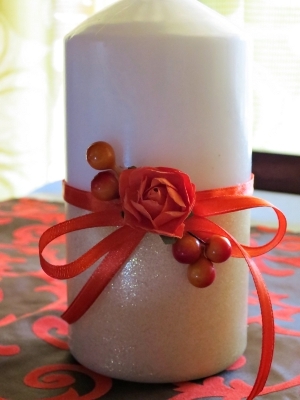
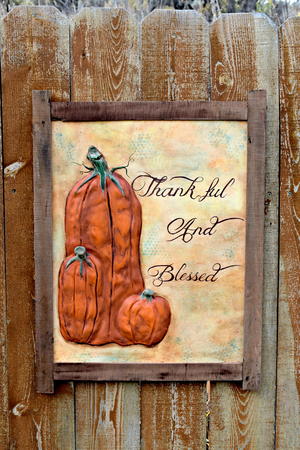
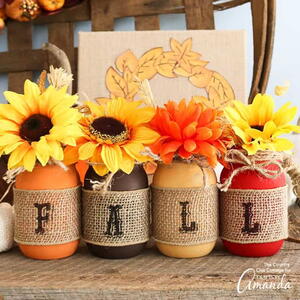
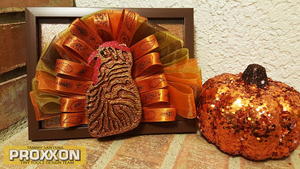
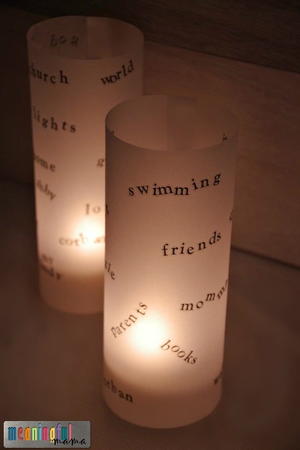
Adult Thanksgiving Crafts
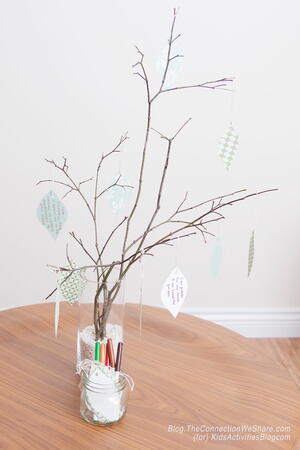
There is no end to inspirational adult Thanksgiving crafts. There are just so many ways to make your home beautiful for this wonderful holiday! Below you'll find wreaths, table setting ideas, centerpieces, and more wonderful decorations for your home. Many of these can be displayed throughout the entire autumn season.


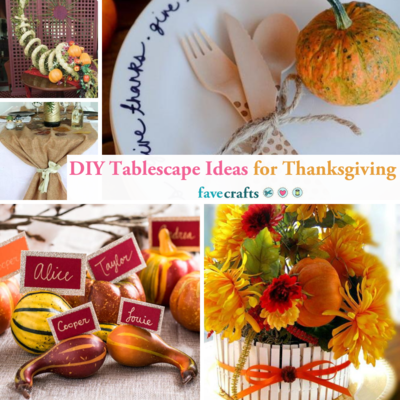
Explore some more gorgeous decorative Thanksgiving crafts in38 DIY Tablescape Ideas for Thanksgiving
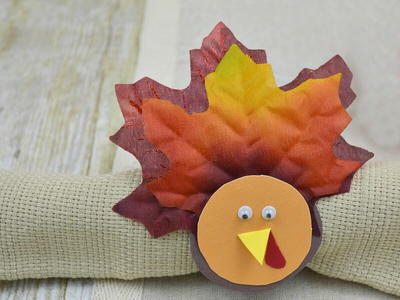
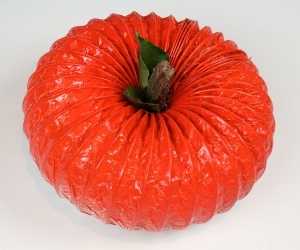
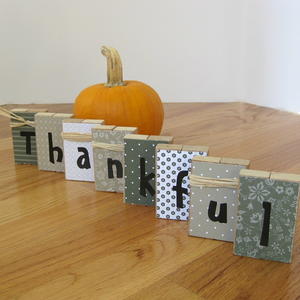
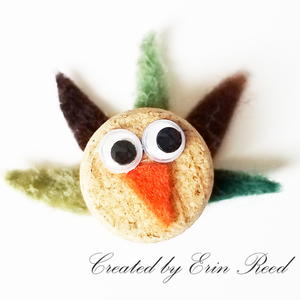
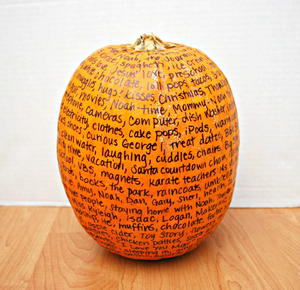
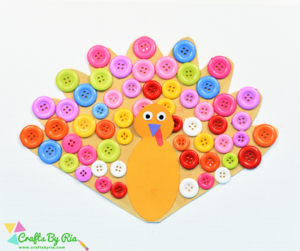
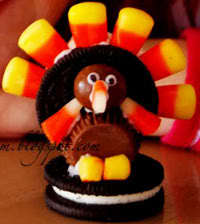
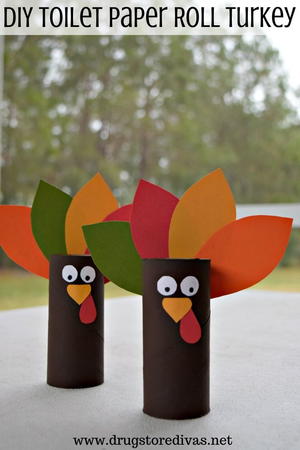
Thanksgiving Crafts for Older Kids
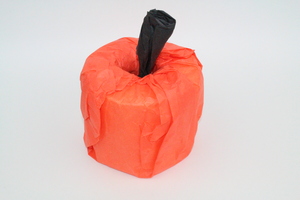
Kids love celebrating holidays, and they can help you do it this year! Have them craft an adorable turkey to display on the mantel, or maybe they'll have fun making a pumpkin out of a toilet paper roll! These are such fun projects to do together while kids have that break from school.
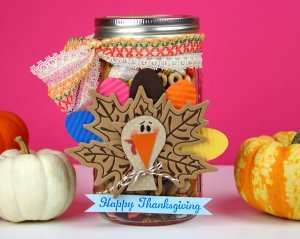
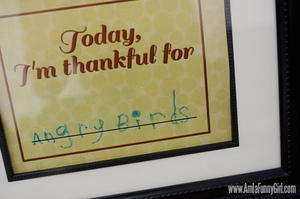
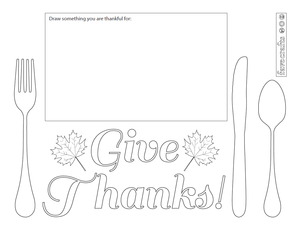
Free Thanksgiving Crafts for Elementary Students
Help little ones understand the reason for the season and craft together! Teach them about thankfulness, why we eat turkey on Thanksgiving, and more. The projects below range from educational to simply cute. You can teach them about going green and making recycled crafts as a way to show the world gratitude for all Mother Nature provides! Plus, kids will take pride in their cute projects being displayed when family comes over to enjoy the big meal together.

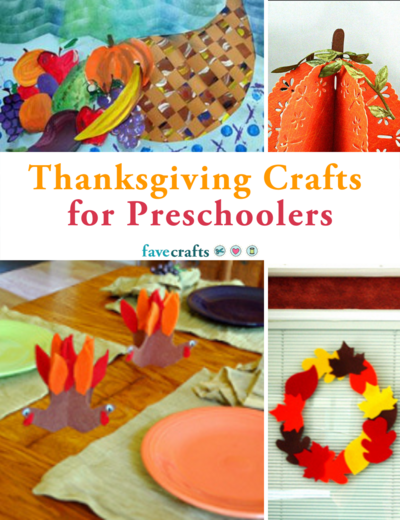
Check out more of our sweet kids crafts in12 Preschool Thanksgiving Crafts
Up Next:
Your Recently Viewed Projects

Thanks for your comment. Don't forget to share!
paver2
Jul 21, 2017
This page is almost overwhelming! There are so many projects and ideas that it's hard to know where to look first. It's great to see them early enough in the year so we can make plans for later. It gives us time to think about what we want to do as well as gather materials.
Jim Moriarty
Nov 09, 2016
Whoa! These are amazing. I never thought there were so many cool ideas and crafts to make for Thanksgiving.
Report Inappropriate Comment
Are you sure you would like to report this comment? It will be flagged for our moderators to take action.
Thank you for taking the time to improve the content on our site.