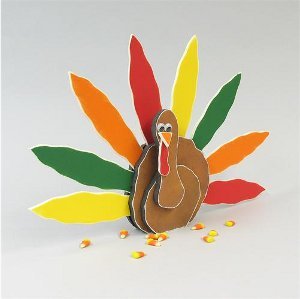
Thanksgiving Turkey Countdown
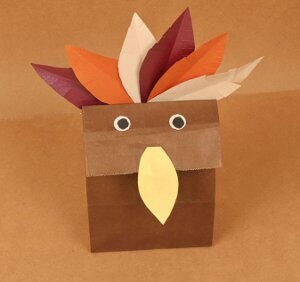
Get your kids excited about Thanksgiving this year with the Thanksgiving Turkey Countdown. This tutorial will show your how to create a unique Thanksgiving decoration that can also serve as an activity. After you've created your turkey, have your kids add feathers to the turkey's tail every day as they countdown to Thanksgiving. When the big day is here, you'll have a turkey with a full tail of colorful feathers. This adorable project is a wonderful way to get your family excited about the upcoming holiday.

Materials:
- 20" x 30" x 1/2", Black on Black Foam Board
- 20" x 30" x 3/16", Red Foam Board
- 20" x 30" x 3/16" Orange Foam Board
- 20" x 30" x 3/16" Yellow Foam Board
- 20" x 30" x 3/16" Green Foam Board
- CraftBond™ Extra Strength Glue Stick
- CraftBond™ Quick Dry Glue Dual Tip Pen
- CraftBond™ Glue Spots, Thin-medium
- CraftBond™ Foam Mounting Tape
- X-ACTO® Designer Series 8" Scissors
- X-ACTO® Designer Series 12" x 12" Self Healing Cutting Mat
- X-ACTO® Designer Series #11 Craft Knife (with new blade)
- 12" x 12" textured-look brown scrapbook paper
- Two 15 mm wiggle eyes
- Pencil
- Sandpaper
- - See more at: http://www.elmers.com/crafters/project/Turkey-Countdown#sthash.wMA5Q2q3.dpuf
- 20" x 30" x 1/2", Black on black foam board
- 20" x 30" x 3/16", red foam board
- 20" x 30" x 3/16" orange foam board
- 20" x 30" x 3/16" yellow foam board
- 20" x 30" x 3/16" green foam board
- CraftBond™ extra strength glue stick
- CraftBond™ quick dry glue dual tip pen
- CraftBond™ glue spots, thin-medium
- CraftBond™ foam mounting tape
- X-ACTO® designer series 8" scissors
- X-ACTO® designer series 12" x 12" self healing cutting mat
- X-ACTO® designer series #11 craft knife (with new blade)
- 12" x 12" textured-look brown scrapbook paper
- Two 15 mm wiggle eyes
- Pencil
- Sandpaper
Instructions:
- Use pencil to trace two Large Body, one Small Body and one Head/Neck Patterns onto Elmer's® Foam Board. An adult should use X-ACTO® #11 Craft Knife (with new blade) on Self Healing Cutting Mat to cut Foam Board. (Hint: Score lightly first and then press more firmly to cut deeper, with several passes of the Craft Knife. Replace blade often.) Position and trace patterns onto brown paper and cut out with X-ACTO® 8" Scissors. Apply CraftBond™ Extra Strength Glue Stick to entire surface of each Foam Board piece and attach corresponding paper. Set aside.
- Trace Feather pattern, twice onto each of three colors Foam Board, for a total of eight feathers. An adult should use Craft Knife on Cutting Mat to cut feathers.
- To distress, use sandpaper to lightly sand edges of feathers and body pieces. (Tip: Sand in a downward motion along edges.)
- To hold feathers, make space between two Large Body pieces as follows: Place Large Body (brown side down) on work surface. Horizontally place 4" length double-layer Foam Mounting Tape to center of Body. Then place another 4" length double-layer next to first strip and 3" length double-layer above and below the 4" lengths. Align second Large Body (Brown side up) and press in place, checking to be sure bottom edges are even. Referring to photo, similarly position Small Body and Head and attach with CraftBond ™Quick Dry Dual Tip Glue Pen.
- Trace Wattle pattern on Red Foam Board. Trace Beak on Orange Foam Board. An adult should cut Foam Board using Craft Knife on Cutting Mat.
- Use CraftBond™ Glue Spots to attach wiggle eyes onto Head, 1" from top. Refer to photo for placement of Wattle and use Quick Dry Glue to attach. Use Glue Spots to attach Beak to Head at an angle, slightly overlapping top of Wattle.
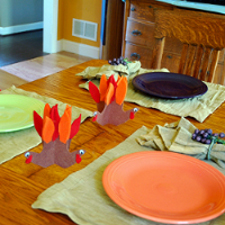
- For Turkey Countdown, each day before Thanksgiving, insert one Feather between Large Body pieces, alternating feather colors. (For younger children, you may want to number feathers to reinforce counting.) If desired, hold in place with Glue Spots. (Option: To make a permanent centerpiece, arrange and use Quick Dry Glue to attach Feathers.)

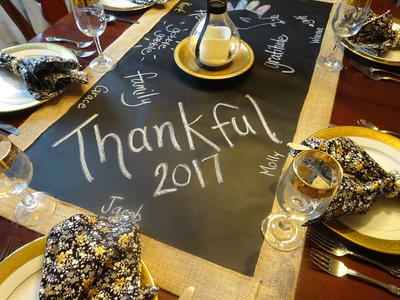
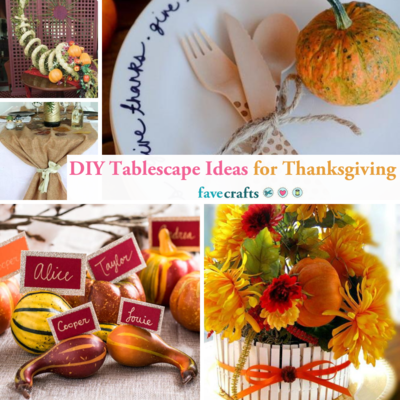
If you're looking for ways to decorate the table, we've gathered 19 ideas for your Thanksgiving table settings to help you put the finishing touches on your perfect Thanksgiving feast.
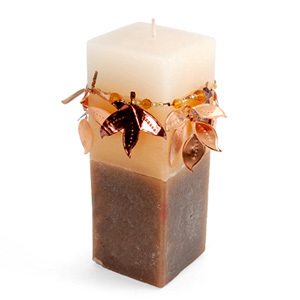
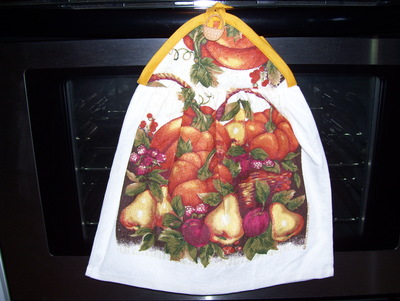
Read NextDecorative Fall Towel
Your Recently Viewed Projects
Thanks for your comment. Don't forget to share!
Marilyn B
Nov 14, 2017
This is so cute and what a lovely way to help kids count down to the day, learn colors, numbers, time and art all in one super project! You could probably adapt this idea and technique to other materials in hand, and you could even embellish the feathers with sparkles, glitter or even smaller faux feathers! So cute and what fun to make this cute little fella!
Kauiazcactus
Oct 24, 2013
Where is the pattern for the pieces? I don't see it in the instructions.
Report Inappropriate Comment
Are you sure you would like to report this comment? It will be flagged for our moderators to take action.
Thank you for taking the time to improve the content on our site.