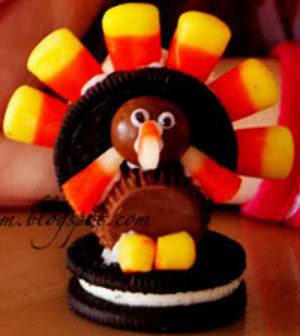
Candy and Cookie Turkeys
This is an adorable craft from Amy Huntley your kids will love to create! Using materials like Oreo cookies and peanut butter cups, these candy and cookie turkeys are perfect for Thanksgiving. Enjoy making this easy (and edible) craft! These candy and cookie turkeys are just what you need for the little ones to have for dessert. That way, you can have all of the pumpkin pie to yourself. Create these easy Thanksgiving crafts with the kids or for the kids.
Materials:
- Double Stuff Oreos (2 per turkey)
- Small Reeses' Peanut Butter Cups (1)
- Whoppers (1)
- Candy Corn
- White Frosting
- Black Frosting
Instructions:
- First place your peanut butter cups in the fridge. They will cut cleaner cold. Then take an Oreo and carefully separate one of the cookies from the frosting. Gently press the pointed tips of 6 candy corns around one half of the Oreo. Take some white frosting and cover the frosting and re-attach the cookie.
- Now, take the second oreo and lay it flat on the table. Pick up your Oreo with the candy corn and put some icing on the bottom of the oreo opposite from the candy corn and attach the Oreo onto the flat oreo so that it is on the back half. Prop the stuck together Oreos against a book or a wall to hold it up while the icing dries. If it does not stand up well, add some more icing.
- Now take a cold peanut butter cup and cut a small section off of it so that it will have a flat side. Place some frosting on the flat section and the top of the peanut butter cup and attach it to the Oreo with the candy corn so that it becomes the body of the turkey.
- Take the Whopper and put icing on the back side of it. Attach it so that it is right on top of the peanut butter cup and iced to the Oreo and Whopper. Add two drops of white icing for the eyes and a smaller drop of the black for the pupil.
- For the wings, I cut the very tip of a candy corn and glued a wing on both sides of the peanut butter cup. For the feet, you can use the same tip you cut off when making your wings. Let dry for about 20 minutes before handling.

If you loved these sweet turkeys, you'll just gobble up these 268 Thanksgiving crafts for kids and adults!
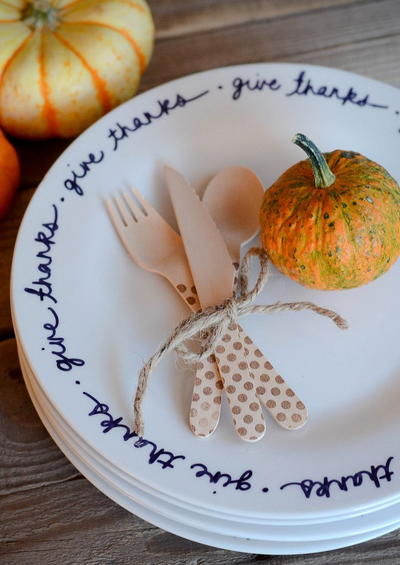
Read NextLovely Thanksgiving DIY Plates
Your Recently Viewed Projects


Thanks for your comment. Don't forget to share!
Weberme
Nov 02, 2018
Who like edible crafts? How about one for Thanksgiving? This turkey is made with candy corn,oreos and peanut butter cups. So easy to make and a great treat for the Thanksgiving hoilday. Let the whole family help make thrsr candy and cookie turkeys. Watch the kids faces light up when you bring these treats out. So cute.
Marilyn B
Nov 04, 2017
This is a nice idea, and sometimes you see similar ready made for big money, so this is a nice alternative. I could see this as a cute place setting decoration and something for the kids to look forward to at the end of the meal! Wrap them up in clear bags with a ribbon and give away as a thank you for a shelter donation, or fall fest item! Super clever idea!
Crafter 1105475
Nov 09, 2011
Love this!! Hate that there is such waste with the oreo's breaking (or coming out of the package broken!) They are adorable when finished though! Not something you can do with kids though!
Canuck
Nov 24, 2010
I absolutely love this idea! My family has peanut allergies, so I used a Rolo for the body and I think it worked out fine. Thanks for the great idea! :)
crochet mom
Nov 23, 2010
this is so cute! I think I will try this to take to my Husbands brothers for our Thanksgiving dinner, definetly sworth passing onto frinds with children! Joyce D
msvbj 3493530
Nov 01, 2010
This is so cute !! I serve at a Soup Kitchen in Morehead City, N.C. and this year I'm going to make these for the people that come to eat during the season. A great gift to those that are sometimes forgotten.
Report Inappropriate Comment
Are you sure you would like to report this comment? It will be flagged for our moderators to take action.
Thank you for taking the time to improve the content on our site.