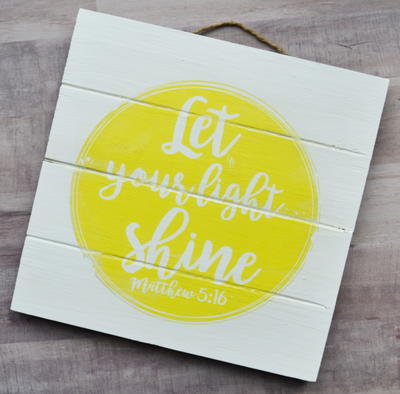
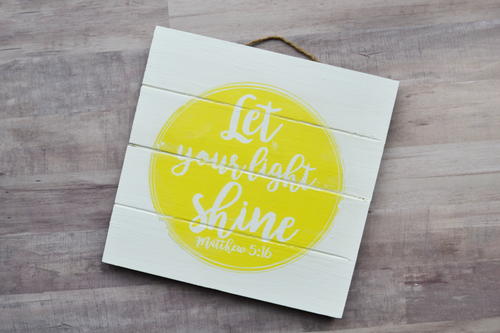
Let Your Light Shine (Matthew 5:16) DIY Wall Art
This Christian home decor wall art is such a joyful project to make!

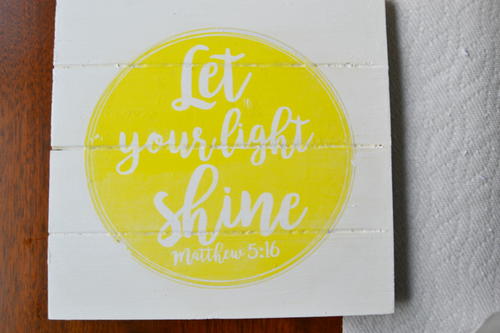
DIY scripture wall art is a wonderful way to stay centered on your faith as you move through your home doing your day-to-day activities. By choosing a beautiful Bible passage and a vivid image to display, you can be inspired and comforted every time you behold your DIY project. Let your light shine with this DIY christian wall art project. This bright and sunny image is sure to brighten any room and any mood! You'll learn how to decoupage using photo transfer medium, making this an easy project to hone a new craft skill. This is a wonderfully encouraging project that would make a great gift as well. Enjoy making this lovely project and don't forget to let your light shine!
Time to CompleteWeekend project
MaterialsPaper
Project or Page Size8.5 inches x 11 inches

Project TypeMake a Project
Materials List
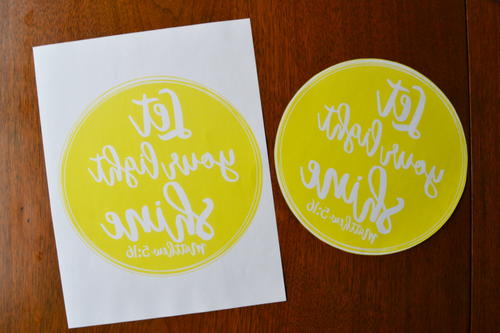
- “Let your light shine” printable pdf
- Photo transfer medium
- White wooden wall plaque (if it's not white then the letters will be whatever color the surface of the plaque is)
- Sponge
- Foam craft brush
Let Your Light Shine (Matthew 5:16) DIY Wall Art
Instructions
-
Print out the “Let your light shine” pdf. You need to print it out on a laser printer in order for this photo transfer method to work. Cut out the image.
-
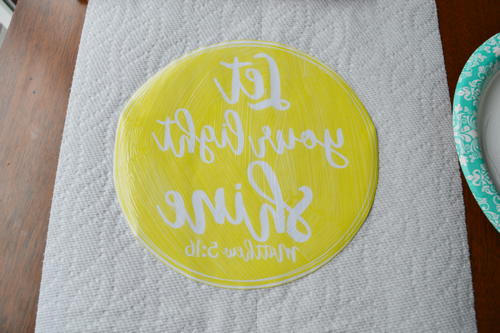
Paint the photo transfer medium onto the image.
-
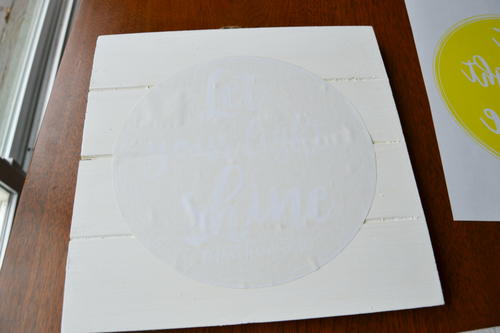
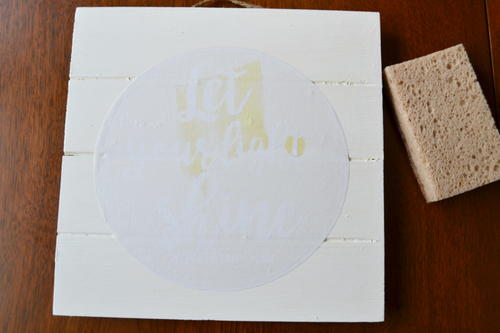
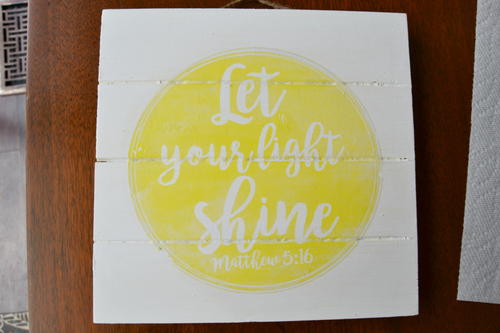
Place the image face side down onto the surface that you want to transfer the image to. Smooth the image down as best as you can so that there are no air bubbles. Allow this to dry for 24 hours.
-
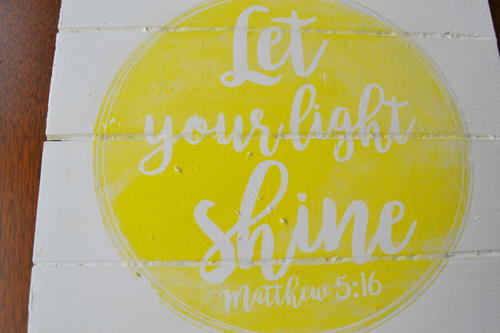
Use a sponge to wet the image.
-
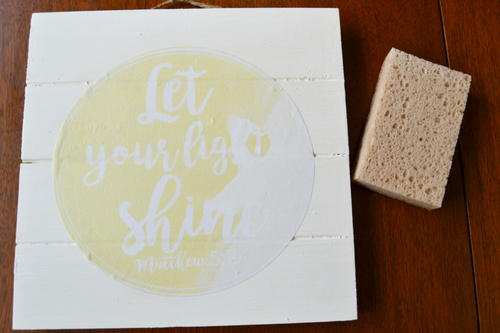
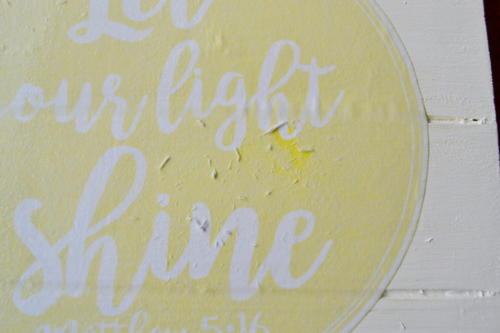
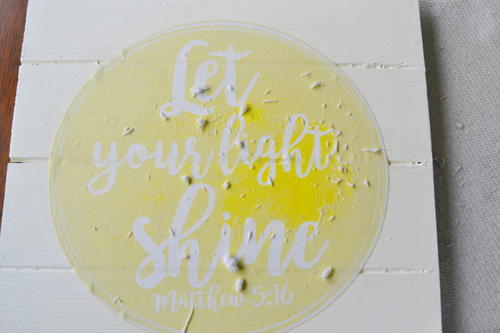
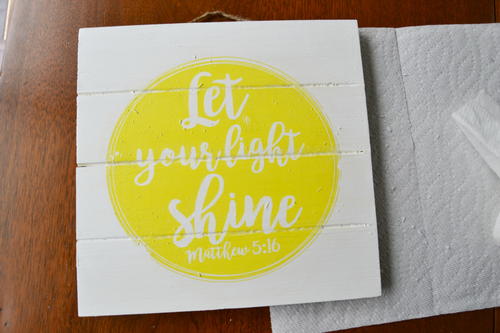
Once the water has soaked into the paper a little use the sponge to start rubbing off the paper. Be careful not to rub too hard or you could rub off the image. Use a paper towel to gently wipe off the paper bits.
-
Let it dry for a half an hour or so and you will see areas where there may still be paper left. Wet it again. Repeat the rubbing and drying process until you have gotten off the paper. Again, be gentle so as not to rub off the image.
-
Let the wall art dry completely.
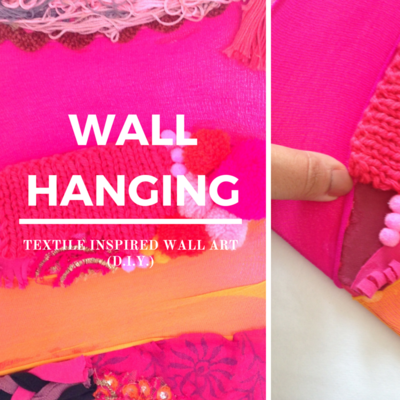
Read NextBeachy Pom Pom Wall Hanging