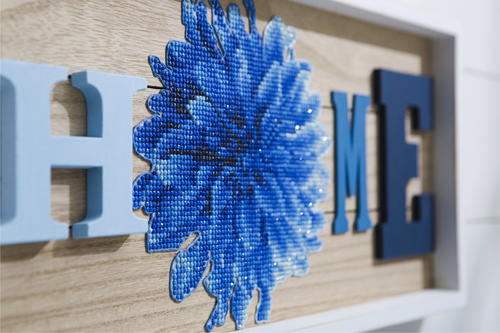
Diamond Painted Dahlia Sign
Diamond painting kits can be used for so many uniquely beautiful projects!

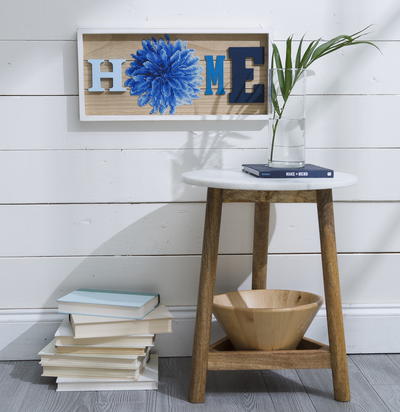
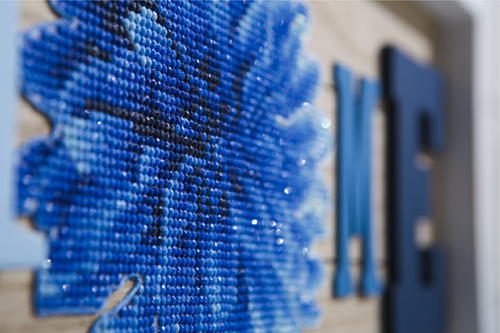
Use your diamond painting kit to create this gorgeous dahlia. A floral burst becomes the focal point in a sign spelling "home." It's easy to make your own wall art when you have the right tools available!
If you've wanted to give that Diamond Art kit a try but you weren't sure what to do with the completed project, this is a magnificent option. The different letters in HOME add an eclectic feel to this elegant DIY sign. If your wall could use some flair, get started on this stunning project today. After all, diamond painting is not something to rush through! Relax as you piece together the crystal painting, and after you've had countless hours of peaceful crafting, complete the sign portion of this project.
BONUS Enter now to win your own Diamond Art Kits to use when making this beautiful sign!
Time to CompleteLonger than a weekend
Project TypeMake a Project
Materials List
- A Diamond Art Canvas (We used the Blue Dahlia, but you can always switch it out for another flower canvas)
- Embroidery Floss (Or other preferred thread)
- Two-Sided Adhesive Backing (Get a backing that is bigger than your Dazzle Area)
- A Wood Pallet / Custom Wood Frame
- Acrylic Paint (You pick the colors, be creative!)
- Wood Block Letters
Instructions
-
Dazzle Your Diamond Art Canvas: There isn't a big learning curve in terms of starting the craft, just dip, dot, and dazzle! Diamond Art is meant to be a leisurely craft that lets you put the canvas away for later if you wanted to, or complete it in one day, the choice is up to you.
-
Cut Out Your Dazzle Area: After you've dazzled your way to success, carefully cut out your design, and stick it to one side of your adhesive backing.
-
Create Your Trim: Next, carefully line your dazzle area (where there are gemstones) on your canvas with the Embroidery Floss, making sure that the floss sticks to the extra adhesive. This will give you a clear guide when cutting your canvas again.
-
Craft Your Frame: You can get your frame from the Wood Crafts section of any craft store near you. You can even go the extra creative mile and craft your own! All you need are some wood planks and nails.
-
Cut and Place: Now that you've laid out your floss, you can cut the excess adhesive from around the whole artwork. Now you can start to lay your design onto the frame! Peel off the second layer of the backing, and after that you're unstoppable.
-
Paint and Finish: Now that your Diamond Art is placed, all that’s left are your beautiful block letters! Paint to your heart’s content, and then set them accordingly. Remember to leave enough room for the letters to be evenly spaced out.
It's as simple as that. This is a great and unique way to utilize your Diamond Art canvas to the fullest! Now that you're finished, you can sit back with a nice hot cup of tea, and marvel at your finished Diamond Art Masterpiece.

Have you tried diamond painting yet? What project would you love to make?