DIY Etched Mirrors
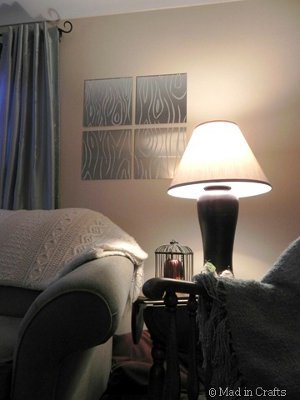
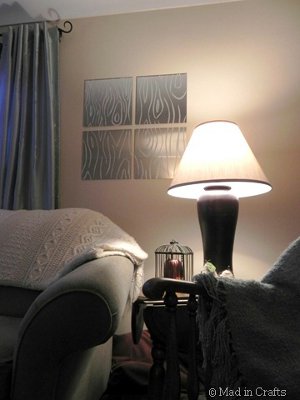
These DIY Etched Mirrors are a great way to decorate a large wall space. It's easy to create your own design with this simple tutorial from Jessica Hill. You can use square or round mirrors for your glass etching.
Materials:
- Mirror (s)
- Painter’s tape or contact paper
- Exacto knife
- Permanent marker
- Martha Stewart Glass Etch medium
- Foam brush
- 3M frame strips
Instructions:
- If you are using multiple mirrors like I did, set them up in the configuration you will use when you mount them on the wall. Even if you plan to leave space between them when they are hung, do not leave any gaps now.
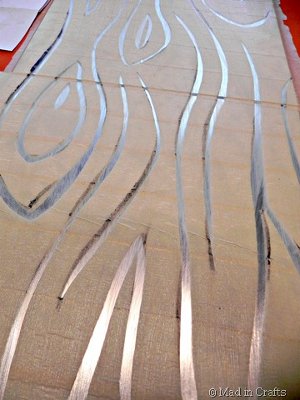
- To make a single-use stencil for your mirrors, first tape off the mirrors with painter’s tape or cover them with contact paper. Then draw a simple wood grain pattern on them using a thick-tipped permanent marker. I used an online image of a faux bois pattern as a visual guide and then freehanded it.
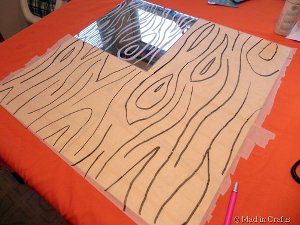
- NOTE: If you have a cutting machine, you may be able to cut a faux bois pattern out of vinyl or contact paper, instead of using painter’s tape. In that case, skip down a few pictures to learn how to achieve the frosted glass effect.
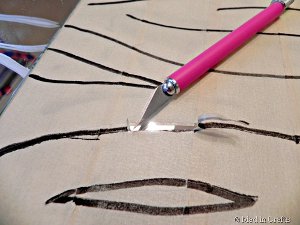
- Next, use an exacto knife to trace both sides of each line. You don’t need to be perfectly precise with your tracing, so it doesn’t take all that much time. Then peel each line of faux bois pattern off.
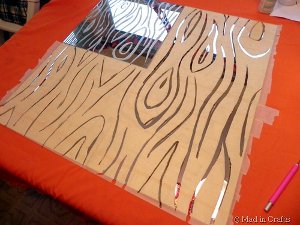
- After all the lines are removed it will look something like this.
- I prefer to use Martha Stewart’s Frost Etching Effect medium to traditional etching solution. This is not caustic at all, and if you make a mistake, you have a bit of time where you can wash it off with water and try again. For the same final look as etching solution, this is much more forgiving!
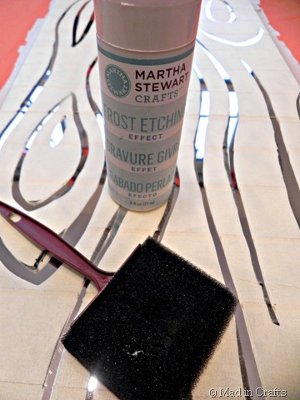
- Apply a liberal layer of the frost etching medium over the entire mirror.
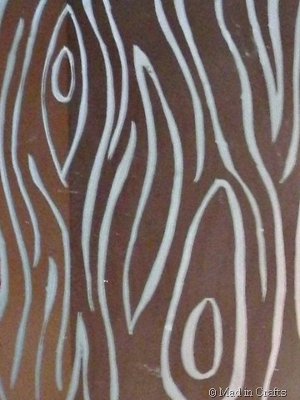
- When you peel all off the tape, your etched faux bois pattern will be revealed.
Read NextRustic Wooden Wall Hanging

