Recycled Books Coloring Wall Art
Transform vintage book pages into unique and eye-catching wall art!

Finding affordable wall art that fits your style can be an expensive hassle. Original artwork you love can be expensive and buying cheaper wall art from big box stores means there's a distinct possibility that you will match at least one home on your block. This is why I recommend making your own DIY wall art. You do not have to be a brilliant illustrator or painter to find unique wall art. You just need to be a little bit creative and willing to dig for it. I've created most of the wall art in my apartment on my own. Look out below for a full tutorial on how to create adorable and simple handmade wall art with vintage books and coloring pencils.
One of the best things about combining thrifting with decorating is that you're able to save a buck and do good for the environment too. Much like fast fashion or individually wrapped food, home decor actually creates a ton of waste. Instead of buying something from the big box stores you might toss out in a year, take the time to dig for something unique and all your own. It makes your space unique and prevents extra waste in landfills. Plus, there's just something so much more homey about a vintage drawing than there is something bright, bold, and modern.
You'll receive recycled craft ideas in your inbox weekly including upcycled projects like this one.
Sign Up Today!
Estimated Cost$11-$20
Time to CompleteIn an evening

Project TypeMake a Project
Materials List
- Thirfted Frame
- Vintage Black and White Book (Text Books and References Work Great)
- Colored Pencils, Watercolors, or Paint
Instructions
-
Head to your local thrift store, Goodwill, or Salvation Army.
Be on the lookout for cheap frames and old references books.
Tips on Buying Frames
Be sure to check the frames to make sure they are easily pulled apart. Some older wall art does not make this easy. If it looks like it will be tough to replace the art, don't buy the frame. I recommend finding a few shapes and sizes.
Tips for Finding Books
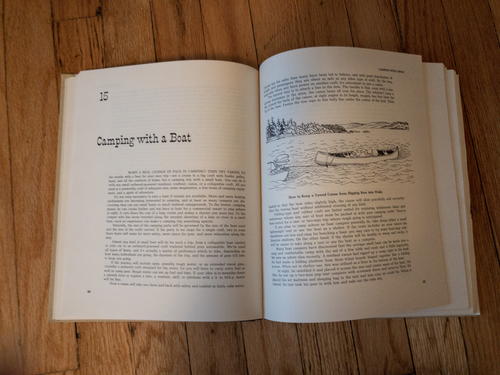
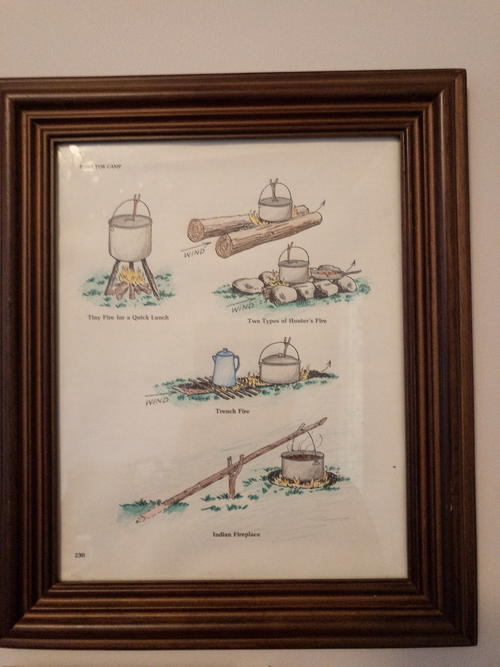
Actually look inside the books to find some art you will actually like. Black and white textbooks from the 60s-70s are great places for this as are reference books. For this project, I picked out a book about escaping to the woods from the 70s. The camping and nature art inside would look great with the postcards and art I already had collected from National Parks for a themed nature wall.
Can't find anything?
There are also tons of free resources online.
Consider using one of our free coloring page downloads.
There's also a ton of beautiful, free images available online. Consider printing images from one of the following: -
Color/Decorate Your Art
This part is pretty easy and totally up to you.
Find the art you'd like out of your vintage book and color it in/decorate it. I recommend shading it in with colored pencils, markers, or watercolor. Since there's only one version of the art you are coloring in, I recommend trying out shades on another piece of paper first before committing.
For my artwork, I went with some pretty traditional colors, but you could easily pick just one hue or something that matches your decor or other art on your gallery wall.
Tip: If you are using an old book, try out your coloring materials on another page first. Old, worn pages might not take to some paints (especially watercolor) well so you will want to make sure you don't destroy it.
Here are some articles to get you started: -
Frame Your Art
This is the easy part! You will want to make sure to clean the frame and glass before you get started. Windex usually works just fine, but you can use goo-gone for any pesky price tag gunk that might not come off. I liked the color of my frames already, but if you're looking for a more streamlined look you could easily paint all your frames on a gallery wall one color.
If your frame comes with a matte, feel free to either use or remove it! If you do use it, consider coloring or painting your art to match.
-
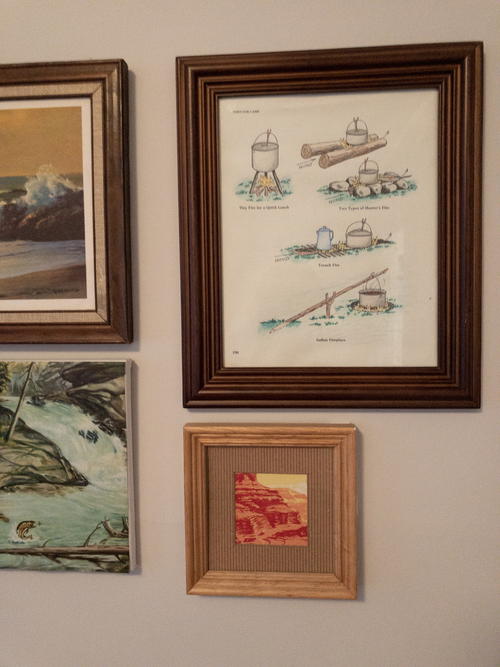
Hang Your Art
Hang your art on the wall just like you normally would. The frame should come equipped with nail hooks to do so. If not, velcro contact strips work just as well.
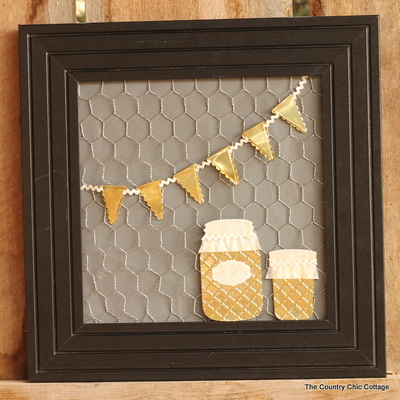
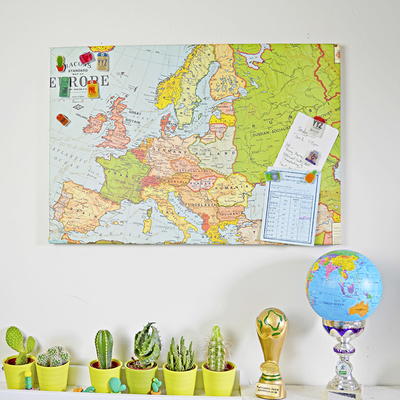
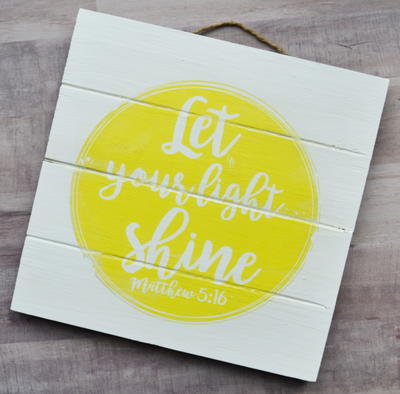
Looking for more gallery wall ideas? Check out these ideas from our friends at DIYIdeaCenter.com!
Why You'll Love This Recycled Craft
1. Affordable and Unique: By making your own DIY wall art using recycled books and coloring pencils, you can create beautiful and unique pieces that fit your style without breaking the bank. Thrifting for vintage books and using coloring pencils allows you to personalize your wall art in a way that store-bought pieces cannot match.
2. Eco-Friendly: Repurposing old books for wall art not only saves you money, but it also helps reduce waste in landfills. Instead of contributing to the cycle of fast fashion and disposable home decor, you can create sustainable and environmentally-friendly art pieces that add character to your space.
3. Creative and Fun: You don't need to be a professional artist to successfully complete this craft project. All you need is a little creativity and a willingness to experiment with different designs and colors. This project is a great way to unwind and express your artistic side, while also adding a personal touch to your home decor. Plus, you can gather the whole family or friends to join in on the fun and create a collaborative art piece together.
Read NextColorful Cross Wall