How to Iron: The Basics
What You’ll Need
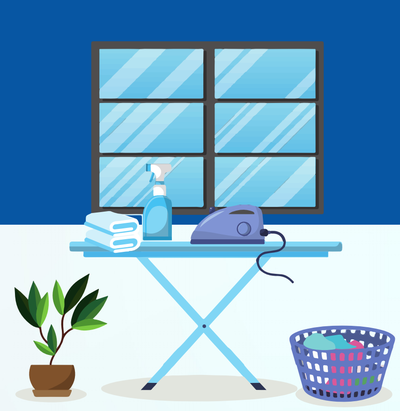
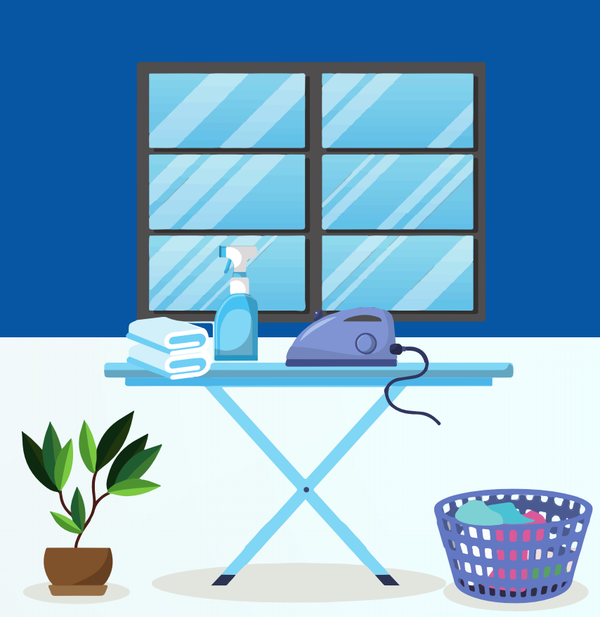
The first thing you’ll need, of course, is a decent iron. Look for an iron that will provide you with continuous steam, and one that doesn’t leak or spit water. You will also need a sturdy ironing board, with a surface that is wide enough so you won’t have to keep repositioning your clothes as you’re ironing. An ironing board with double wishbone legs and heavy-duty tube frame construction will provide you with extra stability.
Enter for a chance to win the Maven 120IS Home Ironing System Giveaway as part of our 12 Days of Christmas Giveaway promo. PLUS, enter to win the GRAND PRIZE giveaway!

Steps
-
SORT YOUR GARMENTS
Sort your garments by material. Different fabrics require different temperature settings while ironing. For example, lace, polyester & nylon will need to be ironed at a low temperature while fabrics such as cotton should be ironed using a high temperature. Start with the fabrics that require the coolest temperature setting and work up to the materials that require a higher temperature. -
SET UP YOUR IRONING STATION
It is easiest to iron clothes directly after you’ve laundered them, so try to do this whenever possible. To get started, place your garment onto the surface of your ironing board and use your hand to smooth out any wrinkles. -
BEGIN IRONING
Move the iron over the fabric in smooth even strokes, taking care not to stay in one spot too long and risk overheating and damaging the fabric, causing irreversible shine -
QUICK TIP:
Typically, it is recommended that you should spray your clothes prior to ironing. This is a misconception. Steam is what relaxes the fabric and removes wrinkles - not water. Water can lead to your clothes getting ruined. To help protect your clothes, invest in a better quality iron that will allow you continuos dry steam.
* Ironing clothes inside out can help you hide errors. Iron each individual part of the garment separately. For instance, if you’re ironing a dress shirt, press the collar, then the cuffs, then the sleeves, then the shoulders, then the placket – and, finally, the main body of the shirt.
* Iron pants from the waist to the leg. If your pants have pockets, turn them inside out and begin by ironing the pockets. Make sure to go lightly when ironing over pockets, as you do not want to create pocket lines.
* Do not iron over zippers, buttons or any decorations. Carefully work around these areas without ironing over them. This will avoid scratching on your iron’s soleplate. There are irons with scratch resistant soleplates - Look for ones that are composed of anodized aluminum.
* Iron shirts from the collar down. Work from the cuff to the shoulder when ironing sleeves. For button-up shirts, unbutton the placket, cuffs and collar in order to press them flat.
* If a skirt is embellished with ruffles, iron the inside of the skirt to avoid flattening the design. Begin at the hemline and move towards the center.
* Turn delicate fabrics inside out prior to ironing. The challenge with delicate materials is that they can stretch, so you need to use very dry steam. A vacuum board to dry the fabric while ironing is also helpful. -
HANG YOUR CLOTHES
Hang your clothes directly after you finish ironing to help them keep a just pressed look. If you plan on wearing the garment right away, try to let it hang for about 10 minutes or so. It’s still a bit moist right after ironing, and is still more prone to wrinkling, so it’s best to let it settle, if you have the time. -
DRAIN LEFTOVER WATER
Draining leftover water from your steam iron will help to avoid calcium build up. A calcium buildup in your iron can lead to stains on your clothes, so it is always best to remove the excess water before storage. Avoiding a calcium build up will also increase the lifespan of your steam iron.
When You’re Finished
Always allow your iron to cool prior to storage. After you finish ironing, turn the iron off. You should wait at least 10 minutes before storing the iron, as that will give it adequate time to cool.

