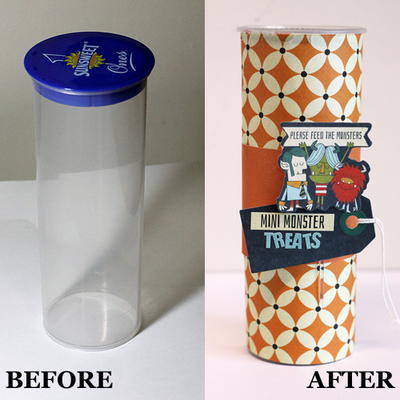
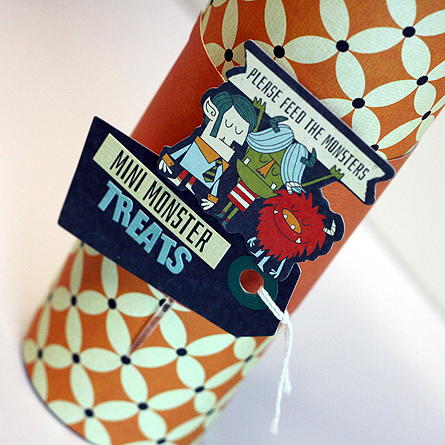
Cute Storage Plastic Container Craft

Upcycle plastic food containers with this cute tutorial. If you're looking for Pringles can crafts, this project will work well for crafting storage or treats. All you need to do is adhere your embellishments onto a clean recycled food container and you have instant storage for your craft supplies or a treat container for Halloween. See how this precious container is decorated for monster treats! There's no need to buy new storage like this when you can use items already in your stash and recycle a container in the process.
Estimated CostUnder $10
Time to CompleteIn an evening
MaterialsPaper, Plastic
Primary TechniqueRepurposing

Project TypeMake a Project
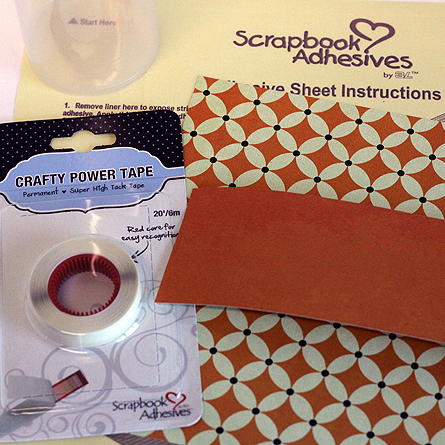
Materials List
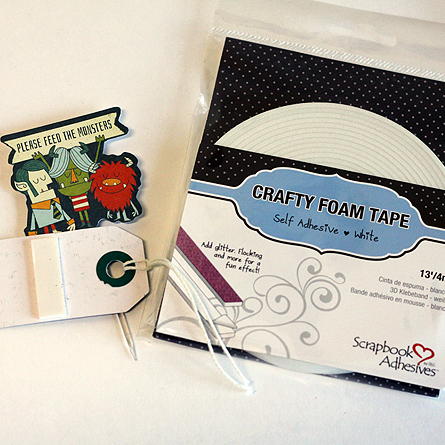
- Crafty Foam Tape White
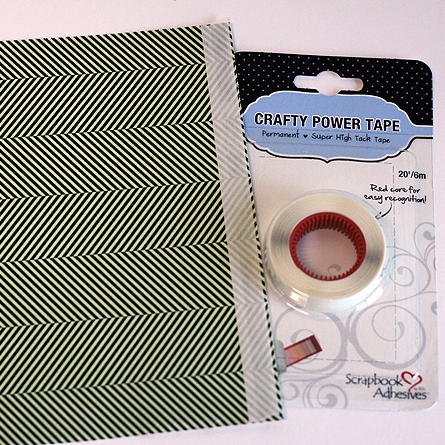
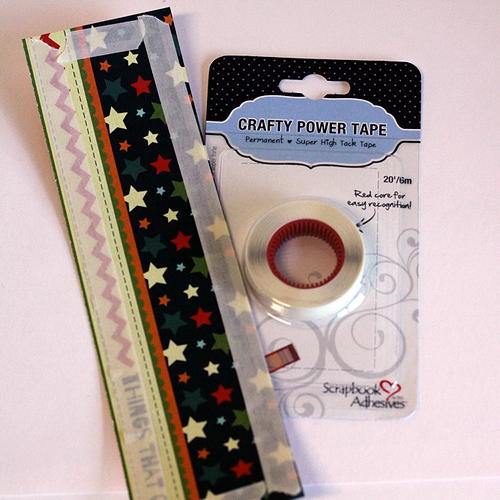
- Crafty Power Tape 20′ Refill
- Adhesive Sheets 12 x 12″
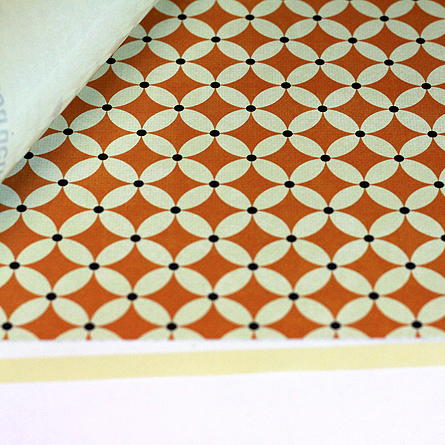
- Patterned Paper: Fancy Pants Design (Be Different Collection)
How to Upcycle a Container
-
Measure the dimensions of the container and cut patterned paper to fit. Cut a coordinating strip for across the middle of the container. The strip will be the anchor for our embellishment.
-
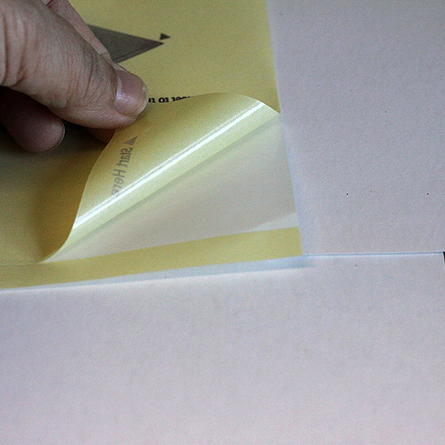
Lift the yellow backing from an Adhesive Sheet 12 x 12″. They are simple to apply and no extra tools required to cover large surfaces. Adhesive Sheets provide edge-to-edge permanent adhesive coverage. They’re perfect for die cutting and punching too!
-
Place the cut pieces on the adhesive surface of the Adhesive Sheet, with the right side up.
-
Replace the yellow backing and burnish the back side of the patterned paper. Remove the paper from the Adhesive Sheetand reinforce the edges with Crafty Power Tape 20′ Refill.
-
Align and attach the patterned paper to the container. Reinforce all 4 edges of the coordinating patterned paper strip with Crafty Power Tape.
-
Adhere the strip to the to the container. Use some Crafty Foam Tape White on the tag to adhere it and other embellishments to the container. Use a vertical strip to ensure no curving of the embellishments.
-
Embellish the tag with coordinating stickers. You’re done!
More Crafty Ideas For You
Hello crafty readers! If you enjoy making cute storage containers out of plastic, we have some fun project ideas for you to try out.
For those who love organizing their craft supplies, why not decorate a set of plastic containers to store your beads, buttons, or ribbons? You can use paint, markers, or even decoupage to personalize each container and make them as unique as your crafting projects.
If you have a knack for gift-giving, consider creating personalized storage containers for your friends and family. You can fill them with small goodies like candy, bath bombs, or handmade jewelry. Your loved ones will appreciate the thought and effort you put into making them something practical and beautiful.
With the holidays approaching, why not create festive storage containers to hold your homemade treats for gatherings and parties? Decorate them with seasonal designs like snowflakes, holly, or reindeer to add an extra special touch to your table spread.
No matter your skill level or who you're crafting for, there are endless possibilities when it comes to cute storage plastic container crafts. So gather your supplies and get creative - your next project awaits!
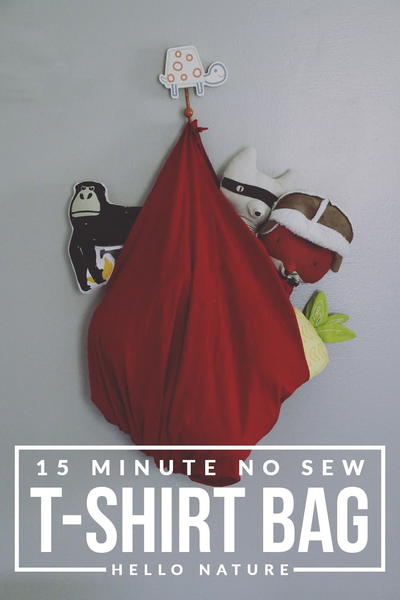
Read Next15 Minute No Sew T-Shirt Bag DIY