Garden Party Place Setting
For the springtime, you're going to need (and want!) an adorable place setting perfect for picnics and outdoor gatherings. Why not make one yourself? The Garden Party Place Setting from I Love to Create is great for spring.

Materials:
- Thin 'n Shade
- Satin Glazes®
- SN 352 White
- SN 379 Neon Green
- Dinnerware Bisque Designs
- 27159 Seasonal Blooms Dinner Plate 10.25" x 8.75" x 1"
- 27160 Seasonal Blooms Salad Bowl 8.2" x 8.2" x 2.7"
- 27161 Seasonal Blooms Dessert Bowl 5.25 x 5.25" x 2"
- 27162 Seasonal Blooms Salad Plate 8" x 7.5" x 1"
- 27163 Seasonal Blooms Bread Plate 7.75" x 5" x 1"
- Signature Brushes
- SB 802 No. 1 Liner
- SB 806 No. 6 Round
- SB 807 No. 6 Fan Glaze
- French Dimensions™
- FD 265 French Straw
- E-Z Stroke® Translucent Underglazes
- EZ 016 Grass Green
- EZ 032 Peacock Green
- EZ 033 Ivy Green
- EZ 039 Dark Brown
- EZ 042 Teal
- EZ 056 Brick Red
- EZ 066 Morning Glory
- EZ 074 Dark Navy
- EZ 104 Neon Orange
- Skewer or craft stick
- Potter’s sponge
- Foil
Instructions:
- Wipe ware with damp sponge to remove bisque dust.
- Pour puddles of White and Neon Green onto a piece of foil.
- Using the Fan Glaze brush, apply three flowing coats of White to each of the flower pieces and three flowing coats of Neon Green to the two leaf plates. Let dry thoroughly between coats and after final coat.
- Pour a puddle of each E-Z Stroke™ color onto a piece of foil. Load the No. 1 Liner in Grass Green and paint the large veins on each of the leaf plates. Use Ivy Green to paint the smaller veins. Refer to photo. Let dry.
- Using the No. 1 Liner, add small details to the main center vein with Dark Brown. Next, add Dark Brown to the flower centers, allowing some white areas to show through. Refer to photo.
- For the dinner plate, load the No. 6 Round in Neon Orange then brush color from the outside edge of each petal toward the center, pulling strokes about half way down petal. Apply color to both front and back of plate. Let dry.
- Side load the No. 6 Round in Brick Red and add shading strokes along petal edges as shown. Brush a few strokes of Brick Red into petals for depth. Refer to photo.
- Repeat the shading steps above on the two bowls using the following colors:
Salad/Soup Bowl: Peacock Green and shade with Teal
Dessert Bowl: Morning Glory and shade with Dark Navy
- Brush Ivy Green around the bases of each bowl, pulling strokes from the base upward for a grass-like effect.
- Thoroughly shake bottle of French Straw. Squeeze small circles of French Straw onto the flower centers as shown to create pollen. Let dry. Tip: If color is too thick, remove cap then add a few drops of AS 957 Thin ‘n Shade to bottle and mix with a skewer or craft stick. Replace cap and test color.
- Stilt and fire each piece to witness cone 06.
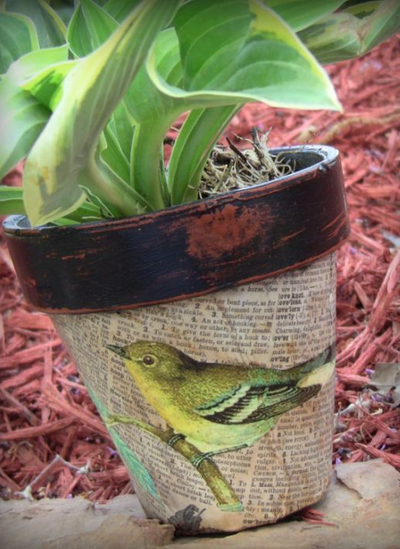
Read NextDecoupaged Clay Pot