
This project was submitted by one of our readers, just like you.
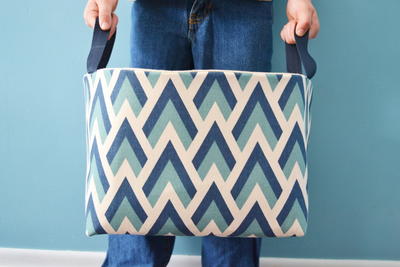
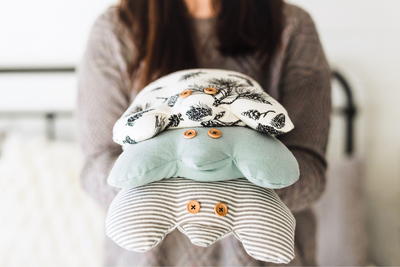
The Keep It All Together Bag

The Keep It All Together Bag
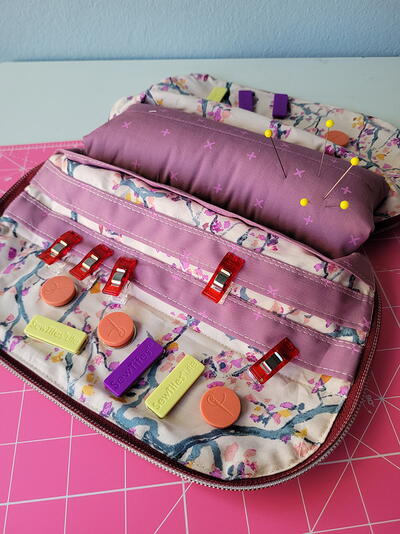
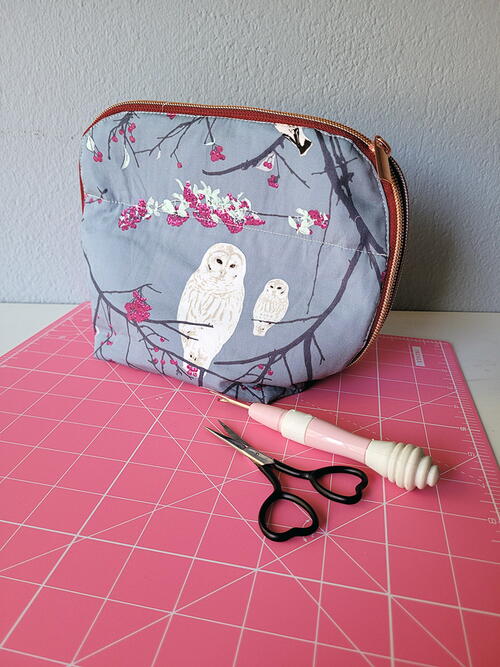
From the Designer: "This Keep it All Together Bag is perfect for holding all of your favorite sewing notions! Designed with a pin cushion at the bottom, this keeps the bag upright and is the perfect place to secure pins and needles. The strips down the side are for holding binding clips, and secured into the top of the bag are metal plates for your Sew Tites! Tuck your scissors, thread, and other notions in the bag and zip it up for the perfect sewing bag on the go! Zip open the bag to access everything inside! This is a fun bag to make and to use - it is so handy for adding bindings, hand sewing, English Paper Piecing, and all your sewing projects!"
Primary TechniqueSewing

Materials List
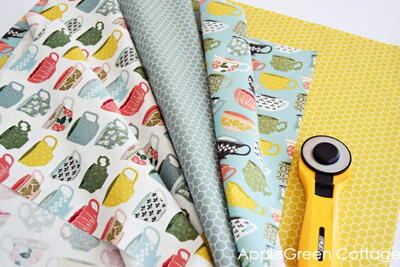
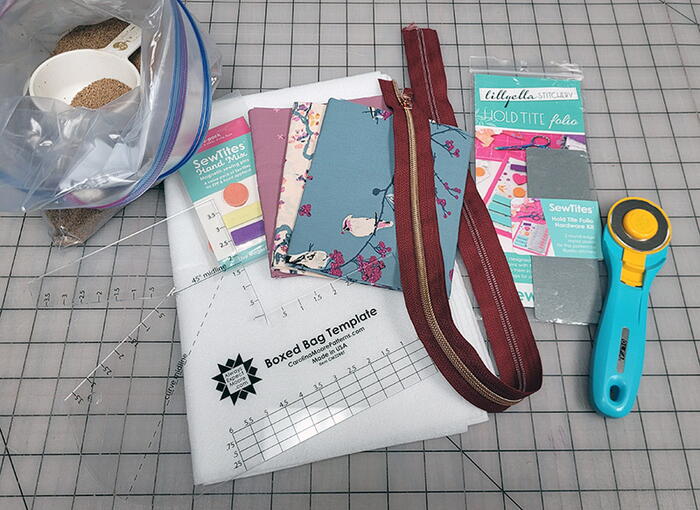
- 3 fat quarters
- Fusible Fleece
- Sew Tites Hold Tite Folio Kit
- 30" zipper
- Boxed Bag Template
- Crushed Walnut Shells
- Needle and Thread
- Rotary Cutter and Ruler
- Iron and ironing board
- Sewing Machine
Instructions
-
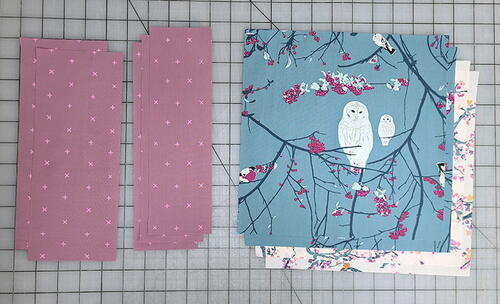
Cut your fabrics. You have 3 fat quarters, one will be the outside, one the lining, and one the accessories.
From the Outside: Cut 2 - 10” x 10” squares
From the Inside: Cut 2 - 10” x 10” squares
From the Accessories fabric: Cut 3 - 10” x 3” rectangles and 2 - 10” x 4” rectangles.
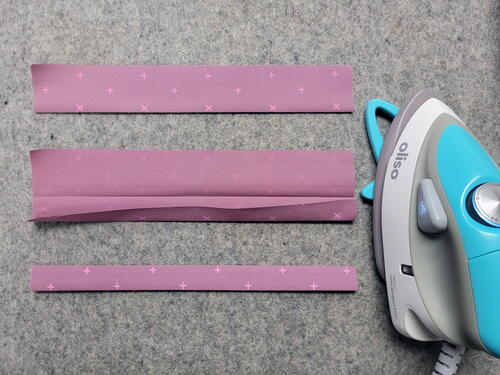
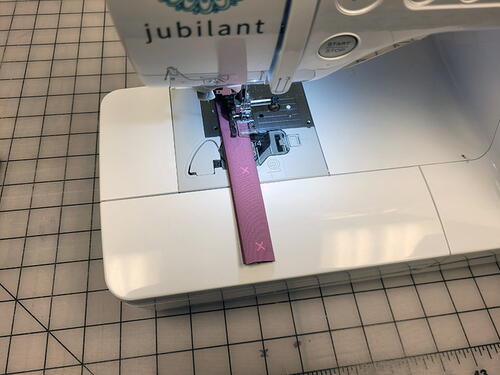
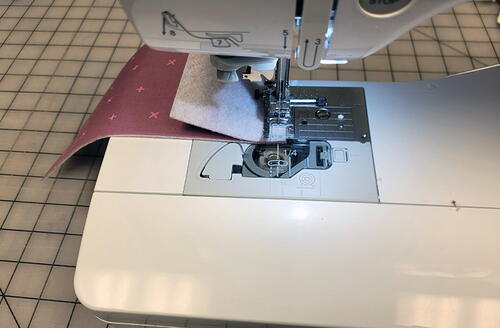
Iron fusible fleece to the back of the outside fabric and 10” x 4” accessories fabric. Trim to the size of the fabric. With the remaining accessories fabric, Press each strip in half to make a 10” x 1 ½” strip. Open, then press each side in, then press back in half on the original line. This will give you a 10” x ¾” strip with the raw edges tucked in. Topstitch along the single-fold edge, about ¼” in. These are your binding clip strips. Set aside. -
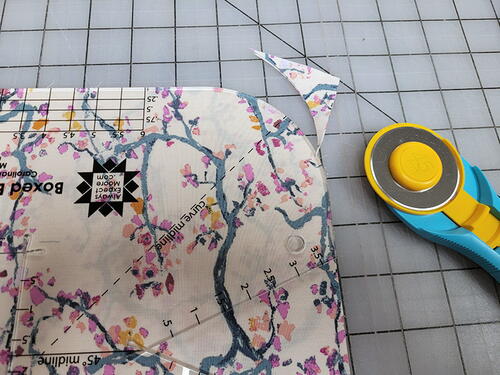
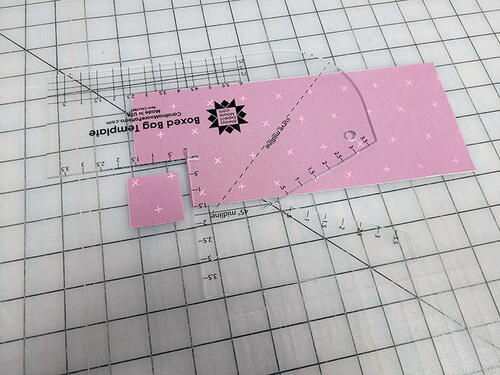
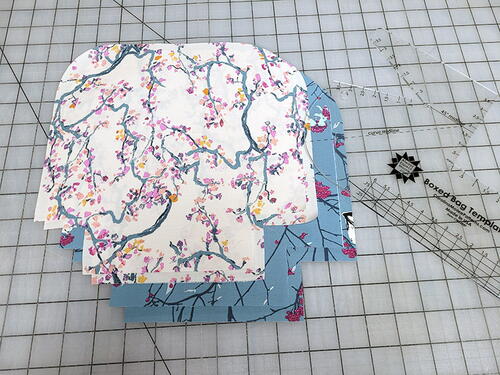
Using the Boxed Bag Template, Cut a curved corner out of the top two corners of the outer and lining fabrics. Cut a 2” boxed corner from the bottom corners of the outer and lining fabrics. Cut a 1 ½” boxed corner from the bottom corners of the 10” x 4” accessories fabric (the 10” edges are the top and bottom edges, the 4” edges are the sides).
-
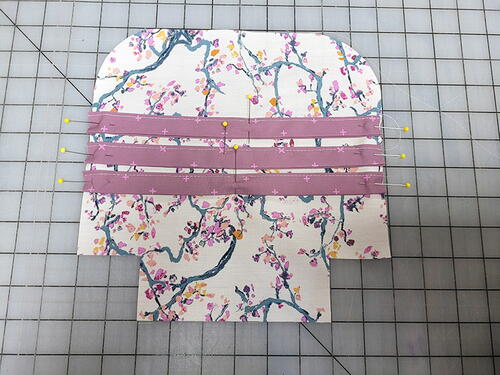
On one of the lining pieces, place the stitched binding clip strips, stitched edge towards the curved top. You’ll line them up so the first is 4” from the bottom, the second is 5” from the bottom, and the third is 6” from the bottom. Pin in place. Stitch the bottom edge with two rows of stitching ⅛” apart to secure in place.
-
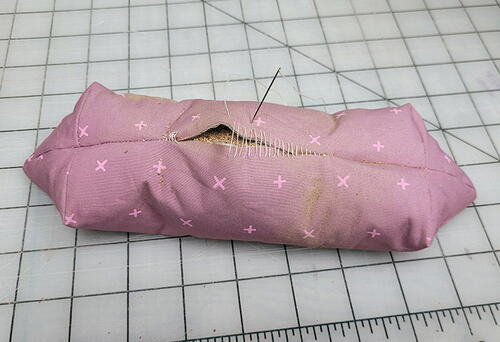
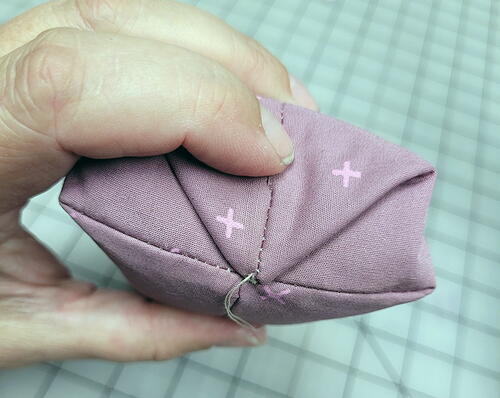
Make the Pincushion: Sew closed the boxed corners on both of the 10” x 4” accessories fabric pieces. Place the two pieces right-sides-together, then stitch all the way around. Leaving a 4” hole at the bottom. Turn right-side-out through this hole. Fill with crushed walnut shells as full as you can without compressing. Stitch the hole closed with a ladder stitch. Lift the pincushion by one of the pointed flaps. Lifting this flap out of the way, tamp down the crushed walnut shells inside so you can fold the flap over the edge. Stitch the point down. Repeat with the point on the other side. This should give you a firm pincushion. Set the pincushion aside.
-
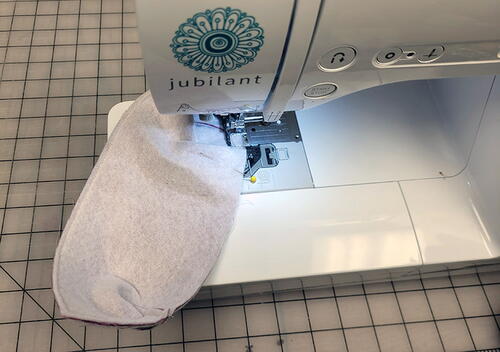
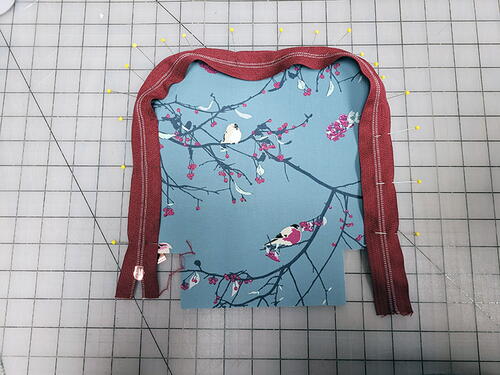
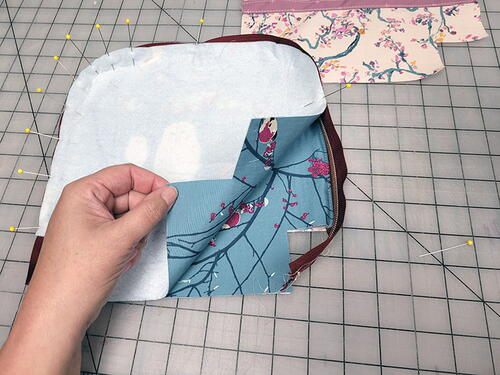
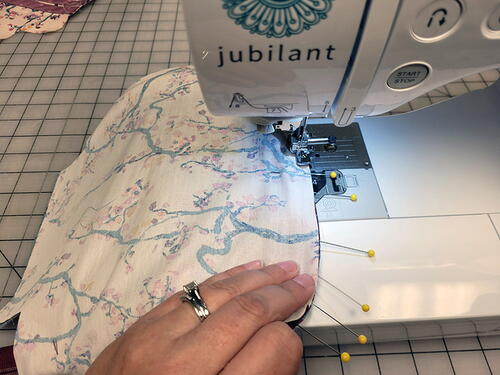
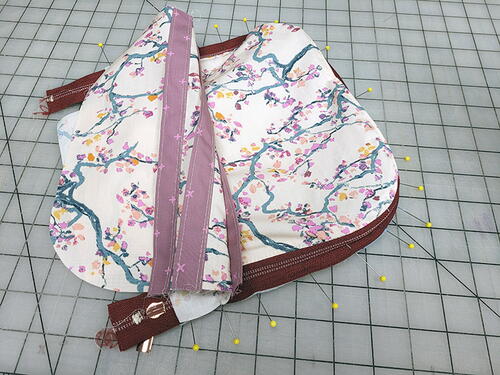
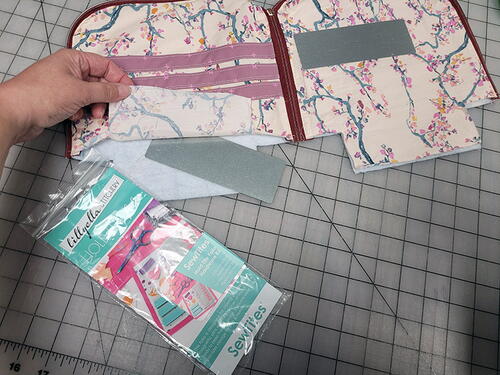
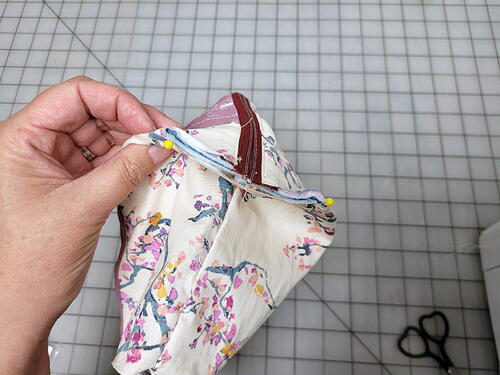
Place the zipper right-sides-together with one of the outer pieces, pinning in place all the way around from the bottom corner up one side, across the top, and down the other side. Add extra pins at the curved corners as needed. Place a lining piece right-sides-together with this outer piece, and pin along the edges, sandwiching the zipper in place. With a zipper foot, stitch all the way around. Turn right-side-out and top stitch all the way around. Repeat, adding the other outside piece and lining piece to the other side of the zipper. Open the zipper so that you can topstitch. Then, insert one of the metal pieces from the hold tite folio into one side, bringing it all the way to the top. Stitch just below it to secure it in place. Repeat with the other side.
-
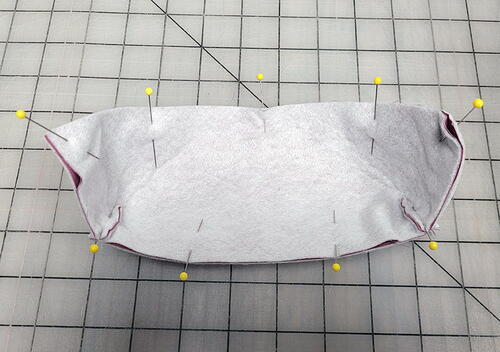
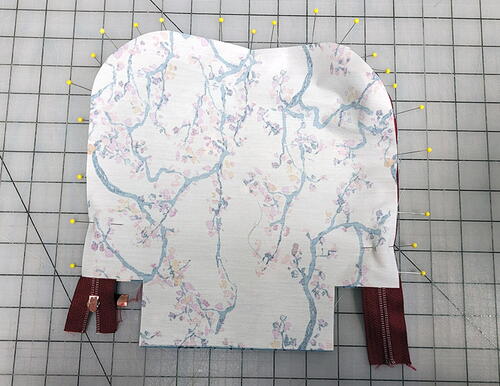
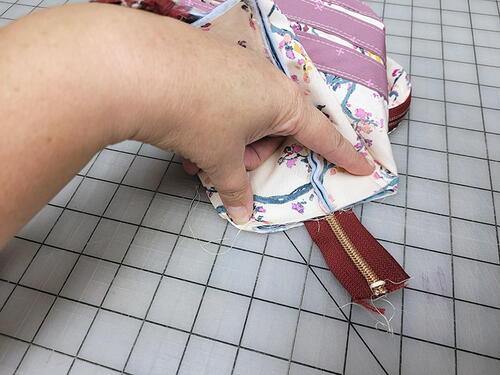
Flip the outer fabric over so that the two outer fabric pieces are right-sides-together and the two lining fabric pieces are right-sides-together. Put the outer fabric pieces together and stitch the bottom edge. Repeat with the lining fabric. Turn the bag right-side-out through the hole created by the boxed corners. Adust the bag so that the outside is on the inside, and the lining pieces are on the outside. Fold the boxed corners closed. This edge should be two layers - both the outside fabric and the lining fabric. Stitch the boxed corners closed, making sure to lock your stitches at the beginning and end. You can add binding over these pieces, or you can zig-zag over the edges to protect them from fraying. These seams will be hidden by the pincushion.
-
Turn the bag right-side-out and zip it up. Add your pins, clips, Sew Tites, and other notions! Your bag is complete!

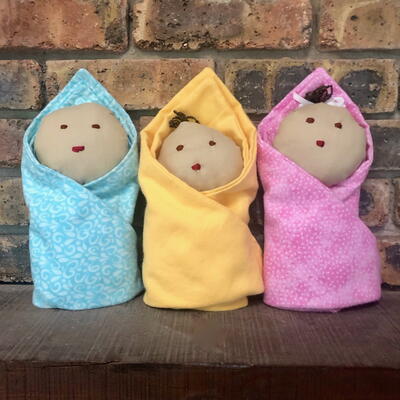
Read NextSwaddle Babies