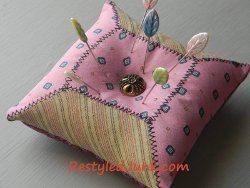
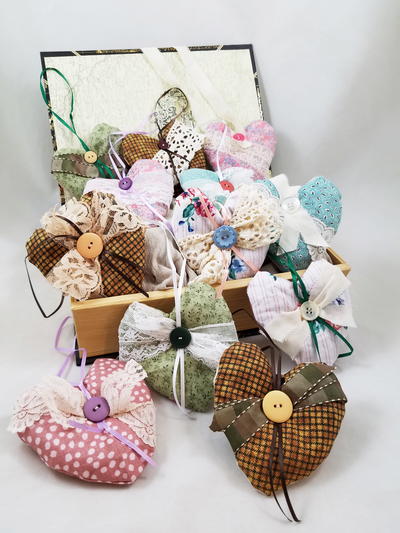
Recycled Neck Tie Pincushion
Before you throw away those old out-dated neck ties, consider come fabric craft ideas and save on fabric. Give your space a big boost and create your own Recycled Neck Tie Pincushion from Cyndee Kromminga. If you like to sew, then you'll love this fantastic pattern.

Materials:
- Old neck tie
- Seam ripper
- Iron
- Lightweight fusible web
- Ruler
- Pencil
- Scissors
- Fabric scraps
- Sewing machine
- Straight pins
- Stuffing
- Needle and thread
- 2 buttons
Instructions:
-
Using a seam ripper, remove the label and open the seam on the back of an old neck tie. Open the tie and remove the old facing material. Press the tie to remove the fold marks. Note: The tie fabric is used for the applique on this project. You will have a lot left over for many more cushions and projects.
-
Trace a 2 1/4-inch square and a 3 1/4 inch square on the paper side of lightweight fusible web and cut out.
-
Lay the tie fabric on your ironing surface with the back side facing up. Place the fusible web squares on the fabric with the glue side facing down. Iron the squares to adhere them to the fabric. Cut out the fused squares. Cut the large square in half diagonally from corner to corner. You now have one small square and two triangles.
-
Choose two different fabric scraps that coordinate with the tie fabric. Cut one 5-inch square from each scrap.
-
Set one square aside for the back of the pincushion, and place the remaining square right side up on your ironing surface. Peel off the paper backing from the fused square and triangles. Place the long edge of one triangle on the left edge of the square, and the long edge of the remaining triangle on the right edge with the triangle points facing the center. Iron the triangles to fuse. Place the small square in the center (covering the points of the triangles) with the corners of the square lined up with the edges of the triangles. Iron to fuse. The fused triangles and square now resemble a thread spool.

-
Using a contrasting thread, sew a zigzag stitch over the edges of the fused spool shape.

-
Lay the square you set aside for the back of your pincushion on your work surface with the right side facing up. Place the appliqued square on top with the wrong side facing up and pin the edges. Sew around the pinned edges using a 1/4-inch seam allowance and leaving a 2-inch opening in the center of one edge for turning.

-
Clip the corners and turn the cushion right side out. Fill the cushion with stuffing and hand sew the opening closed.

- Choose two miscellaneous buttons from your button collection. Sew one button to the center of the cushion front. Do not cut the thread. Sink the needle down through the center and out the bottom of the cushion. Pull the thread to create an indentation. Stitch the remaining button to the bottom, center of the cushion. Knot and cut the thread.
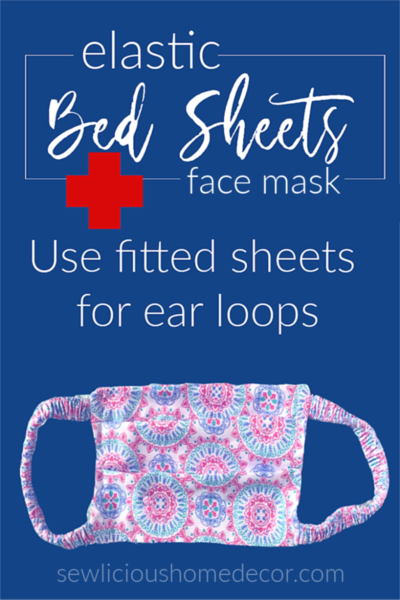
Read NextFace Mask W/fitted Sheet Ear Loops