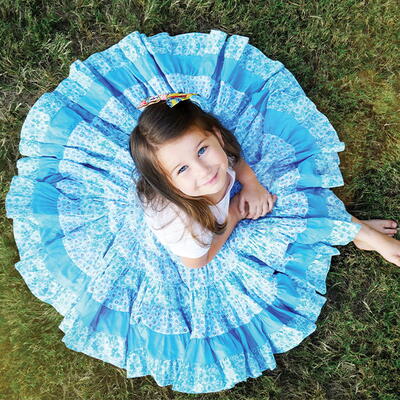
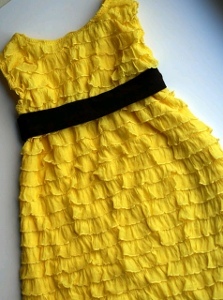
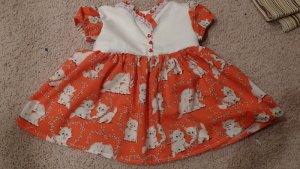
Sweet Vintage Dress
This Sweet Vintage Dress from Catherine Haley would be a welcomed addition to any little girls' wardrobe. Girls casual dresses are easy and fun to make and can be altered to suit any little girls' personality! Add buttons or flowers for a cute and stylish look.

Materials:
- 3/4 yard of main fabric (PREWASH!)
- 1/2 yard of complementary fabric (PREWASH!)
- About 10" of pre-ruffled lace
- About 20" of 1/4" elastic
- 3 tiny buttons
- Sewing supplies (machine, thread, etc.)
- Pattern 1
- Pattern 2
- Pattern 3
Instructions:
(size 2T)
- First, cut out 2 of each of patterns 1 and 2 on the fold.
- Cut four each of Pattern 3 (For the button hole side, leave pattern as-is. For the button side shorten by 1/2" on neck side)
- For bodice ruffles, cut out: 1 9.5"x3" strip of main fabric; 1 8.5"x3" strip of main fabric; 1 5.5" piece of pre-ruffled lace; 1 4.5" piece of pre-ruffled lace
- For skirt, cut out one piece (or piece together to total): 14"x56" (This is a SUPER short skirt- retro style! If you want it longer, add a few inches to the 14" measurement.)
- OKAY...now that you have all your pieces, let's put it together! (Use 1/4" seams throughout)
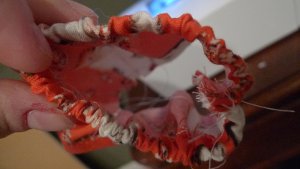
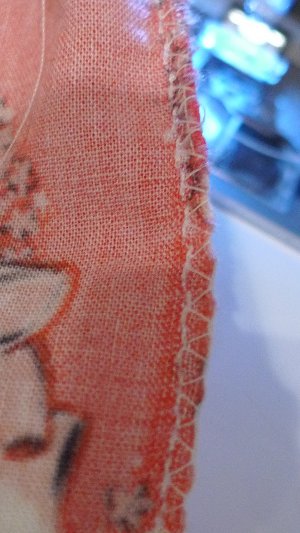
- First, sew your bodice pieces together at the sides. Do this for the outside one and the lining so you have two like the photo. Be sure to iron those seams flat!

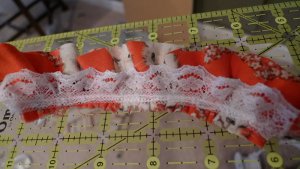
- Then, go ahead and make your bodice ruffles. Iron the two main fabric ruffle pieces in half lengthwise. Then use the longest stitch length and tightest thread tension to ruffle them up to 5" (longer piece) and 4.5" (shorter piece). Then, to hold the ruffle in place and to add more "flair", sew the pre-ruffled lace pieces on top.
- You will end up with two of these:
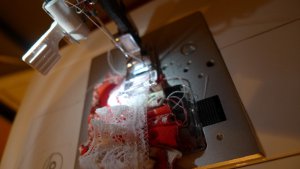
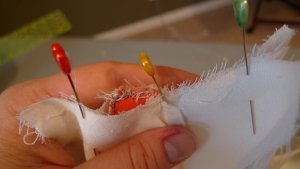
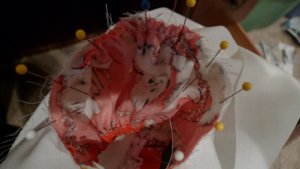
- Okay, now get back out those bodice pieces and lay them right sides together. Sandwich the ruffle pieces in between, being sure that the longer/shorter ones are on the correct side! Also be sure that the ruffles are facing the correct side so the lace shows on the front of the bodice.
- Pin and sew the following seams- back neck, front neck (where the ruffles are) and button plackets. Leave the arm holes and shoulders open for now! Snip the back neck so it will lay flat, then flip it all right side out and press.
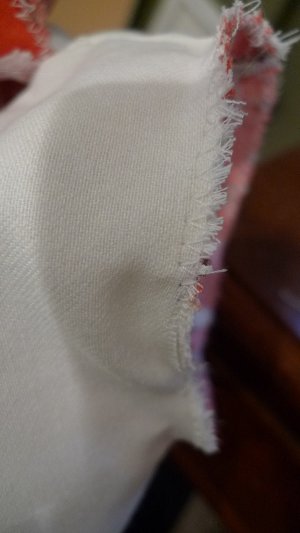
- Take the shoulders and line them up, right sides together. You will feel like you are twisting things up funny, but it will work out in the end. Be sure the seams line up.

- Now, let's make the sleeves.
- Zig-zag the long side of the sleeve pieces. Then tack it down to make a 1/2" casing.
- Sew a ruffle stitch along the large curve of each sleeve.
- Cut your elastic into two 10" pieces and thread each through the sleeve casings. Then attach and trim of excess.
- Then sew the short seam on the bottom of the sleeve. Double stitch over the elastic! Go ahead and ziz-zag over the edge to keep it from fraying.
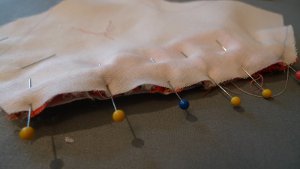
- Now, pin the sleeve onto the OUTSIDE piece of the bodice. You can adjust your gathering along the top as needed to fit. The bottom parts should be pinned flat.
- You can see how the gathers are at the top of the sleeve, and the rest is flat.
- Sew both of the sleeves on this way. Then, attach the lining. I wanted to find a way to sandwich the sleeve between for a perfect finish- I'm sure there is a way but I couldn't figure it out! So I just did a serge-like stitch to attach the lining.
- Sew on your buttons and button holes- I used three, but depending on what you can fit you may have more/less. I just loved these little tiny heart buttons!
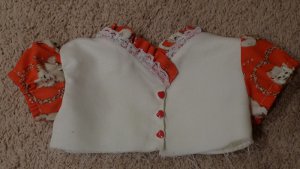
- Now your bodice is complete!
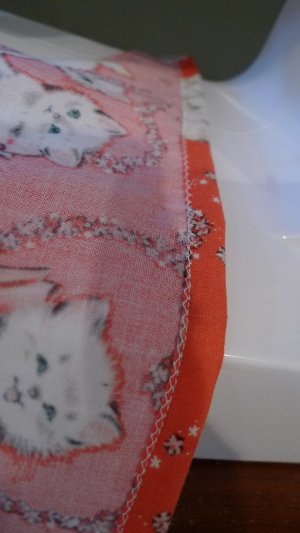
- For the skirt, go ahead and hem the bottom (I know, I know, you are supposed to do this lat, but its so easy when its nice and flat!) I used a zig-zag stitch on the edge of my fabric, and hemmed it 1/2".
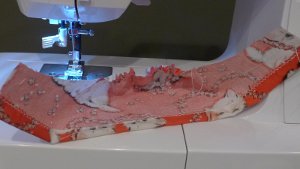
- Now you need to carefully pin the skirt to the bodice, and sew on. I used the "surge" stitch yet again! You will be sewing the button plackets together at the base of the bodice. I went over that twice to be sure it was very secure.
- Then you are DONE!!! Put your dress on your little one and let her enjoy!
Read NextMomster Stuffed Animal Pattern


Thanks for your comment. Don't forget to share!
Member 6701685
Jan 09, 2014
So cute...but did I miss something? Is this a commercial pattern? The pattern pieces shown have no dimensions....can y'all just draw a shape and make it fit??? I can't. Please help.
lheck7
Jan 16, 2013
I too would love to know how to enlarge this pattern. really need a size 4.
vickieedgeworthpit cher 9637814
Jan 14, 2013
Love this pattern and want to make it. I'm a newish sewer-so my question is, how do I enlarge the pattern pieces?
Report Inappropriate Comment
Are you sure you would like to report this comment? It will be flagged for our moderators to take action.
Thank you for taking the time to improve the content on our site.