Quilted Summer Dress
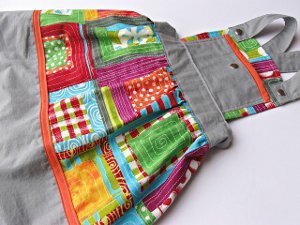
This Quilted Summer Dress is a great way to use up leftover fabric scraps. Since the fabric choice is up to you, you can make this dress as colorful as you'd like! This cute quilted dress is perfect for a summer afternoon out with the family.
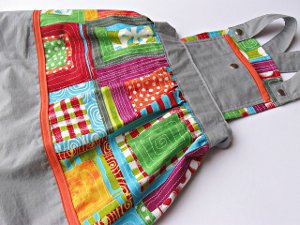
Materials:
- 1/2 yard of Stitch in color fabric
- 1/2 yard of grey quilting cotton (or your choice of contrast fabric)
- 1 package orange double fold bias tape
- Metal snaps
- 1 1/2 elastic
Note: I calculated 1/4 inch seam allowance for everything.
Instructions:
- For the skirt, measure from belly button to desired length and around the waist.
- For the width waist measurement x 2 or 2.5 + 0.5 inches. For the length length measurement + 2 inches. This will give you the TOTAL skirt width and length. In my case the measurements came to 43 inches width and 14.5 inches length. From the length, I subtracted 5 inches for the grey contrast band on the bottom of the skirt. My finished skirt measurements were: Stitch In Color 43 x 9.5, grey cotton 43 x 5.
- With right sides facing, sew together along the width.
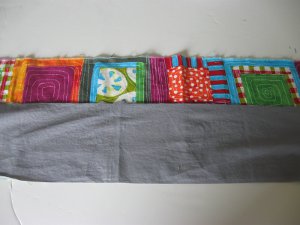
- Iron down the seam, center and pin bias tape to the seam. Sew bias tape on with 1/8 inch seam allowance along both sides. Sew with longest stitch length your machine allows 1/2 inch from the top of skirt to gather the skirt. Set skirt aside.
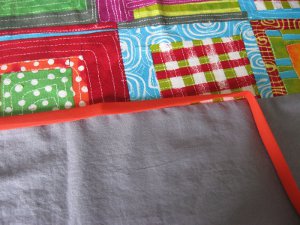
- Front Panel and Pocket: Measurements needed: length, measure from about 2-2.5 inches bellow the collar bone to belly button width, measure distance starting and ending 1 inch from sides.
- Cut Front Panel rectangle from Stitch in Color Fabric : length x 2 width.
- Fold in half right side facing, using a can, curve the tops. Sew around 3 sides, leaving the bottom width open.
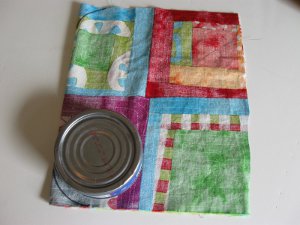
- Clip curve or use your zig zag scissors to cut around. Turn right side out.
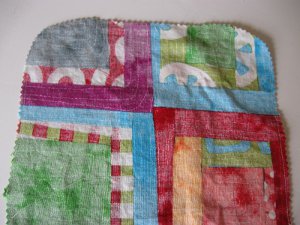
- Pocket : it is totally up to you how big or small you want the pocket. I cut a 14 in x 4 in rectangle.
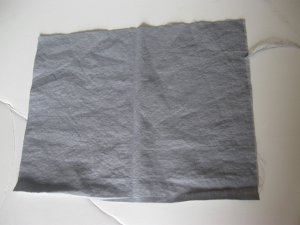
- Fold in half right sides together and sew around 2 open sides, leaving a portion of the 3rd open side open. Turn right side out.
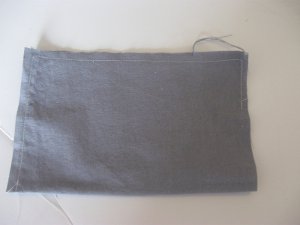
- Iron in opening and iron down.
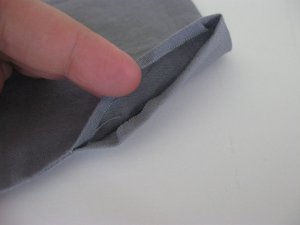
- Fold bias tape over the width of the pocket as show in the picture and sew it on.
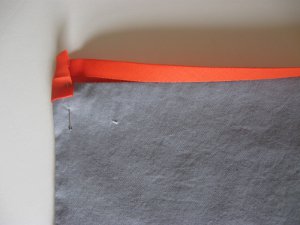
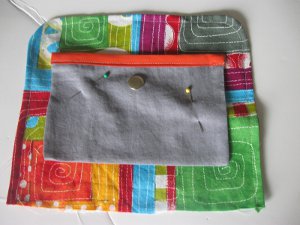
- Pin Pocket to Front Panel and stitch around 3 sides leaving top open. (As you can see I added a Snap Top to the Pocket as decoration before I sewed it on.)
- Sash: Use the waist measurement and cut a {waist width + 4.5 inches} x 5 inches rectangle. Fold in half, iron in 1/2 inch.
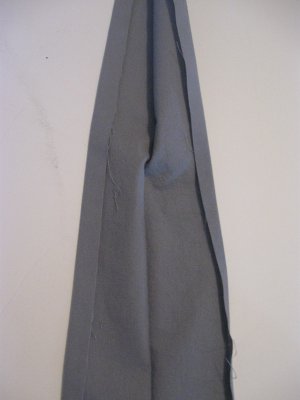
- Open folds and sew sash together at ends, fold in half again, iron if necessary to make sure you have crisp fold lines. This will come in handy later.
- Assemble Dress: Grab the skirt and start pulling the thread to gather it. Make sure it matches the sash length. Adjust if needed. Zigzag over gathers.
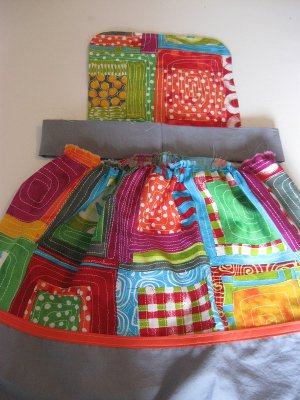
- Place sash over the skirt with fold line towards the skirt. Make sure the back seams line up.
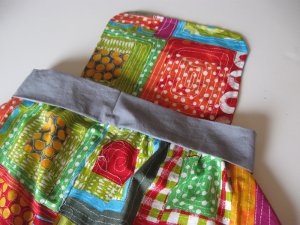
- Overlap skirt by 1/2 inch, pin to sash.
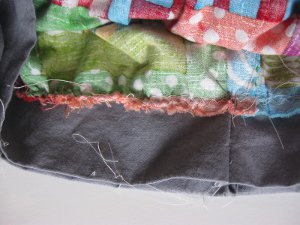
- Sew Sash on Skirt, with right side up (you should have the dress right side out) , 1/8 inch seam allowance. Place Front Panel inside sash opening, center it in the front. Make sure sash comes up to the pocket (trim Front Panel if needed). Pin and sew along Front Panel length.
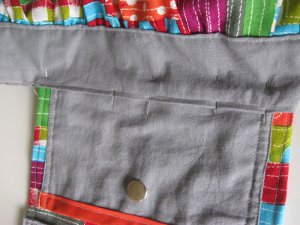
- Mark about 4 inches (center) from the back seam of the Sash on each side to place Metal Snaps. (My picture shows the snaps already attached and they are closer. Mine are only 2 inches away, 4 inches would have been better.)
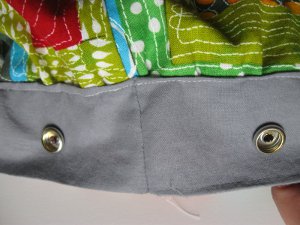
- Open Sash up and using some scrap fabric punch holes for Metal Snaps on the side facing out and use direction on package to attach the bottom Snaps.
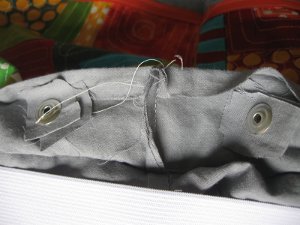
- Elastic: to get the length, take the waist width, divide by 2 and subtract 4 inches. That's your magic number!
- Center elastic inside Sash fold, pin middle of elastic to the seam of the Sash facing inside (opposite the Snaps. From the middle mark, stretch your elastic 2.5-3 inches and pin it to the Sash. Repeat with the other side. This will reduce the Sash size and give a nice comfortable waist with enough stretch to be able to put the dress on comfortably. Sew elastic (just the sides) to the Sash side that is facing in, towards the Front Panel.
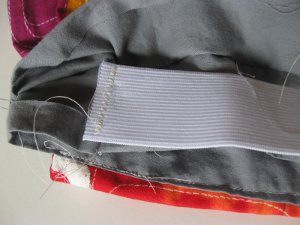
- Fold together Sash, so the elastic is completely enclosed and start pinning the Sash closed. Make sure you pin in the middle and both end of the elastic!
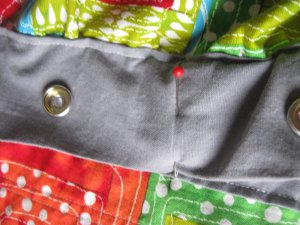
- Starting at the Front Panel, sew Sash closed with 1/8 inch seam allowance. When you get to the elastic, you will have to stretch it with both hands as you sew. I had to have it stretched the whole time, and this was the hardest part. Having crisp fold lines comes in handy here! The edges will line up so much easier.
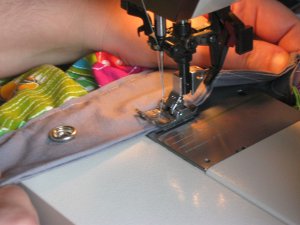
- Onto the Straps! Now, try the dress on the recipient and measure from the top of the Front Panel, over the shoulder and across all the way down to the Skirt. Add 3 inches. Cut two pieces of rectangles, your measurement x 4 inches. Fold in half wrong sides facing lengthwise, iron in 1/2 inch on all sides. fold together and sew all around. Pin strap end to Front Panel and sew on.
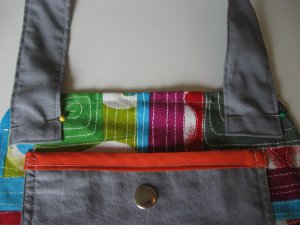
- Add Snap Tops, this is purely for decoration.
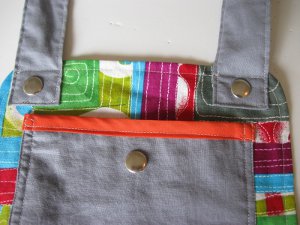
- One more time try the dress on and mark the placement of the Snap Tops. Coordinate it to the Snap Bottoms on the Sash.
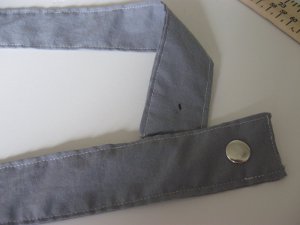
- I also added Snaps to the Straps where they meet. Keeps them in place better.
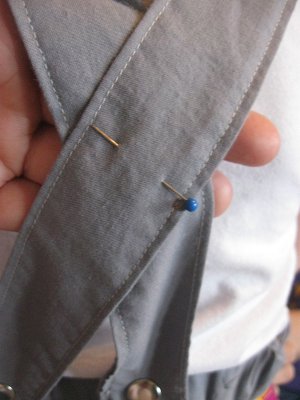
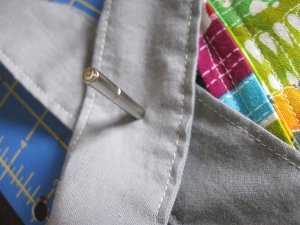
- Once I marked it with a needle, I made the hole in both at the same time.
Read NextMomster Stuffed Animal Pattern

