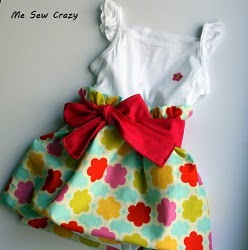
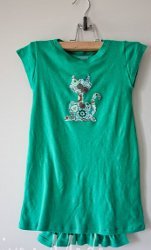
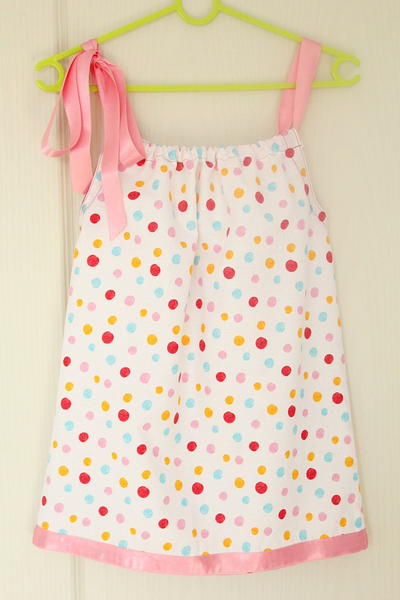
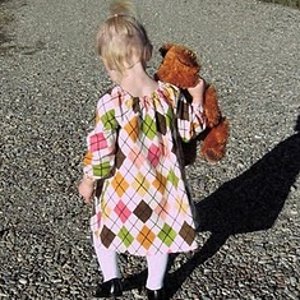
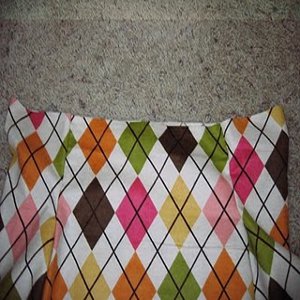
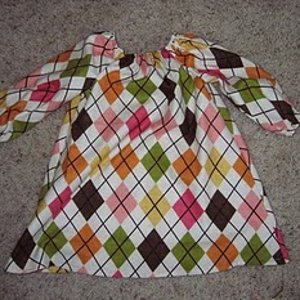
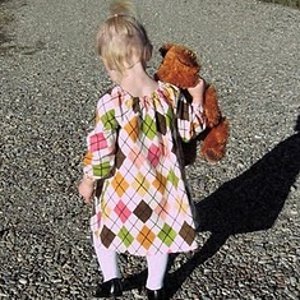
Fashionable Toddler Dress
Check out this fashionable toddler dress pattern. It is one of the best patterns for toddler casual dresses. Your toddler will love it more than you loved making it!
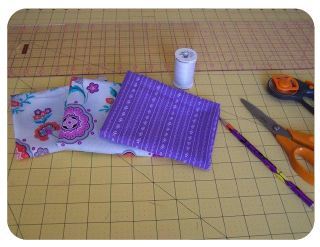
Materials:
- 1 yard of fabric
- 1/4 inch elastic (approximately 26")
- Corresponding thread
- Safety pin
- Pins (optional)
- Pattern 1
- Pattern 2
Instructions:
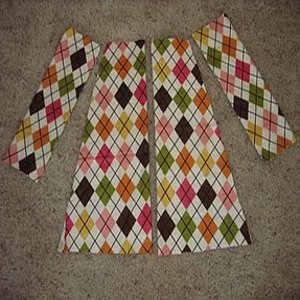
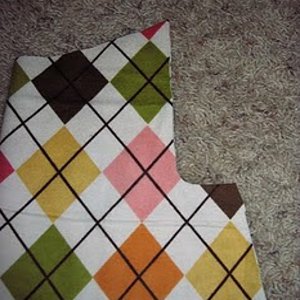
- Cut out fabric using dress patterns 1 and 2. (Side note: If you would like 3/4 length sleeves, cut your sleeve pieces to 10" x 14"). Once cut, your pieces should look like this:
- Cut out neckline and armhole. On your dress pieces (leaving them folded in half and stacked on top of each other), cut out an armhole 6" long. Cut the neckline as deep as you would like it. You may prefer to cut the front more than the back.
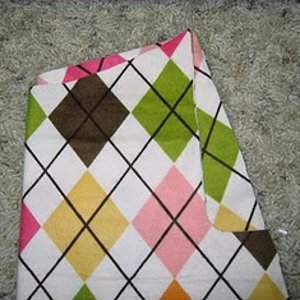
- Fold the two rectangles for the sleeves on the long side, so you will have two 5" x 16" pieces. Stack them up and place them behind the dress piece with the fold on the inside, like this:
- Now cut out the armhole and neckline where they overlap the fabric.
- Piece together your dress. Unfold all of your pieces. With right sides facing each other, line up the armhole on one side of the dress with the matching cut on the sleeve piece. (You can pin this if you like, but I don't bother...I only pin things if I absolutely need to.) Like this:
- Now sew around 1/4" in around the edge of the armhole. Go back and do a zig-zag stitch at the edge of the fabric to keep the seam intact.
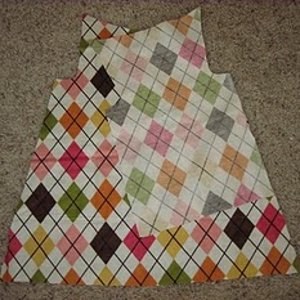
- Repeat this on the other side of the dress piece. It should look something like this:
- Now attach the other side of the dress piece in the same way.
- Next, the side seams need to be sewn. Line up the seams at the armpit and then sew along the arm and the side of the dress all at the same time. Again, secure your seams with a zig zag stitch.
- Lay your dress out so the top is flat. It is likely not perfectly straight. We want it to be straight, so fold your dress in half vertically and cut until you have a straight line across the top.
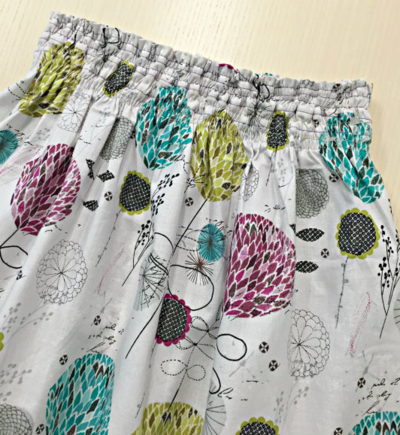
- Fold the top edge over 1/8" and iron, then fold over again about 3/8" giving you a nice clean edge. Iron down.
- Repeat with the sleeves and the bottom hem (although for the bottom hem, you can fold over to 1/4" on the second fold since we are not inserting any elastic here).
- Now sew one line straight across the top of your nicely prepared fold just below the very edge of the neckline. Go all the way around the edge .
- Now sew a second line around the bottom of your hem (leaving a minimum of 1/4" in between your two rows of stitches). Don't sew all the way around - be sure to leave about 1/2" gap at the end so that you can feed your elastic through there. Repeat on both sleeves. You can hem the dress now as well.
- Mark the length of your elastic. Do not cut it yet (otherwise it will be much more difficult to stitch up when you are done). Attach a safety pin to one end of your elastic. Insert it through the hole at the neckline and start to feed it all the way through to the other end. Once you are satisfied with the length, then stitch it up with a few zig zags to secure it. Clip off excess.
- Sew the 1/2" hole closed.
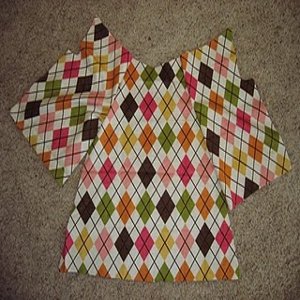
- Repeat with both sleeves and you're done!
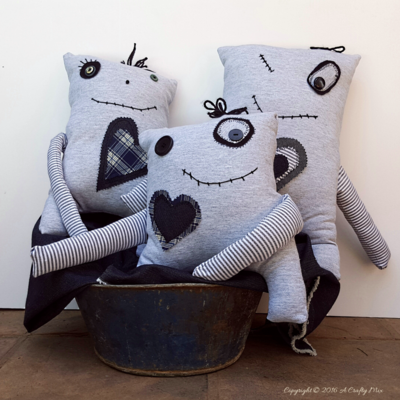
Read NextMomster Stuffed Animal Pattern
Your Recently Viewed Projects

Thanks for your comment. Don't forget to share!
Member 4212351
Aug 14, 2014
Could anyone please tell me how to adjust the pattern for babies and 3T ? Thank you!
brokenyolk
May 09, 2013
i think it would be very easy to re size this dress to any kid's size by using a dress that you already own. take a look at the pattern links at the top of the project and do the measuring for your child's size adapted from their own well fitting ready made dress.
badgersue
Jul 17, 2011
Any suggestions for how to alter this pattern to fit a 3T or 4T size girl?
donibabymd
Jul 14, 2011
Amazing! You made it so simple with step by step pics. Can't wait to try this for my baby girl. Thank you!
purpleheartAW2mom
Jul 10, 2011
When the article states looks like this: I find no pictures in those respective spots when I have copied the article into Word. Is there something I am doing wrong?? Please help. I used to have no problems and now I do and no pictures with any of your great articles/directions and I use them a lot. Any response would be appreciated. Thanks
CarlaL
Jan 11, 2012
I assume that you are copying the whole article; and sometimes WORD can be funny. Try just copying (hover your mouse over the picture, then right click, and copy) the picture, then paste in your document. If that doesn't work, try selecting just the picture, do a CTRL+C, then paste in your document. Hope this helps.
justjayma
Jul 10, 2011
How easy would this be to resize it to a size 6? This is a darling dress!
CarlaL
Jan 11, 2012
It's been a long time since I've upsized a pattern, but I figure if 10" is for a size 2T, then measure your little girl chest size and add the difference, maybe +1 for good measure. Remember to divide by 2 since you lay the pattern on a fold. Hope this helps you.
franknjoan7062 502 8434
May 16, 2011
I WILL BE DOING A LOT OF SEWING FOR 2 LITTLE GIRLS. GOD BLESS YOU FOR THIS PATTERN, SHOWING STEP BY STEP HOW TO DO IT. YOU ARE GRAND. I LOVE IT.
Report Inappropriate Comment
Are you sure you would like to report this comment? It will be flagged for our moderators to take action.
Thank you for taking the time to improve the content on our site.