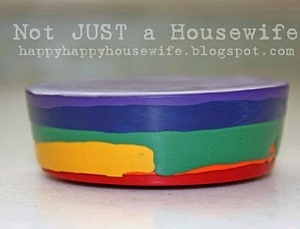
Decorative Paper Mosaic Wood Shapes
Whether it's a rainy day, after school time, a weekend at Grandma's, or any other sit-down time for kids, you'll need a craft project for them! Here's a fun idea for turning plain, inexpensive wooden shapes into art. The kids will have so much fun expressing their creativity, and you will love seeing the look of pride on their faces.
Materials:
- Wooden shape
- Treasure Tape sheet
- Scrap papers
- Beadlets®
- Faux gems; or other "flat-backed" embellishments
- Shallow pan or tray
Steps:
- Peel tape sheet off white liner and adhere to top of wooden shape.
- With a craft knife, cut tape around edges of wooden shape. Peel back tape's red protective liner.
- Adhere cabochons and rhinestones as desired.
- Tear small scraps of paper and adhere. When finished, place your design in a shallow pan or tray and pour Beadlets® over remaining exposed areas.
Kreinik threads available through needlework stores or www.kreinik.com.
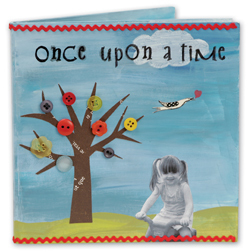
Read NextHomemade Story Book for Kids
Your Recently Viewed Projects
Thanks for your comment. Don't forget to share!
KEIKO 2
May 10, 2010
I need a little more information on the wood shapes. Can step one and two have a little more information? Wooden shapes are bought? Thank you, Keiko 2
Report Inappropriate Comment
Are you sure you would like to report this comment? It will be flagged for our moderators to take action.
Thank you for taking the time to improve the content on our site.