How to Make Mokume Gane Polymer Clay
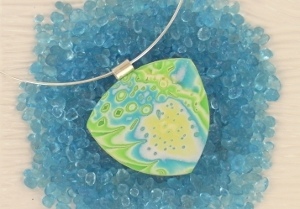
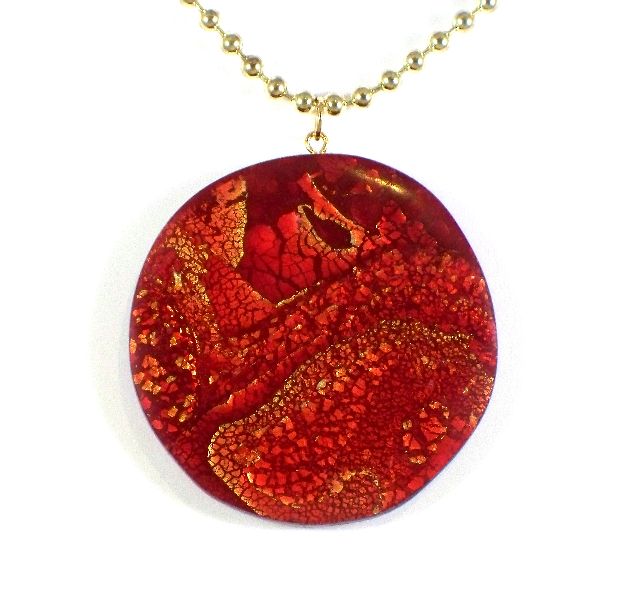
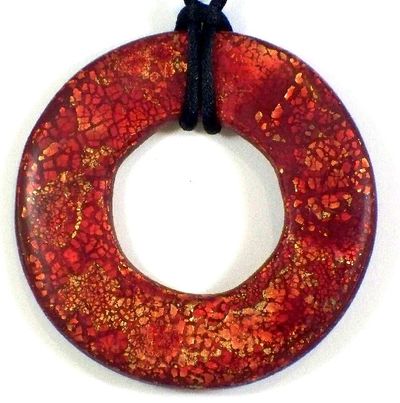
Polymer clay is a fascinating medium to work with and there are so many different effects that can be achieved. My favorite technique is Mokume Gane, the depth of the clay and the metallic layers are beautiful and every batch is unique.

Materials:
- 1 - 2 oz. block of translucent polymer clay (I use sculpty premo because it is soft and easier to work with)
- 1 - 2 oz. block of color of your choice (rich, dark colors will showcase this technique better)
- gold or silver leaf sheets
- pasta machine dedicated to polymer clay
- tissue blade
- acrylic roller
- TLS (transparent liquid scuplty)
- wet/dry sand paper in a selection of grits (200 to 2000)
- Sanding sponges in medium and fine
- A rotary tool with a muslin buffing wheel (like a dremel)
Instructions:
- Divide the transparent clay into 4 equal pieces and divide the chosen color in half and set 1 piece aside (you can use this for another project), divide the remaining piece in half, divide one of those pieces in half again and again, and again. Basically the pieces you need are 1/2 of the half block, ¼ of the block, 1/8 of the block, and 1/16 of the block.
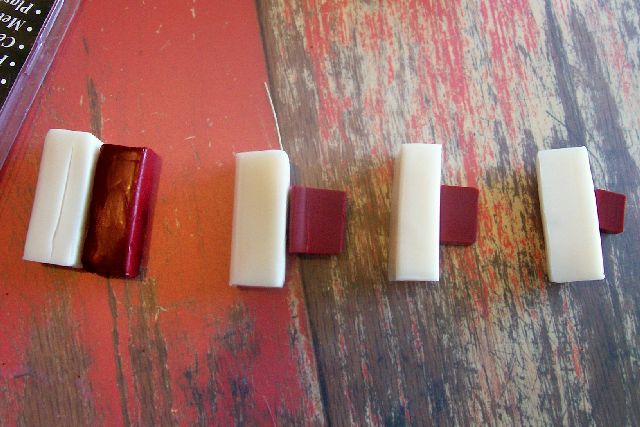
- Condition each piece separately. Combine the one piece of translucent with one piece of red clay and mix thoroughly; you'll end up with 4 shades of your chosen color.
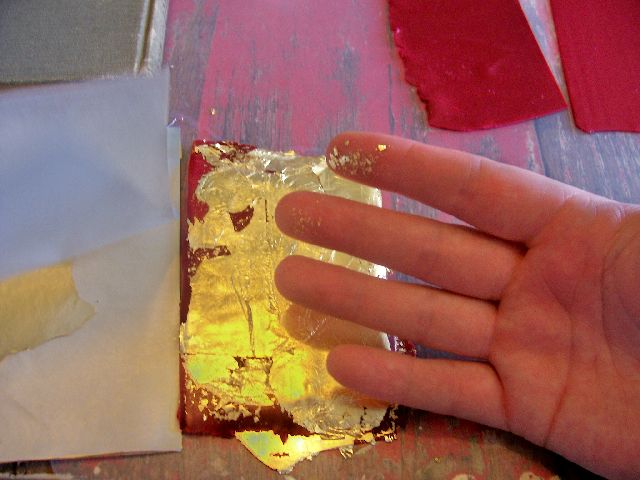
- Using your pasta machine make each ball into a thick sheet (I use the 7 or 8 setting on my Atlas machine). Cut each sheet into similar sizes (like the size of a playing card) and start stacking...a sheet of shade 1, a sheet of gold leaf, a sheet of shade 2, a sheet of gold leaf, a sheet of shade 3, a sheet of gold leaf, a sheet of shade 4, a sheet of gold leaf, keep layering until you run out of clay, ending with a sheet of clay on top. I use my fingers to place to gold leaf onto the clay and to smooth it down. Everything does not need to be perfect, the sheets of clay do not have to match up perfectly and the gold leaf does not have to be perfectly applied!
- Once the stack is complete use your fingers to poke into the clay, what this does is break up the gold/silver leaf and make the layers uneven. After indenting the clay I roll it smooth with my acrylic roller.
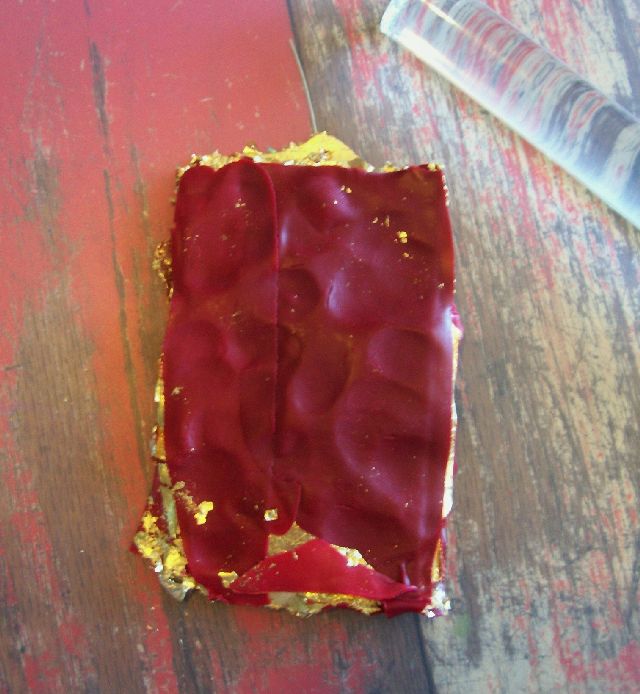
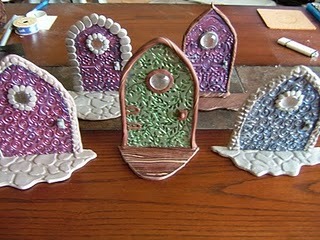
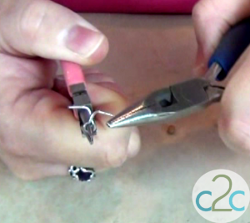
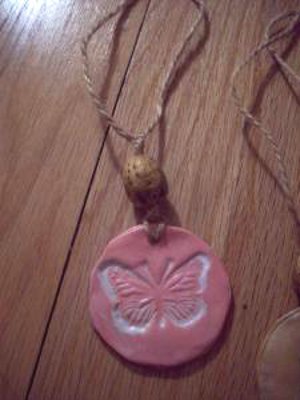
- Take your tissue blade and use it to slice off random pieces. You'll end up with multiple odd shaped pieces and one flat piece that is the base of the stack. Run them through the pasta machine on the thickest setting to make them uniform. The slices can then be cut into shapes for pendants or applied to any oven safe surfaces using liquid Sculpty. Keep the clay as smooth as possible to make sanding easier. I usually wear gloves to prevent finger prints and repeatedly go over everything with my acrylic roller.
- Bake according to the instructions on your clay, these were baked at 275 for 30 minutes. After baking allow them to cool thoroughly.

- To bring out the depth of the layers the clay must be sanded. Always wet sand polymer clay to prevent dust which can be hazardous. Wet/dry sandpaper and sponges can be found in the automotive department of "box" stores and hardware stores. I like to start with a medium grit sanding sponge and really work everything over, getting out all the lumps and bumps and any finger prints. Then go to the fine grit sponge and then switch to the sandpaper: 200, 400, 800, 1000, 2000. I use these grits because it's what I have on hand, you may use what ever works best for you. Sanding is essential for this technique and is the most consuming part of this project.
- After sanding I buff my pieces with a muslin wheel using my dremel too. Buffing gives the surface a glass like sheen. You may seal you mokume gane with an acrylic sealer, but it is not necessary.
See what Korinne is currently working on at http://crafterella.blogspot.com
Visit Korinne's etsy shop at http://crafterella.etsy.com
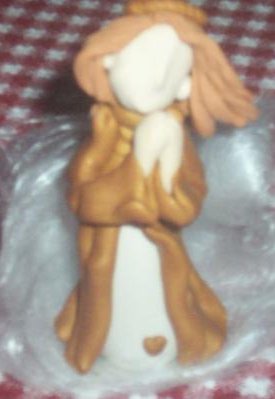
Read NextPolymer Clay Angel Doll
Your Recently Viewed Projects
Thanks for your comment. Don't forget to share!
mulberrygalprinces s
Nov 12, 2016
What a gorgeous project. I have been working with Clay for a couple months now and I think I have the basics down so now it's time to try some of the more intricate and advanced ideas. This really shows and explains each step. Thank you for posting this tutorial, I think I can do it now.
Mixed Kreations
Nov 07, 2011
Beautiful. I hope one day I can make gorgeous polymer clay beads and pendants. Right now all I do is get frustrated on how my turn out and then quit. Ive never tried the leaf paper, i will have to try that out. I really love the colors in this. Thank you for sharing this wonderful tutorial.
Report Inappropriate Comment
Are you sure you would like to report this comment? It will be flagged for our moderators to take action.
Thank you for taking the time to improve the content on our site.