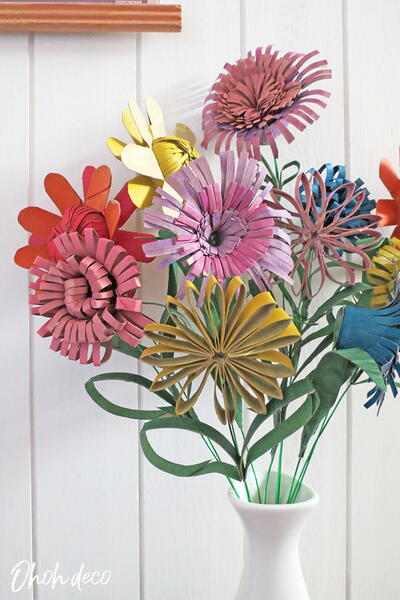
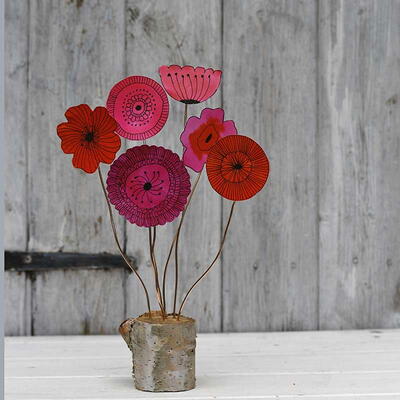
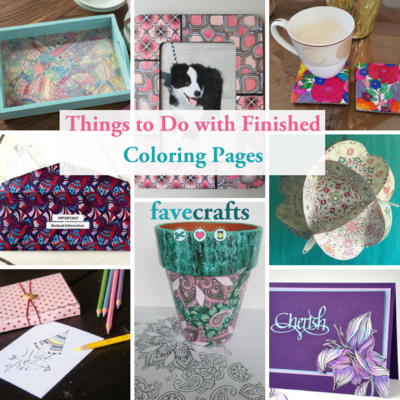
This project was submitted by one of our readers, just like you.
Paper Poppy Craft
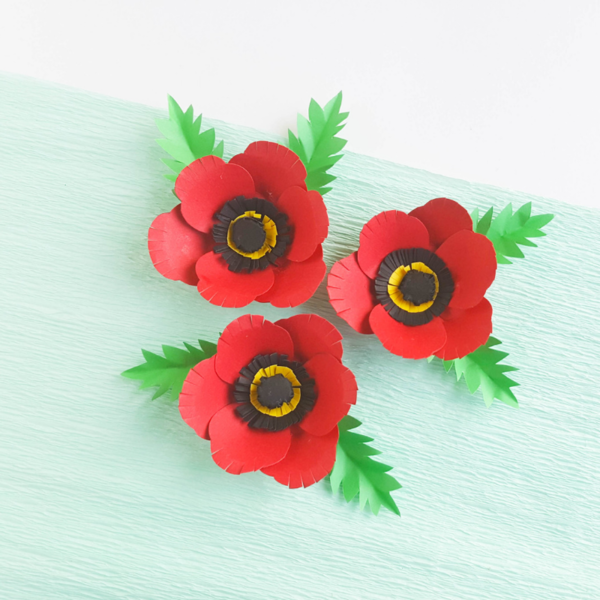
"With Remembrance Day (or Memorial Day) coming up, I always like to share a new poppy craft for parents and teachers to make with kids to make talking about the day and it’s importance a bit easier. Today, I’m sharing how to make Red Poppy Paper Flowers which can be used as a decor piece or transformed into pins after you’re done. This year, we’ve started talking about the hard topics related to Remembrance Day. She’s 7 and I think she’s ready to understand more about the wars, what caused them, and the lasting effects that they have made on our world and the people in it."
Materials List
-
Colored cardstock paper– red, yellow, black and green.
- Scissors
-
Craft glue
-
Pencil – to trace the template
-
Poppy Paper Flower Template
Instructions
-
Prepare the patterns from the template by printing and cutting them out.
-
Trace the patterns on the selected colored cardstock papers and cut them out: Red cardstock: 6 petals and one big circle Green cardstock: leaves Black cardstock: 2 other big circles Yellow cardstock: small circle
-
Take the 3 circles (2 black and 1 yellow) and cut thin and even fringe patterns around them.
-
Take the petals and cut 4-5 small (1 cm) slits along the top edge of the petals. Also cut a slit of 2 cm at the middle of the bottom edge of the petals.
-
Apply glue on any one side of the bottom slit and overlap the other side of the slit on the top of the glued part. Overlap about a cm of both sides of the slits and press tightly to join the overlapped parts together.
-
Prepare the rest of the petals the same way.
-
Take the red circle and place it on a flat surface and glue the 3 bigger petals near the edge of the circle, keeping even gaps between the 3 petals.
-
Glue the 3 other petals (second layer of petals) on the red circle but close to center of the red circle, placing each of the second layer petals between the first layer petals.
-
After you’re done gluing the petals, glue one of the black circles on the center of the flower and then glue the yellow circle on the black circle.
-
Take the last circle (the other black circle) and crumble the fringes towards the center to form a ball shape. Apply glue to secure the crumbled piece if required.
-
Glue the crumbled piece on the center of the yellow center from step 8. Glue the leaves at the bottom side of the flower and done!