This project was submitted by one of our readers, just like you.
Personalized Baby Memory Cube

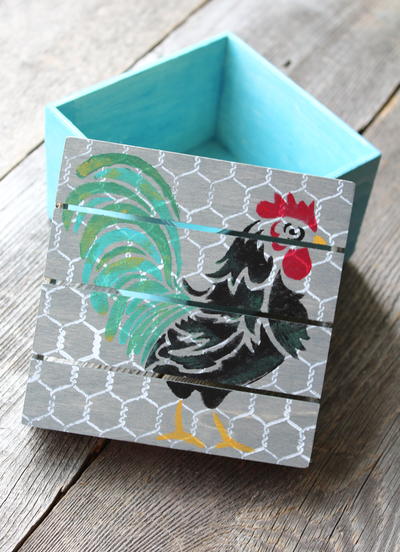
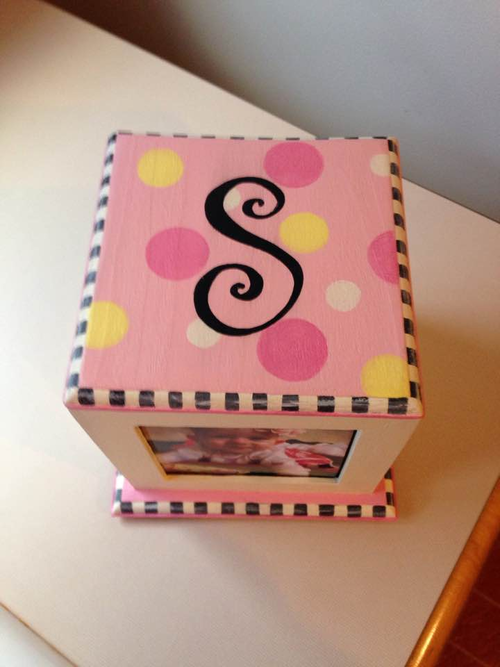
Personalized Baby Memory Cube
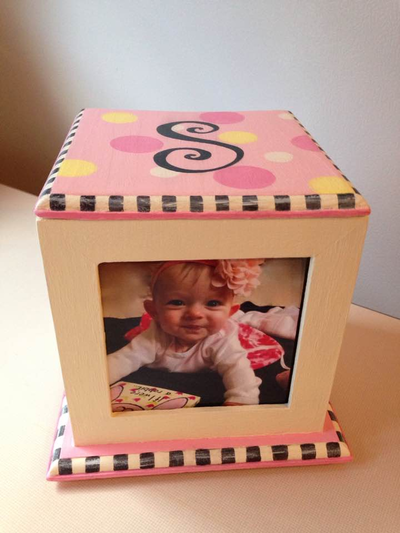
"Turn an inexpensive, unfinished memory frame cube is wonderful memory box to display a baby’s birth data and photo. The cube also doubles as a small memory box…just large enough to hold the hospital bracelet and cap, lock of hair, etc. You don't need any special painting skills to paint this project. You will be able to get great results by following step by step instructions. You'll learn tricks on how to transfer a pattern and make perfect polka-dots! Substitute colors are listed for making a traditional "boy" cube. "
Primary TechniquePainting

Materials List
- 4 Way Memory Frame 5.8” x 5.8” x 5.6” or similar unfinished wood photo cube
-
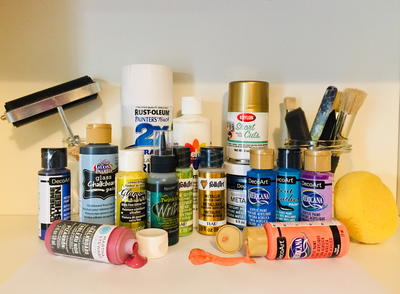
DecoArt Americana Acrylic Paints: Baby Pink, Lamp Black, Light Buttermilk, Pink Chiffon, Sunny Day, Warm White
Optional: For a baby boy you can substitute Whispering Turquoise for Pink Chiffon and Turquoise Blue for Baby Pink
- Mediums: DecoArt Americana DuraClear Soft Touch Varnish, Mulit-Purpose Sealer, Decou-Page Sealer-Glue-Finish (matte)
- Royal Brushes: Soft Grip Series SG700 Glaze/Wash ½”; Series SG595 Short Length Liner 10/0, Series SG250 Round #3; Series SG150 Shader #4
- Martha Stewart Crafts 6 pc. Dauber Set
- ¼” masking tape (from craft department or automotive store)
- Misc. Supplies: Fine grit sandpaper, Scissors, Ruler, Scrapbook paper (2 coordinating designs of choice), Graphite paper, Stylus, Blow dryer
Instructions
-
Prep- Set aside glass panes. Lightly sand rough edges of outside of wood cube. Remove dust. Use the ½” brush to apply a coat of Multi- Purpose Sealer to all wood and one side of (3) insert boards. Sand wood area lightly again.
-
Use appropriate sized brushes unless otherwise noted.
-
Basecoat all wood areas Warm White. Let dry.
-
Mask off the checked borders with tape to protect the them. Basecoat pink areas of the base and lid with Pink Chiffon. Use Light Buttermilk to basecoat the vertical sections.
-
Use the #4 shader to paint checked areas with Lamp Black. Paint checks in two stages: stroke from top to bottom but leave small area at bottom unpainted. Turn the surface upside down and finish the check from the bottom up. When dry load the #4 shader with a small amount of Warm White. Off-load excess moisture onto a paper towel then drybrush over checks to tone them down. Use the tip of the round brush to drybrush a highlight over the center of the checks.
-
Load the ¾” dauber with the Baby Pink. Place the dauber on the top of the lid and gently twist the dauber to create a polka dot. Use blow dryer to dry the dot then repeat until opaque. Repeat with the ½’ dauber and Sunny Day. Add a few small polka dots with the 3/8’ dauber and Warm White. Be sure to make some partial dots at the edges of the lid. Remove any unwanted paint on the checked borders immediately with a damp brush. Use a light coat of Multi- Purpose Sealer to seal the lid.
-
Use Word or similar computer program to print and initial in an interesting font. Use a copier to enlarge the initial to fit the lid. Trim the copy to fit the lid then transfer the initial with graphite paper. To transfer a pattern simply place the pattern on the surface and secure one edge with tape. Slip the graphite paper under the pattern and use the stylus or a pen to trace over the pattern. Use Lamp Black to carefully paint the letter. Use a damp brush to remove any errors while the paint is still wet.
-
Apply a coat of varnish to all painted areas.
-
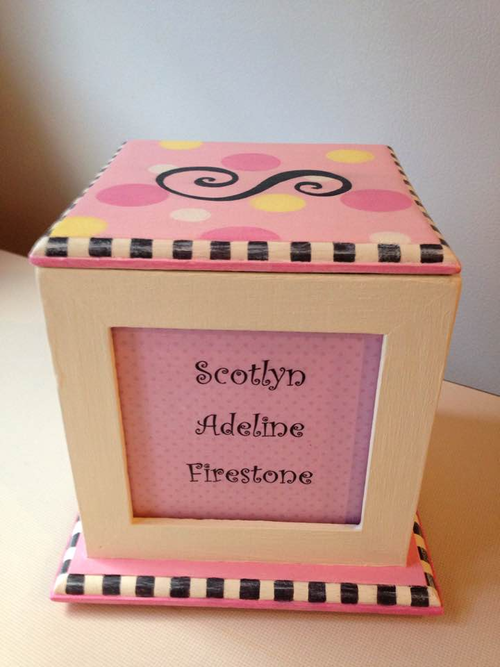
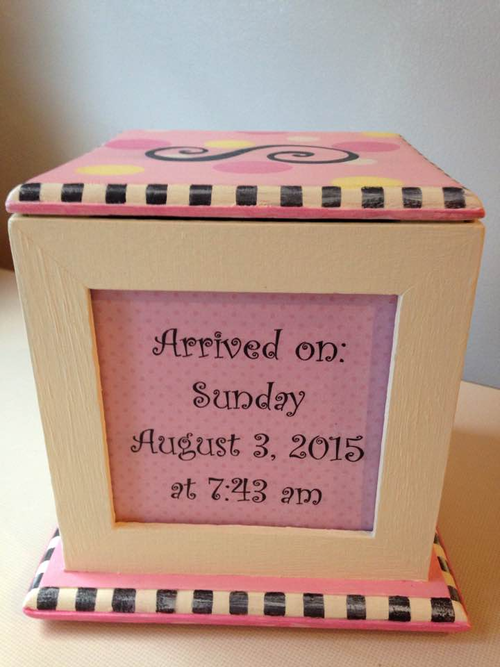
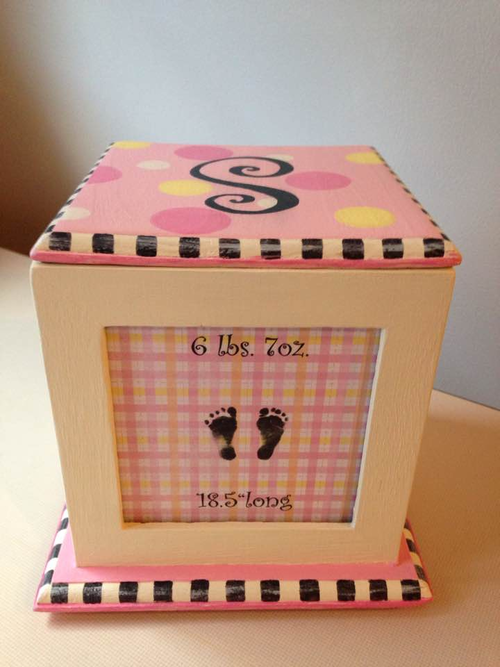
Scan the baby’s footprints. Create a Word Document with the baby’s name, birth data and scan f footprints (reduce scan as needed). Choose an interesting font and adjust the size to fit 3 inserts. Print onto regular copy paper. Place a glass pane over the printed are to be sure it is sized properly. Once you are satisfied reprint onto scrapbook paper. Center the glass pane over print then trace around edges with a pencil. Use scissors to cut out. Apply Decou-Page to sealed side of insert board. Lay the printed piece of scrapbook paper face up onto board. Use finger pressure to adhere paper and smooth out air bubbles from the center outward. Apply a coat of Decou-Page to the top of the paper from the center outward to remove any additional air. Use a small amount of clean water to help smooth the Decou-Page as needed. Once the paper is in place and no air bubbles are noticeable, use the brush to smooth out the brush strokes while the Decou-Page is still wet. Repeat with the other 2 inserts. Print and cut the baby’s photo to fit the 4th insert.
-
Place 3 printed inserts into cube. Sandwich photo between the 4th insert and a pane of glass. Insert into cube. Add lid.