New Year's Terra Cotta Planter
This New Year's Terra Cotta planter could be a New Year's Eve hostess gift or, if filled with candy and sweets, would be great New Year's party favors. You could even use this pot to hold resolutions from everyone at your party.

Materials:
- Patio Paint DCP14 - Cloud White
- Patio Paint DCP21 - Wrought Iron Black
- Patio Paint DCP400 - Glorious Gold Metallics
- #0 round brush
- 3/4" flat brush
- #12 flat brush
- 9" of 5/8" wide red grosgrain ribbon
- Three small plastic flat-back beads
- Glue
- Small piece of red wire
- Blue painter's tape
- Clean, dry cloth
- Water container
- Palette or plastic plate
- Paper towels
- Transfer paper, white and blue
- Tracing paper
- Stylus
- 4" terra cotta pot
- Pattern
Instructions:
- Wipe pot with dry cloth to remove any dust.
- Using blue painter's tape, tape off just underneath pot rim.
- With 3/4" flat brush and Cloud White, paint rim and inside of pot.
- Trace pattern onto tracing paper. Transfer shirt area only to pot and paint it Cloud White.
- Once Cloud White areas are completely dry, apply painter's tape to Cloud White portion of rim where jacket will meet rim.
- Mix small portion of Cloud White into puddle of Wrought Iron Black to create charcoal color. Paint jacket area and bottom of pot.
- Once dry, apply shirt fold lines and lapels to pot using pattern and transfer paper.
- Shade just outside lapels with Wrought Iron Black using #12 flat brush.
- Shade just inside edge of lapels with Cloud White using same brush.
- Mix very small amount of Wrought Iron Black into puddle of Cloud White to make very light gray color. Using this mix and #12 flat brush, shade down shirt section to create fold lines.
- Using #0 round brush and Glorious Gold, add lettering to pot rim.
- To create bow tie, cut 8" piece of ribbon and fold into thirds. Crimp in center and wrap with small piece of red wire. Using 1" piece of ribbon, fold in half lengthwise and glue around center of bow tie covering wire.
- Glue bow tie to neck area just under rim.
- Glue beads as buttons, spacing evenly down front of shirt.
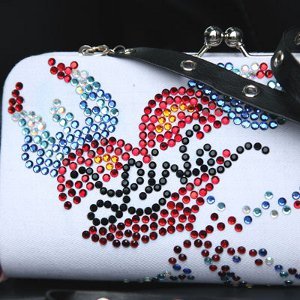
Read NextDazzling Crystal Clutch