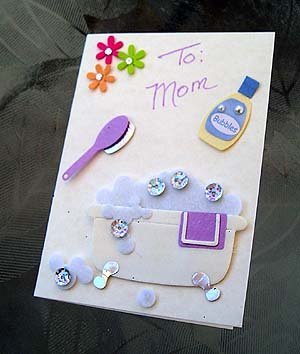
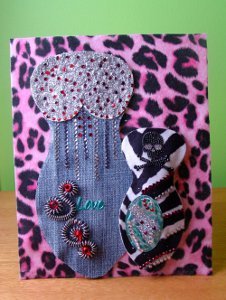
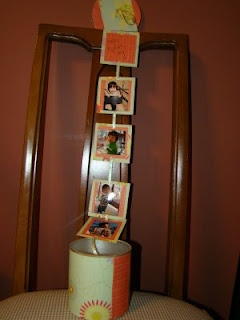
Picture Card in Can
Make a great homemade card by Fawnda Norman for your mom. This is no ordinary card, but a card that comes out of a can with a stream of home photos. She'll love it.
This Picture Card in Can is the perfect Mother’s Day craft because it allows you to put some time, love, and creativity into the project as well as preserve cherished memories. Mom will be so impressed by this precious display that she may never take the décor down.
This easy craft idea is a smart craft for parties, as well. Baby showers, wedding showers, and graduation parties could all benefit from this charming and clever way to display photos. It even doubles as home décor. You could easily use this craft project idea to display Instagram photos you find especially important, too!


Find even more DIY crafts to make for mom in our free eBook for Mother's Day, Mother's Day Crafts: Blogger Edition contains over 30 pages of Mother's Day crafts for you to make.
Materials:
- A tin can (Peanut can would work, I used a Gerber lil' crunches can since my son LOVES to eat them!)
- Decorative paper
- Ribbon
- Scissors and slider cutter
- Hole punch
- X-acto knife
- Adhesive (I used double stick tape and Hot Glue)
- Markers
- Paper clip
- Photos
Steps:
- Clean out your can.
- Cut out squares to fit into your can. I cut two sizes. 3' squares and 2 1/2' squares to make the framed edge. It will depend on your can how big your squares can be. suggest trying a size on the bigger side and than you can trim off if you have to. It is easy to cut off than it is to add more on. I also though circles would be cute but I don't have a circle cutter. I make sets of squares. You can make as many or few as you have pictures for. 8 fits into my can nicely and doesn't make too long of a string to pull out.


- Attach your smaller square onto your bigger square.

- Punch a hole on the top and the bottom of your squares:

- Thread the ribbon through your squares.

- At the bottom attach the ribbon to the back to "tie off" the end. Set your square garland to the side for a bit.

- Now we are going to cover the can. Mark on your paper how tall your can is and cut a strip that is that height.

- Attach your paper strip to your can. (I used hot glue for this) My strip does not reach all the way around so I need to add another little strip to cover the rest up.

I choose to use the coordinating paper to make the extra strip and I think I am going write "Grandma" on the side.

- Now the cover: Trace around your cover and cut out the circle.

- Using hot glue attach your paper circle to the lid.

- Also using hot glue attach the ribbon around the edge to the lid.

I added a rectangle on the top of my lid. You don't have to.

- Using an X-acto Knife cut a slit into your lid big enough to slide your ribbon through. Be sure to cut on a safe place and to go through all the paper layers.

- Before you thread you ribbon from your square garland through your slit you will want to tie a paper clip on to act as a stopper.

- Tthread your ribbon through the slit.

- Make a loop and tie a knot.

- Add your photos to your square garland. I printed my as wallets (also had to crop some off to make it fit on my squares). I printed 6 pictures and on the top square ( the first one you will see) I wrote "Happy Mothers Day!" and on the bottom one I signed "From our Family." Zig-zag your garland so that it will pull out of the can nicely and put on the lid.


Read about Fawnda's designer page!
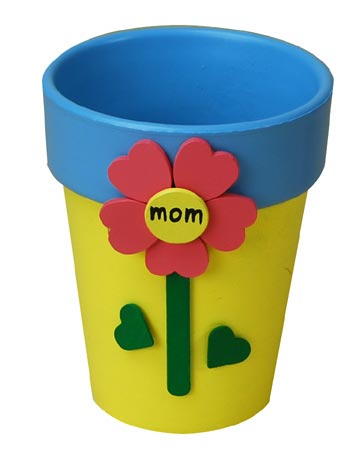
Read NextMom Flower Pot
Your Recently Viewed Projects
Thanks for your comment. Don't forget to share!
kk22crafts
Jun 26, 2013
This is the most adorable, special project for Grandma, Mom, Dad - well, any of them. Could also have Special vacation cans and put pictures on both sides of the vacation fun. I'm a kids' SS teacher and I see a special lesson with maybe the nativity in action, or any of the Bible stories. Kids like things like this - getting that second look at what they studied would be fun for them. Very good job, Fawnda!!
Report Inappropriate Comment
Are you sure you would like to report this comment? It will be flagged for our moderators to take action.
Thank you for taking the time to improve the content on our site.