This project was submitted by one of our readers, just like you.
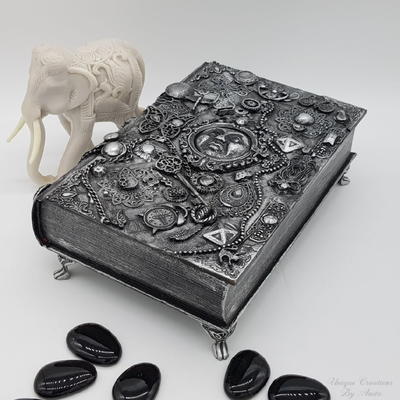
Old Book Recycled Into A Jewelry Box

Old Book Recycled Into A Jewelry Box
"I know not everyone is a fan of recycling books, but when you have an excessive amount it is better than throwing them away. I work in an aged care home and the public are always donating books to the home, which is now out of control. With no more book shops or swap shops they are ending up in the landfill. So I decided to try and upcycle one. And while I was at it I gave it a mixed media makeover. For people who follow my projects, you will know that the way I do my mixed media is very messy and will look like the dog's breakfast at first. But stay until the end you will be pleasantly surprised."
Primary TechniqueMixed Media

Instructions
-
Not all book are suitable for this project. You will need a thick book with a paper hardcover. The books with the shiny surface are not suitable for this project because the paint and glue does not adhere very well.
-
I marked out the inside of the book with a ruler and pen. To keep the cutting process simple I cut the inside and the outside a rulers width from the edge. And for the sides I used the first and last line of text as a guide. Using a craft knife with a shape blade start cutting through the pages. An issue I found while cutting the inside edge by the spine was that the deeper I got the more the pages moved. This is due the book opening up and moving the edge. But this will be fix later on.
-
To glue all the pages I used Mod Podge. Add a good layer of mod podge to the inside of the book. Try and make sure you cover all the sides.
-
To prevent the cover from getting glued shut add some saran wrap between the cover and the pages.
-
You will need to add some weight to the book while the mod podge dries. You can put lots of books on top of each other or you can follow my set up. I put a book either side and used wood clamps to hold the pages in place. You can also add a good layer of mod podge to the outside of the pages now so they can dry together.
-
I don't have a good picture of how the pages by the spine moved, but you can get an idea from the image above. The side next to the spine cut unevenly, while the other sides cut beautifully. To hide the uneven edge I used self adhesive felt which was cut to size for the inside. You can simply peel off the back and push it inside the base.
-
Start by adding some texture to the cover using a few different stencils and some texture paste.
-
Using a spatula add a layer of texture paste over the stencil and remove the stencil straight away. Randomly add these to other areas of the cover using different stencils. There is no wrong or right was to do this and it does not need to be tidy.
-
This was the cover after adding all the stencils.
-
To do this step it is as easy as just gluing the embellishments to the cover. I generally start with a focal point and add something nice in the centre. For this project, it was the frame and face I made using silicone moulds and resin. Next, you need to fill the cover with embellishment. There is no wrong or right way to do this and they will all look messy at this stage. Try and fill the cover.
-
To make this look more like a jewellery box and not a book I added some small legs using a hot glue gun. Links to the products used in this project are available on my website in the link at the end of this post
-
Paint the whole book black using gesso or acrylic paint. Making sure to cover everything, even the nooks and crannies under the charms
-
You can use any colour you want or even a few different ones. Touch the wax paste with the tip of your finger and rub all the raised surfaces with the coloured wax paste
-
The idea is not to cover all the black base coat, you are more highlighting the charms. You can also rub some silver on the sides of the book. The wax paste will take about 12 hours to set. Then you can add 2 coats of clear acrylic spray to protect the cover.

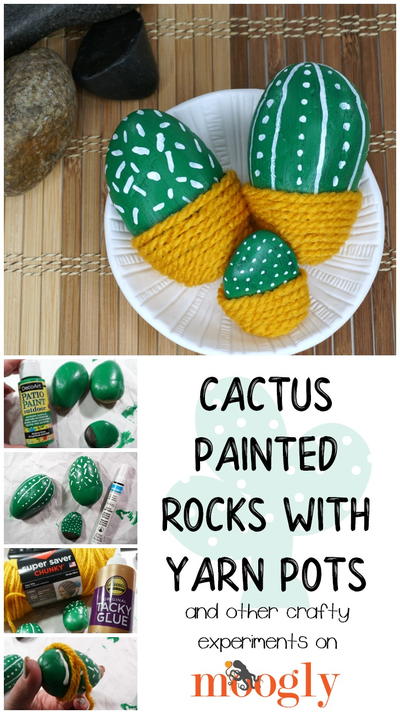
Read NextCactus Painted Rocks with Yarn Pots