
This project was submitted by one of our readers, just like you.
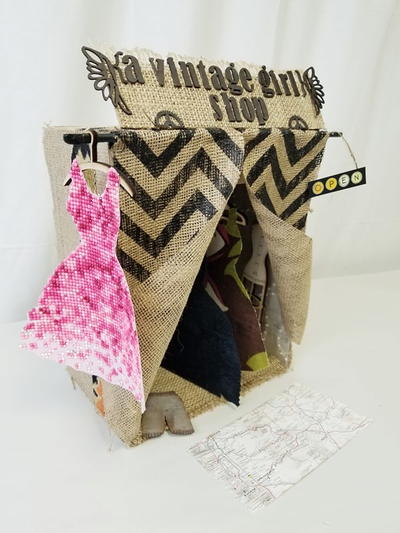
A Vintage Girl Shop

A Vintage Girl Shop
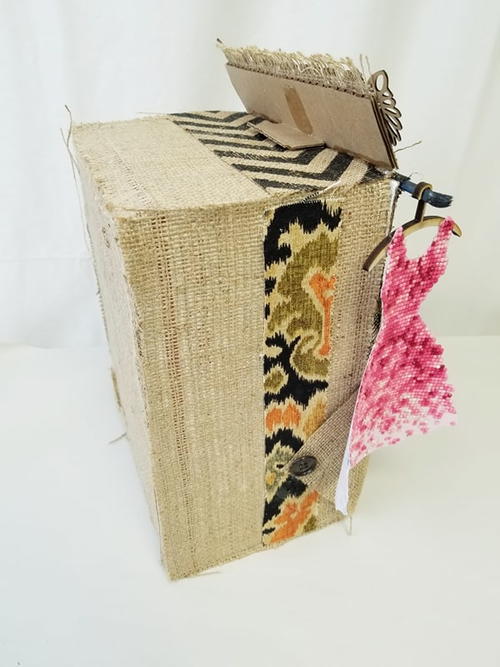
From the Designer: "A Vintage Girl Shop is now OPEN FOR BUSINESS. Come on in and try on one of dresses in stock including a glittery pink gown ready for your next party, a little black dress and something for the summer. A Vintage Girl shop has a dress form, wood hangers, custom open sign, a beautiful store sign with wings and gear and A Vintage Girl alpha set, a paper rug and knickers. All made from Canvas Corp Burlap, Leisure Arts Diamond Art Dress and accessories from A Vintage Girl."
Primary TechniqueGeneral Crafts

Project TypeMake a Project
Materials List
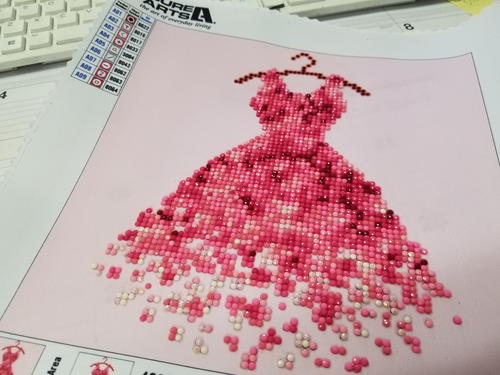
- Leisure Arts Diamond Art Dress
- A Vintage Girl. Dress Form, Alpha, wings, wood hangers, knickers, and typewriter key stickers.
- Canvas Corp Brands Burlap
- Beacon Adhesives Fabri Tac
- Variety of Upholstery Fabrics
- Actual Southern Oregon map for the rug
- Old Paintbrushes
Instructions
-
Using a cardboard box, completely cover all sides with burlap.
-
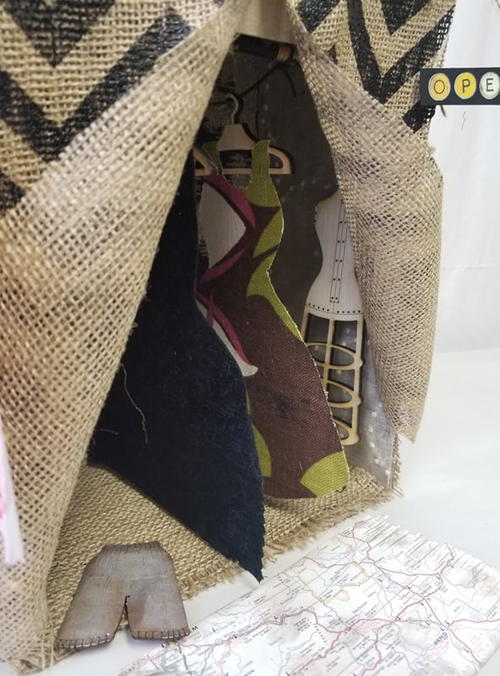
Cover the inside with upholstery fabric and use as an accent on the outside.
-
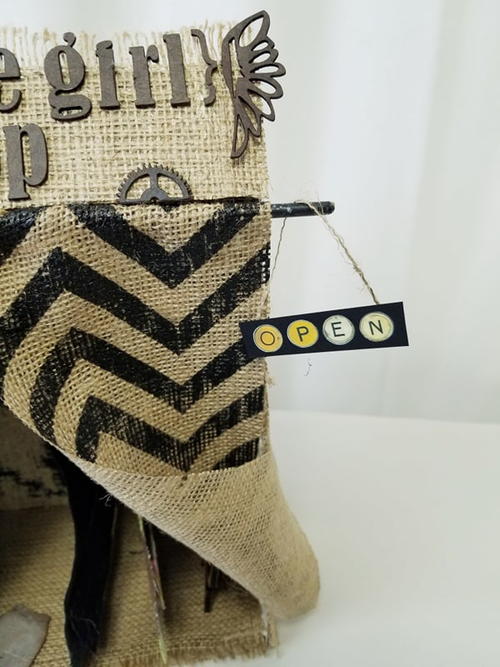
Create a header sign by cutting a piece of cardboard same width, cover with burlap and using chipboard letters and accessories make the sign name.
-
Create curtains by gluing pre cut pieces of printed burlap around an old paintbrush. Adhere to the front of the box. Wrap curtains around side and adhere using a vintage button.
-
Using an old paint brush again, hang cord and tie on each side. Put inside the box until snug. Hang the hangers from this cord when finished with the dresses.
-
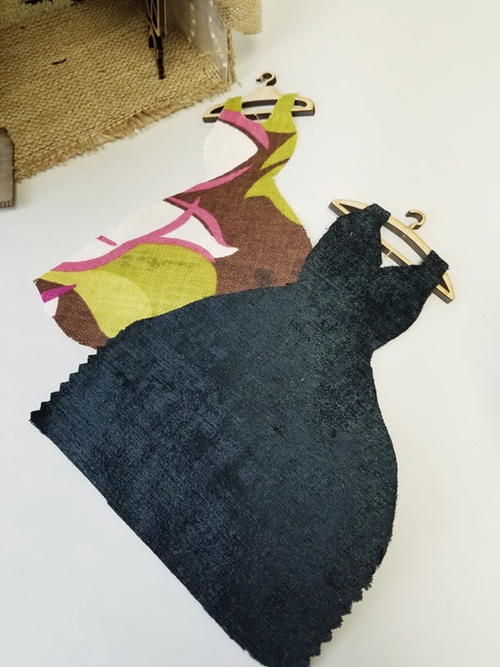
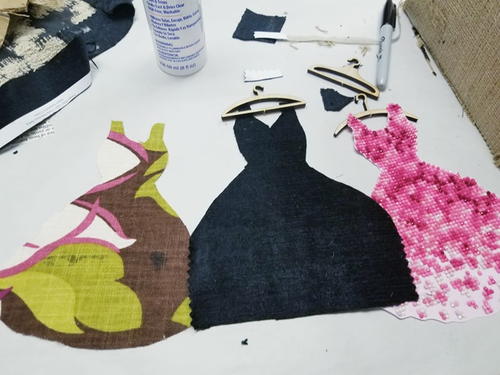
Cut out upholstery fabric to look like a dress, adhere the top shoulder pieces to the wood hangers and hang from the cord inside.
-
Add the bling dress to a wood hanger as well, but place on the outside.
-
Create an OPEN sign with A Vintage Girls typewriter keys alpha sticker set. Hang from the paint brush.
-
Color the knickers. Add the dress form inside the shop.
-
Cut out a rug using an old map, cut fringes on each end and ink the edges.

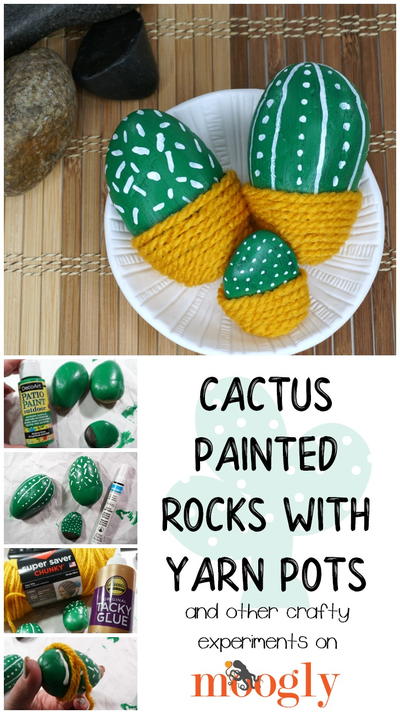
Read NextCactus Painted Rocks with Yarn Pots