Colorful Upcycled Button Bowl
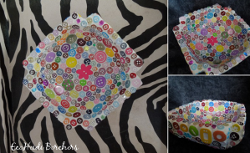
Dip into your stash and create a decorative piece you'll want to display in your home. Create a Colorful Upcycled Button Bowl from Heidi Borchers using a random assortment of buttons. Upcycled ideas for home decor don't get more fun and creative!
Materials:
- Aleene’s Original Tacky Glue
- Buttons – variety of shapes and sizes – but all buttons should be flatter style
- Wood bowl
- Sandpaper
- Grout – pre-mixed or powder (unsanded)
- Bowl of water with sponge
- Plastic gloves
- Cotton swab
- Hair dryer
- Paper towels
- Wet wipe
Instructions:
-
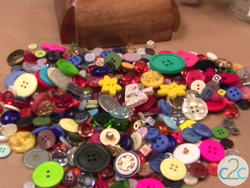
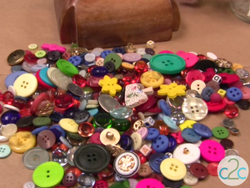
For this project you can use a variety of shapes and sizes of buttons. For ease when grouting, be sure select buttons that are similar in depth/height. Also, be sure to select buttons that are easy to clean. This is really helpful when you grout.
-
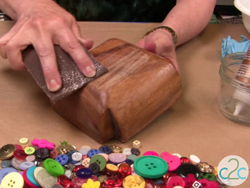
If using a wood bowl, sand to remove shiny surface.
-
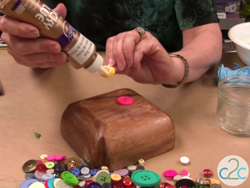
Glue buttons to bowl starting with the bottom first. To help the bowl to sit straight, be sure to use buttons of similar height. Glue your larger buttons first and then fill in with the smaller buttons.
-
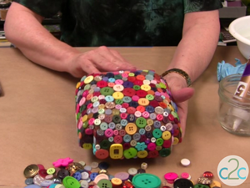
Glue buttons on the outside and inside of bowl. Let dry completely.
-
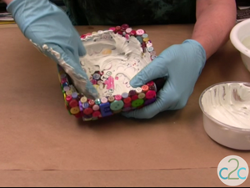
Put on gloves. If mixing grout, follow package instructions to make a paste similar to thickness of peanut butter or use pre-mixed grout. Dip gloved hand into grout and rub onto bowl. Press grout between buttons and into button holes. Continue to rub on grout until entire inside and outside of bowl is covered with grout. Use fingers to wipe away excess grout (return it to original container.) Do not rinse grout down sink.
-
Dip sponge into water and wring out sponge until it is almost dry. Wipe away grout. Rinse sponge in water. Continue wiping and wringing until you have smoothed grout over entire bowl.
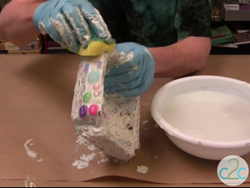
-
If needed, use a cotton swab to remove any excess grout from buttons. Use a hair dryer set at low and dry grout for about 5 minutes until a chalky film appears on buttons.
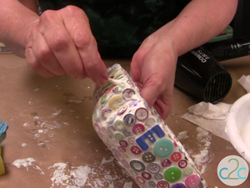
-
Use a dry paper towel and wipe away dried grout film. Set aside to let grout dry completely overnight.
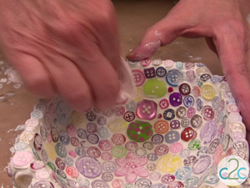
-
Use a wet wipe to wipe remaining dried grout from buttons.
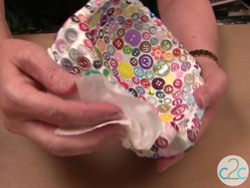
-
Your entire bowl should now be free of any grout film and it’s time to display your beautiful artwork!
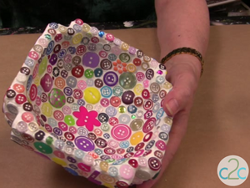
For a comprehensive video tutorial of this project, check out Mosaic Buttons Bowl.
Read NextMagical Forest Trivet
Your Recently Viewed Projects
flowergirl
Jun 27, 2018
I love these bowl, it's truly a crafty work of art. I thought I'd seen all the button crafts there was to see but this is stunning.i could use one of these to grow in my keys and pocket change. I probably need more buttons and some clear grout but I think the white one makes the colours pop. Or better yet I'll make two, one in white and one clear.
cjor2lani 1947590
Sep 09, 2013
I love these bowls WITH the grout ! It adds a little "deco" style to them.
bobbylonardo 50143 99
May 17, 2013
You can get a silicone sealant at Home Depot or Lowes. It's a tile sealant that comes in a tube - make sure it says "clear". It goes on white but dries clear after several hours. It's about the consistency of toothpaste so you can use your fingers to get it into the spaces between the buttons. Hope that helps.
krisbradley08 8642 721
May 12, 2013
I like the look with out the grout a little better. Is there some kind of clear sealant that could be used to fill in around the buttons like grout?
bjhandwerker 88850 25
Sep 01, 2012
I made a button box to store my buttons in from the button bowl idea
Report Inappropriate Comment
Are you sure you would like to report this comment? It will be flagged for our moderators to take action.
Thank you for taking the time to improve the content on our site.

