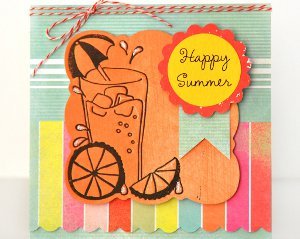
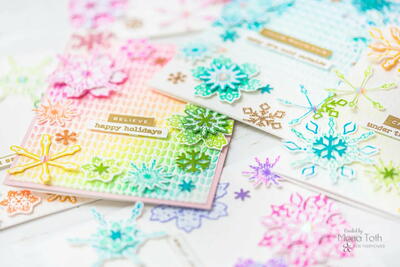
Easy All-Occasion Cards

Let’s expand the use of shapes to make some cards. You can make cards for any occasion with your Cricut machine. Use pens to add writing on the outside or the inside of your cards as well. Have a card mat and want to make cards? Keep reading for instructions for other machines as well!
Machine requirements: Any Cricut machine
Skills: Scoring lines, attach function, writing with pens, adding text
Challenge: Try to make some cards with foil lines.

Materials List
- Cardstock (approximately 80 lb/216 gsm)
- Light grip (blue) Cricut mat or card mat
- Fine point blade
- Scoring stylus or single scoring wheel (wheel is for the Maker only)
- Tape runner or other adhesive
DIRECTIONS
Insert card kit only if using card mat
-
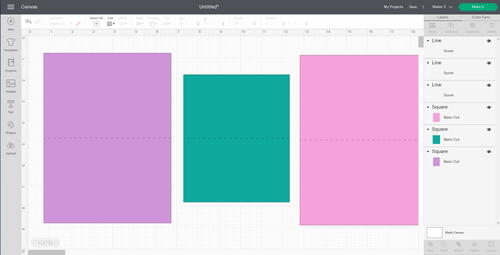
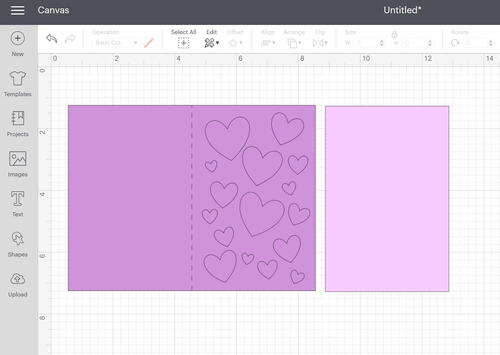
Open up Design Space and add a rectangle in the card size you want to make. Remember that you will fold these in half, so make sure the length is double what you want your final measurement to be. Typical cards start as 6 x 8 inches (15.2 x 20.53 cm) or 5 x 6 inches (12.7 x 15.2 cm) to make 4 x 6–inch (10.2 x 15.2–cm) and 3 x 5–inch (7.6 x 12.5–cm) cards. Pick the “shapes” menu on the left toolbar and pick a score line to add the line to your canvas. Resize the score line to be the full width of your card and rotate if needed.
-
Now let’s look at a few options to personalize your cards. You can add various shapes to the front of the card. Then pick the card, the score line and the shapes and click “attach” in the bottom right toolbar. The attach function will keep those items together on the mat, making your shapes cut out of the front of the card. You will also want to make another rectangle the same size as the front of your card. This is a simple way to start making cards on your Cricut.
-
Want to add text instead? Click the “text” button on the left toolbar and type your words.
-
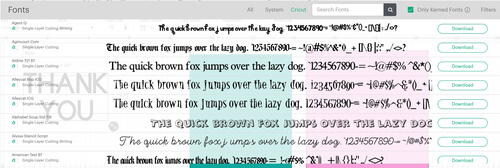
Then pull down the “font” box on the top toolbar to get to your font options. “System fonts” are those on your device, while “Cricut fonts” are those you can get from Cricut. Pick a font you like and your words will change to that font. If any of your fonts are missing, uncheck the “kerned fonts only” box and they will probably appear.
-
Resize as needed and add the text to the front of your card. Pick everything and click “attach” to cut this out from the front. Again, I made a rectangle the same size as the front to add to the card after cutting.
-
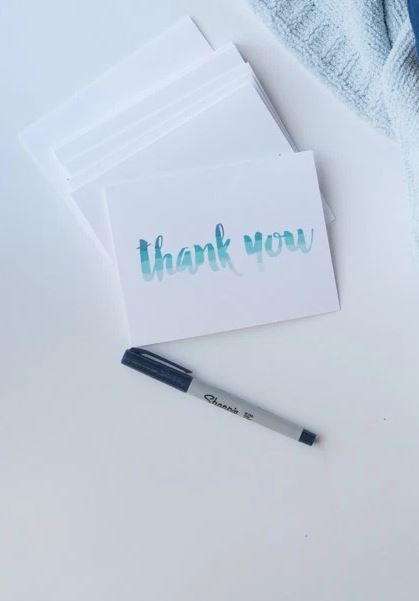
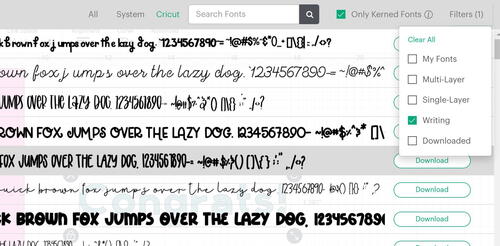
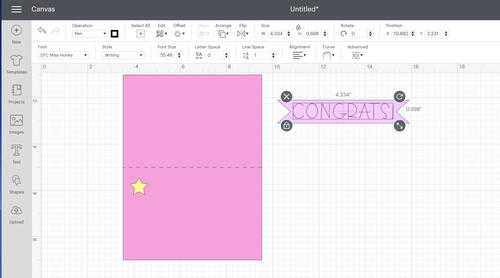
Let’s do a third version and add writing with pens. First, make a banner by slicing triangles from both ends of a rectangle shape. To find fonts that are good for writing, add text and click the “font” box. Filter the fonts for writing using the pull-down box on the right-hand side. I also like to make sure the kerned fonts box is checked here as those fonts are better for use with pens. I use Cricut fonts when working with pens generally as you will need a single line font in order for it to look like writing.
-
Once you change to a writing font, make sure the style is “writing” and the operation is “pen” in the top toolbar. It should also look correct on your screen. Remember that writing fonts will appear as a single line, but other fonts will be an outline. Be sure to click both the writing and the banner and click “attach” once you have it where you want it.
Pro Tip: You can change your pen color in a similar manner as changing the color of any object. This can help you visualize a project or use multiple pen colors in one project. -
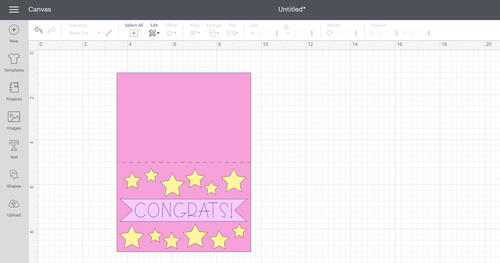
For this card, I just added shapes in another color, and I will add those to the front with glue, along with the banner.
-
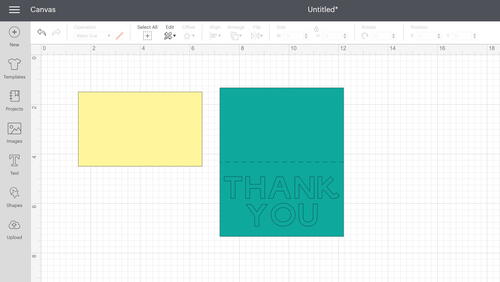
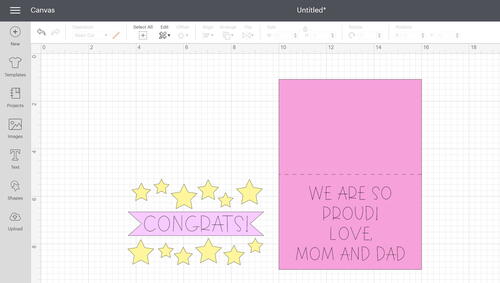
This is a great example of a card where you can easily add writing to the inside. Just use the same procedure as above to add text with a writing font and attach it along with your score line to your card rectangle.
Note: If you add text to the inside of the other examples shown, you would need to flip those in order for the writing to be on the correct side. You can use the “flip” button in the top toolbar to do that. -
Click “make it” and follow cutting basics. Remember that you can click “edit tools” if you are using the Maker with the scoring stylus to change from the scoring wheel. Cut all of your paper. Design Space will prompt you when you need to change the stylus to the pen in order to draw. Follow all of the directions on the screen. Once all of your pieces are cut, you can use adhesive to assemble each of your cards. The cards with the cutouts are assembled with the second piece on the back of the front flap.
-
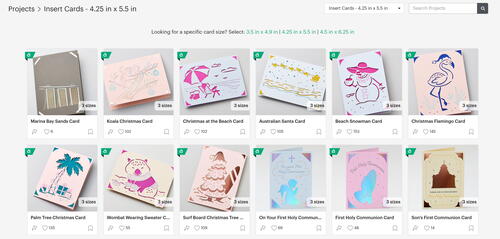
Have the card mat and want to make a card? Well, your process is even easier! Go to “projects” and search for the type of cards you have. In this case, I am searching “insert” but there are also other types like “cutaway.” There are several different sizes, so be sure the card you pick comes in the size that you have. You can find card kits wherever Cricut products are sold.
-
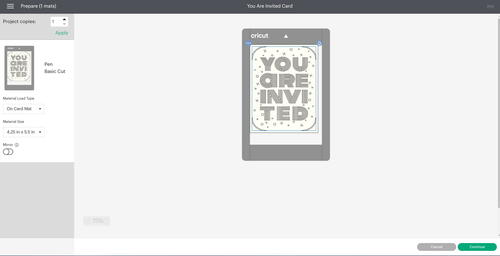
Pick the card you want and then just click “make it.” It really is that easy!
-
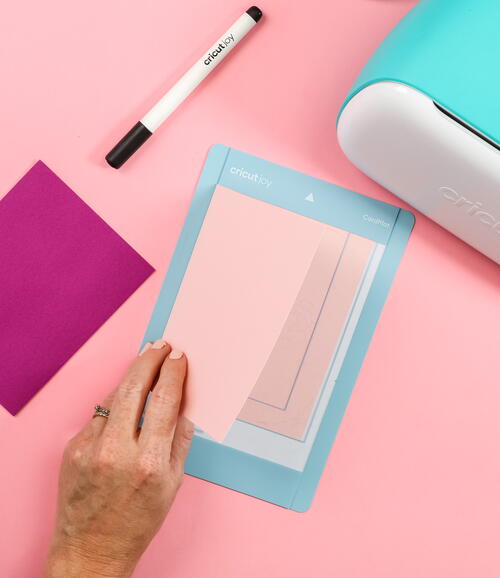
Peel off the liner from the Cricut card mat and add your folded card. Put the back of the card under the flap on the card mat. Push the card all the way up and all the way over to the right, then adhere the front of the card to the sticky portion of the mat.
Note: If you are using Cutaway Cards, be sure to add the backer to the card front before applying to the card mat. -
Pick your card type as your material and make your cuts. If you have writing on the card, Design Space will prompt you to add the pen. Once the machine is done drawing, it will prompt you to add the blade back to the machine. Then it will cut your design from the front of the card. Once the card is done, just remove it from the mat. This is one place where I would use something like the spatula to remove the scrap pieces from the mat.
Pro Tip: When using the 2x2 Card Mat with any Explore or Maker model, be sure to move the star wheels to the center so you do not mar your material. -
To assemble your card, just add the insert portion of the card to the cutouts on the inside of the card on all four corners. If you are using cut-away cards, you would weed away your pieces at this time. That’s it! Your card is complete and ready to give. You don’t even need adhesive with these types of cards.
Whatever machine you have, it is simple to make greeting cards for any occasion. Start with these simple ideas, then work your way up to more complicated designs as your skills improve.


Read Next64 Handmade Cards for Every Occasion