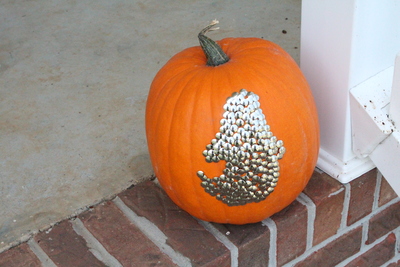
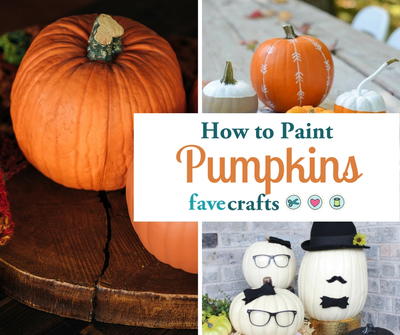
How to Paint Pumpkins for Halloween

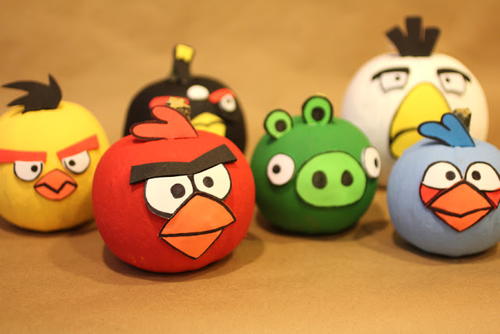
Decorating pumpkins can be one of the most engaging Halloween activities of all. While carving pumpkins can be incredibly fun, it’s not always a clean or safe option when you want to involve your kids in the process. That's why's a great technique to learn is how to paint pumpkins.
Painting pumpkins can be as simple or as complex as you want it to be. If this is a Halloween project for yourself, you can get creative with unique designs or higher quality paints. If you’re brewing up a Halloween party activity, you may find that washable paints suit your needs.
Check out these wonderful no-carve pumpkin ideas and tips below.
Materials List
- A pumpkin with a smooth surface and no soft spots or blemishes. See below for ideas on specific pumpkin types.
- Newspaper
- Paper towels or baby wipe to clean pumpkin/clean up
- Craft sealant to set design
- Acrylic, tempera, or spray paint (Krylon)
How to Paint a Pumpkin
Pumpkin Painting Tips:
-
Pick your pumpkin based on your needs. If you're planning on working with lighter colored paints, a white pumpkin should do the trick. If you're looking for a Halloween craft for kids, bright orange pumpkins make a great canvas for tempera paint.
-
Clean your pumpkin, getting rid of any dirt that might remain. This will provide a nice, smooth surface for you to paint on.
-
Spread newspapers over your work area to avoid unwanted spills onto surfaces. Feel free to set up your pumpkin painting station on a table or even the kitchen floor if that works best for you.
-
When painting an entire pumpkin with a solid base color, it's helpful to work with one section at a time so you always have a place to hold your pumpkin steady. If you're painting a second layer, it's also easier to do it this way to allow each area time to dry between coats. Be careful to not paint too low on the bottom of the pumpkin, as this may cause it to stick to the newspaper.
-
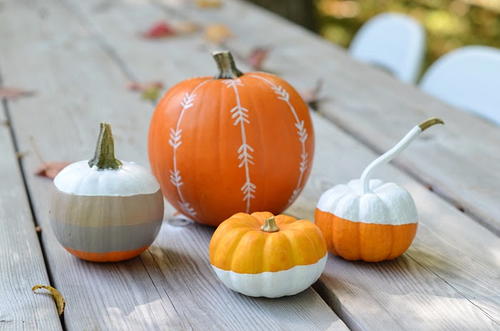
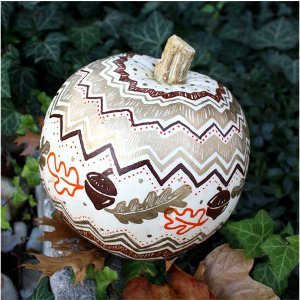
Try experimenting with different techniques. To achieve a textured look, pour paint directly onto your pumpkin, allowing paint drips to dry. Repeat with as many colors as you want. For a thicker texture, repeat this step as many times as desired. If you're looking for a more modern design, use painter's tape to create lines across your pumpkin as many times as you like. After painting over your pumpkin with two-three coats, allow to dry completely. When you remove the tape, you'll have amazing geometric designs.
Types of Pumpkins:
This isn’t mission-critical when you’re learning how to paint a pumpkin, but some of these names are so fun and it’s a great opportunity to teach your kids a lesson on pumpkin types. Here are some common pumpkins great for painting or decorating.
-
Big pumpkin types: Howden, Connecticut Field. These two are great for carving but also provide generous canvases for painting.
-
Small and mini pumpkin types (orange): Baby Bear, Munchkin, Sugar Pie, We Be Little, Baby Pam. These are great to stock up at a grocery store, farmer’s market, or apple orchard/pumpkin patch and use for a Halloween party activity.
-
Small and mini pumpkin types (white): White Ghost, Casper, Lumina, Baby Boo, Cotton Candy. These are a wonderful option if you’re looking for a non-traditional look. Plus, having a white canvas to paint on helps lighter paint colors stand out.
Best Paint to Use:
-
Tempera: A lovely option if you seek a Halloween party activity or Halloween craft for kids. Tends to crack over time but it washes out easily out of non-pumpkin-y surfaces.
-
Acrylic: Not as forgiving as tempera, but won’t crack over time. A good option when you’re seeking to make DIY Halloween decor that will look classy and last longer.
-
Spray Paint: Krylon brand is a good option with this one. If you use spray paint to make your Halloween craft, make sure you’re working in a well-ventilated area. If it’s a nice day you might also consider crafting outside.
Tips on Preserving Your Pumpkin Masterpiece:
-
Avoid direct sunlight to make it last longer.
-
Keep it in cool environments if possible.
-
Use a craft sealant to set your design.
Great Pumpkin Painting Projects to Get you Started


Why This Halloween Craft is Scary Great!
As editors for an arts & crafts website, we have compiled a list of the top 3 reasons why you should try our craft project on How to Paint Pumpkins for Halloween:
1. Safe and Kid-Friendly: Painting pumpkins is a safer alternative to carving, especially when children are involved. With no sharp tools involved, kids can participate in the creative process without the risk of injuries. Plus, using washable paints makes for easy cleanup in case of any messes.
2. Endless Creative Possibilities: When it comes to painting pumpkins, the creative possibilities are truly endless. From spooky Halloween designs to cute and whimsical patterns, you can let your imagination run wild. Whether you're an experienced artist or a beginner, painting pumpkins is a fun and relaxing way to express your creativity.
3. Long-Lasting Decor: Unlike carved pumpkins that can quickly rot and attract pests, painted pumpkins have a longer shelf life. By using quality paint and sealant, you can create beautiful Halloween decorations that will last throughout the season. You can proudly display your painted pumpkins both indoors and outdoors, adding festive flair to your home.
So, grab your paintbrushes and pumpkins, and get ready to unleash your creativity with our How to Paint Pumpkins for Halloween craft project!
What's your favorite Halloween movie or character?
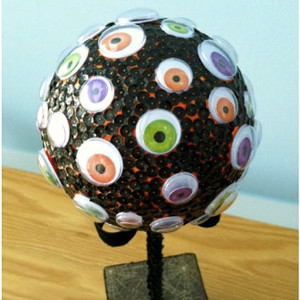
Read NextCreepy Googly Eyes Topiary
Your Recently Viewed Projects
Thanks for your comment. Don't forget to share!
BeckySue
Aug 25, 2016
I can't believe I'm looking at Halloween craft already! But it's just about that time! I really like these painted pumpkins. They last longer than cutting into the pumpkins and it's not as messy. I like doing this with my preschoolers in my home daycare. I used to carve and we dig out the seeds but that's like a different activity. This painting pumpkin activity is something that they can take home and it'll last a while if we seal it. Thanks for the idea!
Report Inappropriate Comment
Are you sure you would like to report this comment? It will be flagged for our moderators to take action.
Thank you for taking the time to improve the content on our site.