Halloween Photo Canvas
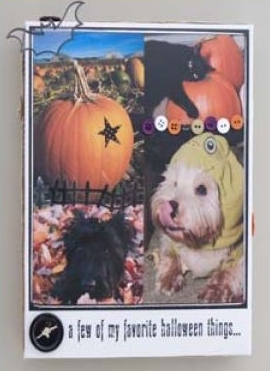
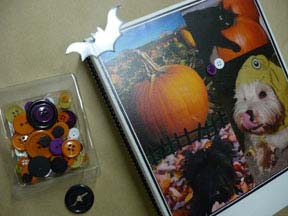
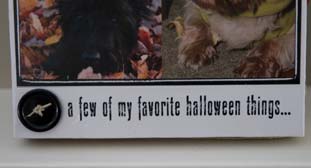
Create a collage of Halloween images adorned with bats, buttons and more. In this project, the collage becomes a photo canvas for hanging on the wall at Halloween. The transfer medium works as a glue for adding the embellishments. Use rub-on transfers to add words such as in this example "a few of my favorite Halloween things..."
Materials:
- Tilano Canvas Transfer Kit
- Buttons: Daisy D’s
- Rub on: Daisy D’s
- Ribbons & Twine: Various from craft supplies
Total Time: 2 Hours
Instructions:
- Make a collage of your images using photoshop or other photo editing software. Seal your canvas and image as instructed in the Canvas Kit Instructions (provided in the kit or online at www.tilano.net).
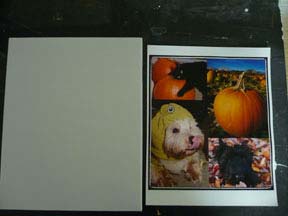
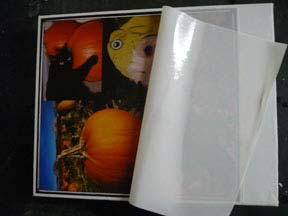
- Reveal image as directed in Canvas Kit instructions. Use transfer medium to coat transferred image with two layers. This will protect your canvas and increase durability.
- When the wide ribbon has dried add another narrower colored ribbon using them same method that was used in Step 3. Once this ribbon has dried wrap two layers of thin twine around the frame. To hide where the ribbon ends meet I added large buttons over the seams. These buttons also helped hold the twine in.
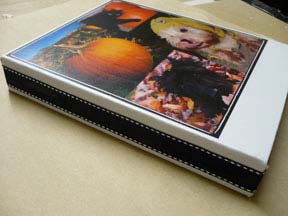
- Using the Tilano medium as glue add embellishments. Wrap a layer of wide ribbon around the outer frame of the canvas. Once again use the medium as glue to attach the ribbon to the canvas.
- Use the rub on transfer to add words to the bottom of the canvas. (I was thrilled to see how beautifully the rub on worked with the canvas!)
Congratulations!
Your Halloween Canvas is done!
Read NextMonster Mash Halloween Favors

