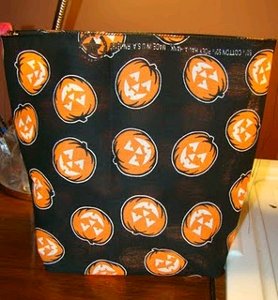
Bandanna Trick or Treat Bag
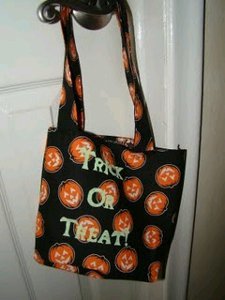
Make a bandanna trick or treat bag with these Halloween sewing projects from Fawnda Norman. This bag is made from a bandanna and some stenciling, and your child can use it when collecting candy on Halloween night!

Materials:
- A bandanna
- Coordinating thread
- Sewing machine
- Scissors
- Optional: Freezer paper, paint

Instructions:
- Fold your bandanna in half with right sides together.
- Measure and cut 12 inches in length. (Save the extra piece for the straps)
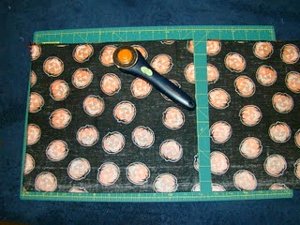
- On the bottom corners (on the fold) cut out 2 X 2 inch squares.
- Now grab your extra piece and cut two 4 inch strips from it for the straps. (Mine are still folded in half)
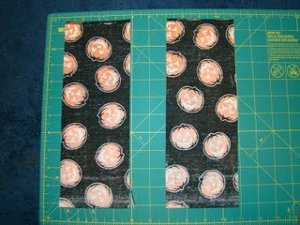
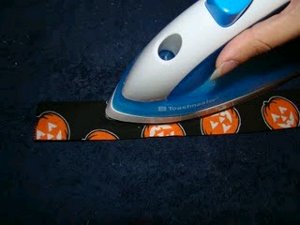
- On each strap, fold over 1/4 inch on each edge lengthwise and iron the fold.
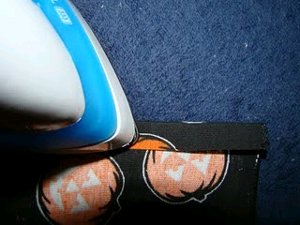
- Now fold you strap in half (lengthwise) and iron the fold. Now you should have no unfinished edges showing. (The ends should be finished from the bandanna.)
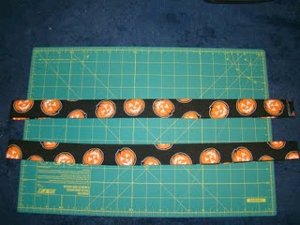
Here is what my 2 straps look like.
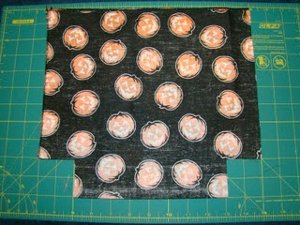
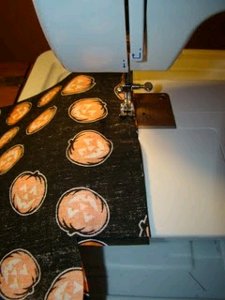
- Now back to the bag. Sew along both sides with a 1/4 seam. (Do now sew the square cut-outs)
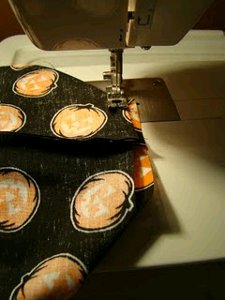
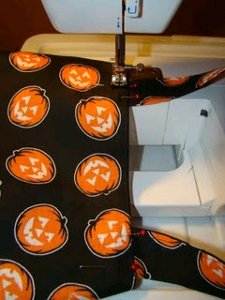
- Now we are going to square off the bottom. Pull open the square so that the seam that you just sewed is at a right angel to the edge. (like shown below:)

- Now sew along that unfinished edge. Repeat for the other corner.
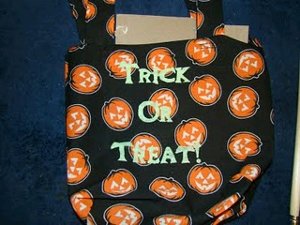
- Flip right side out and look at your bag taking shape!
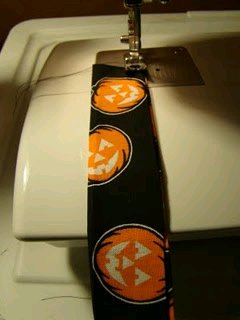
- Now lets work on the straps again. Sew the open edge with a 1/8 seam (or as close as you can get to the edge.) Repeat for the other strap.
- Decide where you want your straps places. I have mine 2 inches from the seam on each side. Pin your straps in place.

- Sew your straps in place. Since I am expecting my son to get a TON of candy I sewed back and forth a few times.
- I freezer paper stenciled the letters on. I cut out my letters for "trick or treat" and ironed the freezer paper to the top of the bag. I also place a piece of cardboard inside the bag so that the paint does not run through.
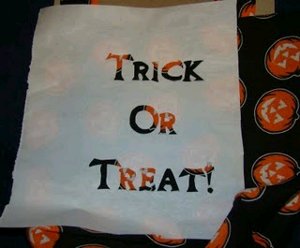
- Dab on your paint and let dry.
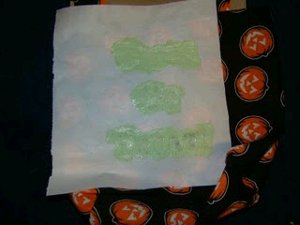
- Pull off the paper and admire the cuteness. I am also going to add my son's name the other side of the bag, so that no one will steal my son's candy!
Your Recently Viewed Projects
Thanks for your comment. Don't forget to share!
victoriasorrells 7 940927
Aug 28, 2013
I've seen people do this often, but it's best not to personalize children's things. Children have been snatched because a pedophile saw their name on a personal item the child was carrying and called the child by name, leading the child to believe that this person somehow knew them.
Report Inappropriate Comment
Are you sure you would like to report this comment? It will be flagged for our moderators to take action.
Thank you for taking the time to improve the content on our site.