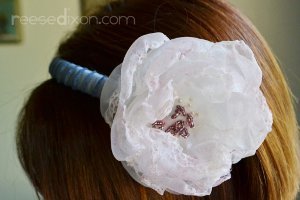
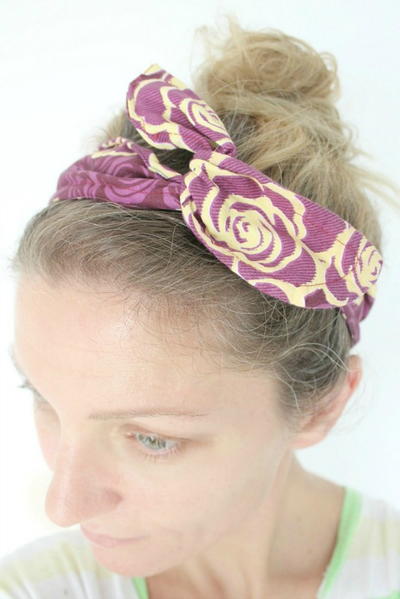
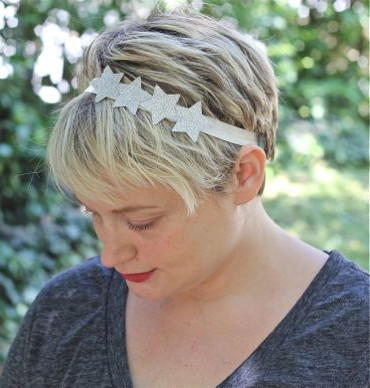
Organza Floral Headband
Give every outfit a floral flair with this Organza Floral Headband. This easy-to-make floral headband is great for girls of all ages and is a fun way to liven up both casual looks and dressy outfits. This project does involve working with an open flame, so make sure kids and teens have parent supervision when making this project.

Materials:
- Headband
- Fabric to wrap around the headband (I chose taffeta because it dyes beautifully)
- Seed beads
- Beading needle
- Thread
- Candle
- Organza fabric for the flower
- Dye
Video:
Instructions:
- The flowers themselves are made in just the same way as before. Cut five or six blobby five pointed flowers – like vague gingerbread men – and hold them over a candle until the hot air melts the edges and curls them up. Vary how much curl each flower gets by melting some more than others.

- Stack up your finished flowers and tuck them inside each other until your satisfied with how they look. Be sure and turn the flowers as you stack them so that the petals aren’t all just lined up straight on top of each other.

- Thread a beading needle and come up from the bottom of your flower stack. To make the stamens thread 10 or 12 beads onto your thread then go back down close to where you came up. Repeat this process as often as you’d like until you’re satisfied with the look. I like to make an odd number of stamens – since nature is very odd you know, and then scatter some smaller beads around and stitch those in place to look like speckles of pollen.

- This time I wanted to experiment with dying my flower. I wanted to get a variegated look like you see on so many roses and tulips, where the color starts out bold on the tips and fades down as you reach the base of the bloom. I got to play with Rit’s new Color Perfect dye which is a new kind of dye that you can just apply directly to the fabric. My kit came with a spray attachment that fit directly onto the bottle, so with a few squirts I was done. No rubber gloves, no big pots of dye, just squirt squirt and set aside to dry.

- Once it dries you’re left with a very delicate speckled variegation. I only sprayed it on the very edges, so as the fabric absorbed the dye it automatically made that fading effect I was hoping for.

- I decorated my headband by dying the taffeta on the stovetop with Pearl Gray. The edges of the fabric took on more dye than the middle, so I ripped a strip off and wrapped it around the headband letting that dyed edge create a stripe effect.

- I cut a circle of felt large enough to cover all my stitches on the back of the flower and used some liquid glue to stick it to the headband, and more glue to stick the headband to the flower. The felt circle should be big enough to reach around the headband and glue on to the flower. Let it dry.

- Where you put the flower on the headband makes all the difference for how you can wear this. My flower is pretty giant so I glued it down on the side where it would rest just above my ear. If you make the flower smaller you can attach it closer to the top which is great for younger girls, and putting it somewhere in between when the flower is big gives you a fascinator effect.
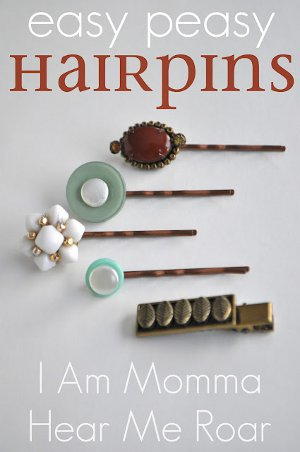
Read NextEasy Peasy Hairpins