Liquid Sculpey® Purple Aura Hair Pin

Liquid Sculpey® is so versatile, especially when it comes to creating fashion accessories! In this tutorial purple, silver, and gold polymer clays are swirled together to make a groovy hair adornment. Follow these easy steps to make your own beautiful and unique Purple Aura Hair Pin!
A few reasons I love working with Liquid Sculpey®:
- It’s easy to use.
- Endless design possibilities.
- The result is both flexible and strong!
- No kneading required (which is wonderful because I have arthritis in my hands).
- No harsh smell.
- Simple to clean up.
- It’s fun!
Time to CompleteUnder an hour
Main MaterialClay
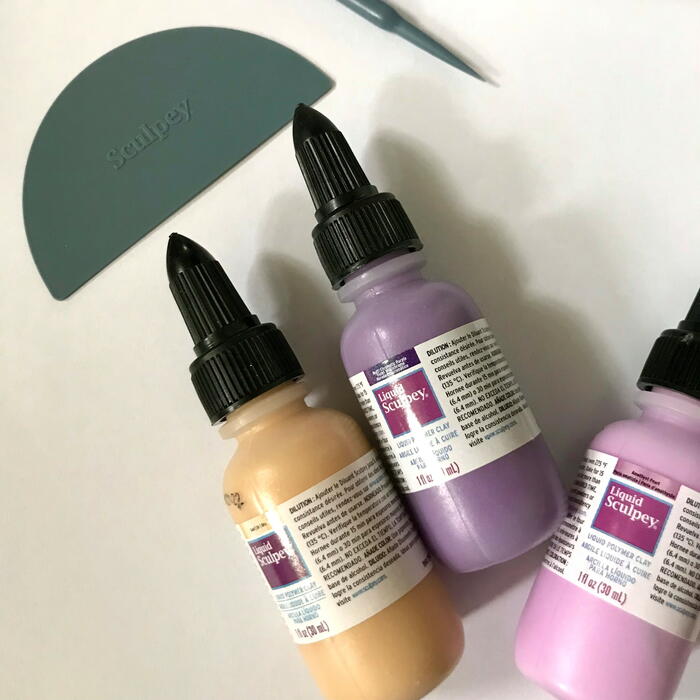
Materials List
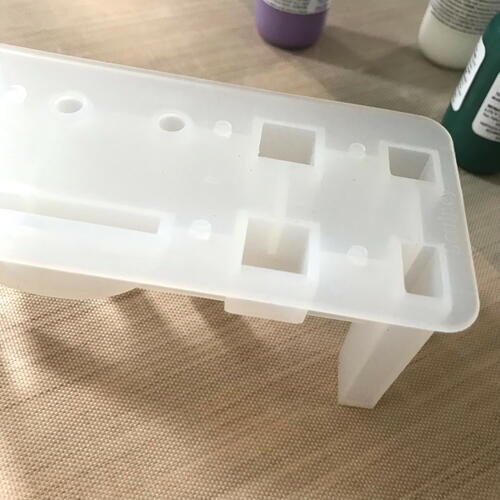
- Sculpey Tools™ Oven-Safe Silicone Mold: 3D Jewelry
- Liquid Sculpey® in Multi-Chromatic Purple, Amethyst Pearl, Gold, and Silver
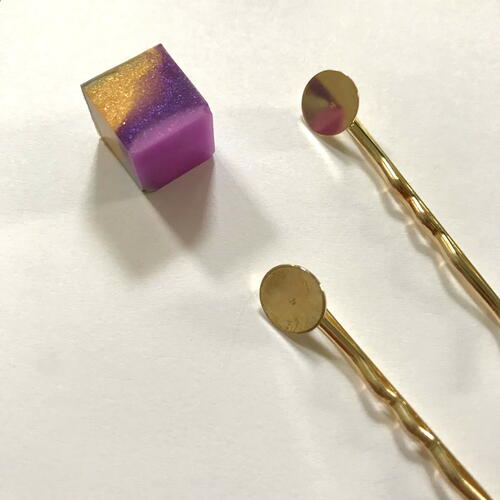
- Gold-plated hair pin (or any metal color you prefer)
- Superglue
- Toothpicks (or similar disposable tool)
- Oven-safe baking dish
- Oven mitts
Instructions
-
Preheat the silicone mold according to the instructions on the package. It will be warm when removing from the oven so do this carefully (use a potholder and place it on a heat-safe surface).
-
When the mold is cooler to the touch place it on your (covered) work surface.
-
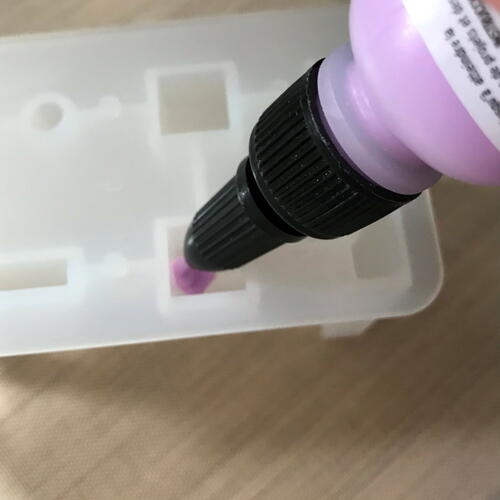
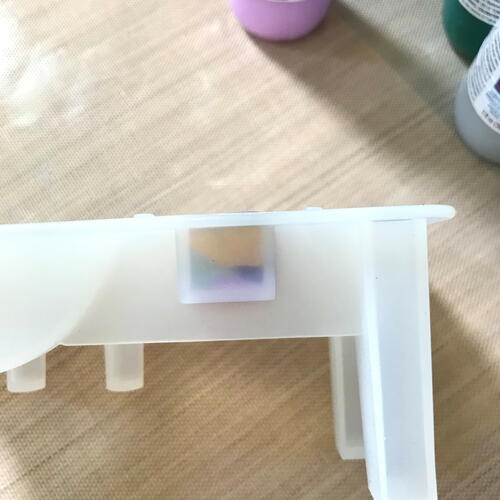
Now the Liquid Sculpey® clay can be applied to the mold! Shake the (closed) bottles thoroughly before use. For this project use the Sculpey Tools™ 3D Jewelry mold’s small cube shapes. Layer small amounts of each clay color on top of each other until the shape is filled to the top.
-
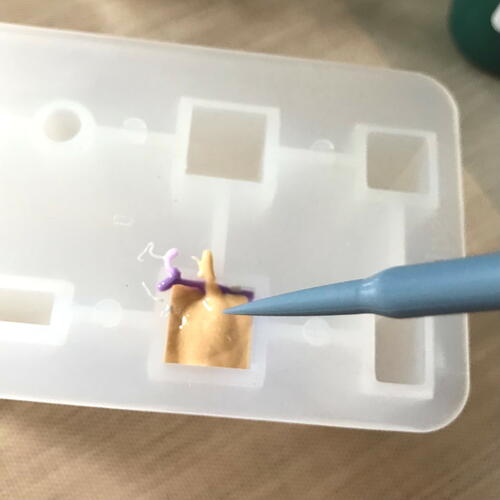
Use toothpicks (or similar disposable or washable tool) to carefully swirl the clay around a few times. This will add to the dimension of the design.
-
Get air bubbles out of the clay by popping any you can see with a toothpick. The tray can also be lifted slightly and gently dropped down to force out any remaining air bubbles.
-
Next, use the enclosed squeegee tool to remove excess clay. Gently scrape it along the top of the mold and wipe off any excess (if there’s a lot scrape it into a container to reuse).
-
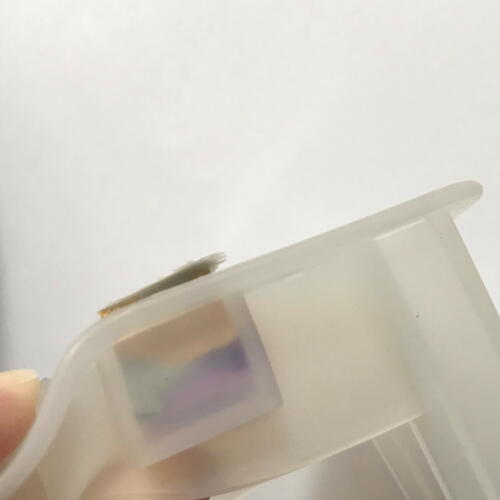
Carefully place the filled mold into an oven-safe dish (I used ceramic). Be sure it stays evenly balanced or the liquid clay can run out of the mold.
-
Bake according to the Liquid Sculpey® clay’s instructions on the package. Check it in increments of 5 minutes, and remove when the clay is relatively solid. When making this tutorial the Liquid Sculpey® took about 15 minutes in the oven to harden, but this can vary based on your oven and clay thickness.
-
Carefully remove the mold from the oven (use protective mitts) and allow it to cool.
-
Pop the clay pieces out of the molds onto a clean work surface. Trim or pull off the excess clay around the shape.
-
Glue the cube shape onto the hair pin using superglue. Allow the hair pin to dry for 24 hours before wearing.

Read NextSassy Hair Bow