Recycled Newspaper Favors
Create recycled newspaper favors to give away at your next party. Learn how to craft with old newspapers and have a blast doing it.

Materials:
- Newspaper
- Scissors or Paper Trimmer
- Glue
- Fabric
Instructions:
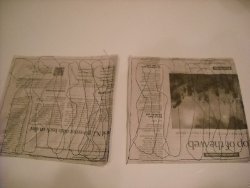
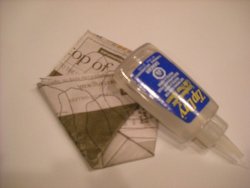
- I started by laying out pages of newspaper onto a flat surface. I stacked about 3 or 4 pages together. I cut the pages into quadrants so I could get a size that would fit into my 12 x 12 paper trimmer. I put the four layers of paper into my paper trimmer and cut 8" squares. I put a little glue between the pages to hold in place while I sewed the edges of the newspaper together and then randomly sewed squiggled lines up and down the squares.
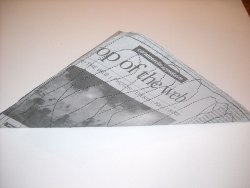
- Now comes the folding part... Fold the stitched paper in half so it looks like this.
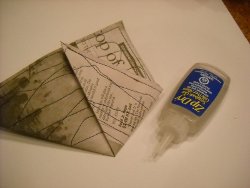
- Now fold one corner in, like this... use some paper glue to hold the flap in place.
- Repeat for the opposite corner.
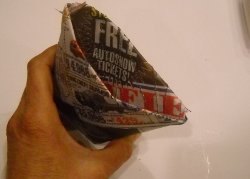
- Fold one of the top flaps down and secure with paper glue.

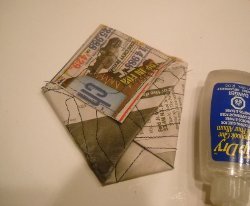
- Flip the pouch over and repeat. You now have a small opening like this.
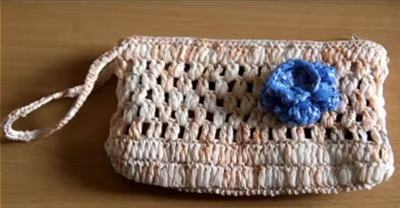
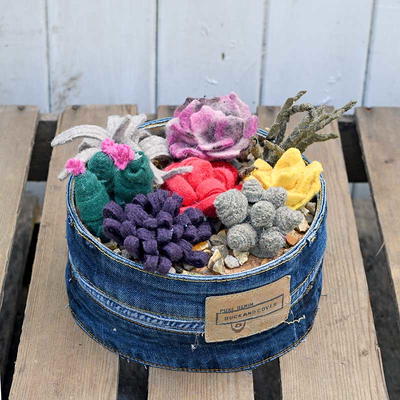
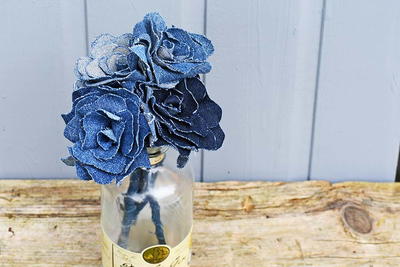
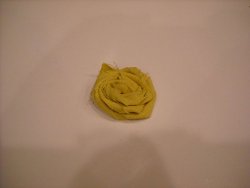
- I am loving all the rolled fabric flowers I see popping up in projects so I decided that is how I would embellish my bags. Here is how to create a rolled fabric flower.
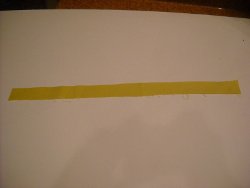
- Cut a 1" x 12" strip of fabric. You also rip the fabric to create frayed edges which adds to the rustic look of these.
- Starting at one end, twist the fabric strip towards you and continue until the entire strip is twisted. You may want to use a little fabric glue on one end to keep the twst in place. Once the strip is twisted, roll the strip in a sprial like this.
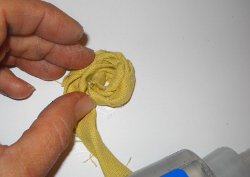
- Your flower should end up like this... place a little fabric glue on the end of the strip to secure. You might also want to glue the rolled flower here and there to secure.
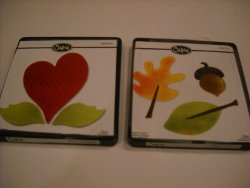
- I chose two Sizzix die cuts and National Nonwovens wool felt to create pretty leaves for my flower.
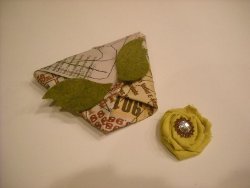
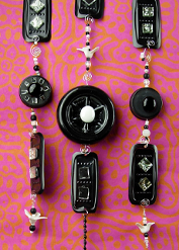
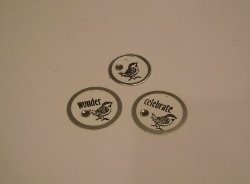
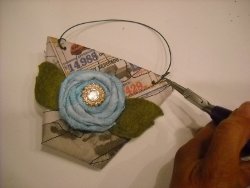
- I also decided to add some round metal rimmed tags, stamped with sentiments and a little birdy to further embellish my fun bag.
- Attach the tags and wire handles by punching a small hole into the sides of the bag front and back, and use round nose pliers to bend and secure ends.
How to use these? Here is a list of ideas:
- Fill them with wrapped candies and hang in a co-workers space for an instant pick me up
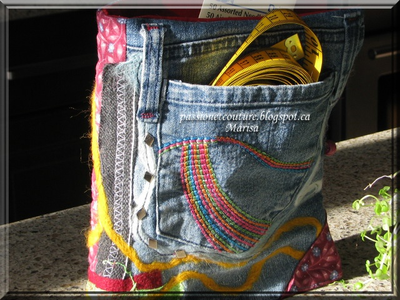
- Insert a gift card for a very creatively presented surprise
- Fill with seed packets and give to a garden loving friend
- Hang on a neighbors door filled with wrapped cookies for a sweet "just because" gift
- Fill with paper clips, note pads, pencils, etc for a quick and easy teacher appreciation gift
Your Recently Viewed Projects
Thanks for your comment. Don't forget to share!
Ask93 7929298
Apr 21, 2016
Wow so many techniques are explained for this tiny project, that's great. It might be a good idea to list sewing machine in the list of materials needed, just saying. I wonder though how you find working with newspapers? Do your hands get all dirty from the inks? If not what do you do?
Report Inappropriate Comment
Are you sure you would like to report this comment? It will be flagged for our moderators to take action.
Thank you for taking the time to improve the content on our site.