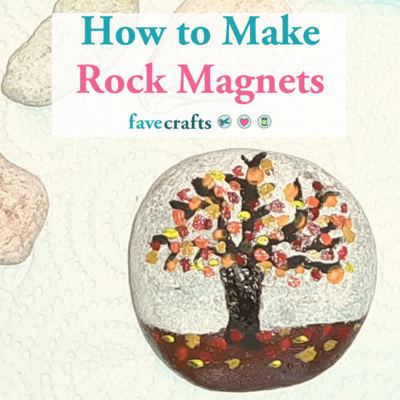
How to Make Rock Magnets

Painted rock magnets are a fun way to create a cute and personalized project. It's a great way for kids, adults, and crafters of any skill level to make something unique and have fun doing so.
Estimated CostUnder $10
Time to CompleteIn an evening
MaterialsNature Material, Paint
Primary TechniquePainting

Project TypeMake a Project
Materials List
- Flat rocks that are about 1-2 inches in diameter
- Craft paints of your choosing
- Paint brushes
- Magnets
Instructions
-
To begin your project, you'll want to find flat rocks that are about 1-2 inches in diameter. Flat rocks are easier to paint on. Wash any rocks you find and dry them before you start to apply paint.
-
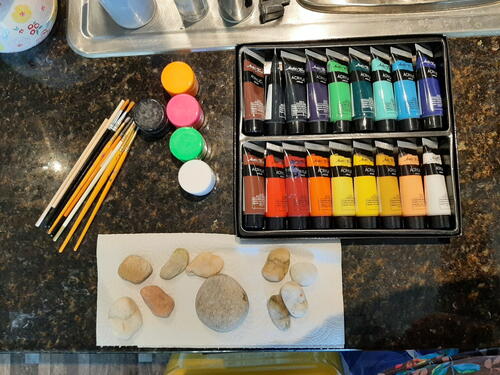
Once your rocks are completely dry, lay out your materials. You'll need craft paints of your choosing, paint brushes, and the magnets you want to use.
-
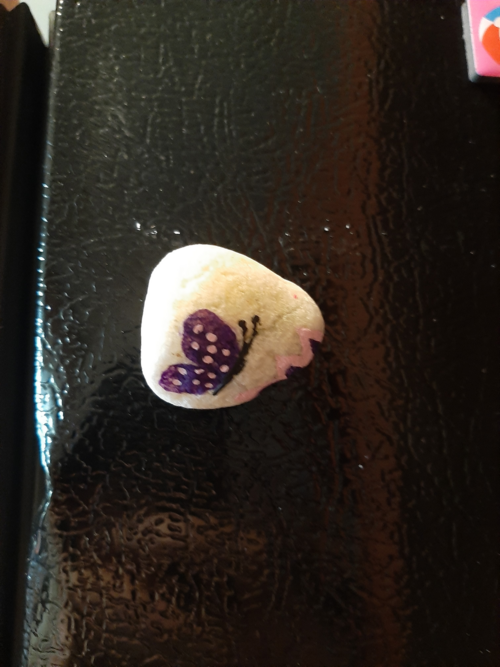
Then, think of ideas to paint the rocks with. You can decorate them with a holiday theme, an animal, a nature scene, or anything you can think of!
Ideas for What to Paint on Rocks
- A ladybug
- A bird
- A turtle
- A favorite animal or pet's face
- Polka dots
- Alphabet letters
- Spring Easter eggs
How to Paint a Mountain Scene
-
To paint a mountain scene, paint mountains in black with a fine paintbrush.
-
Paint a green line at the bottom of the rock for the grass.
-
Fill in the mountains with a brown color.
-
Paint a small yellow dot at the top of the mountains with blue circles on either side of it to for the sun and clouds.
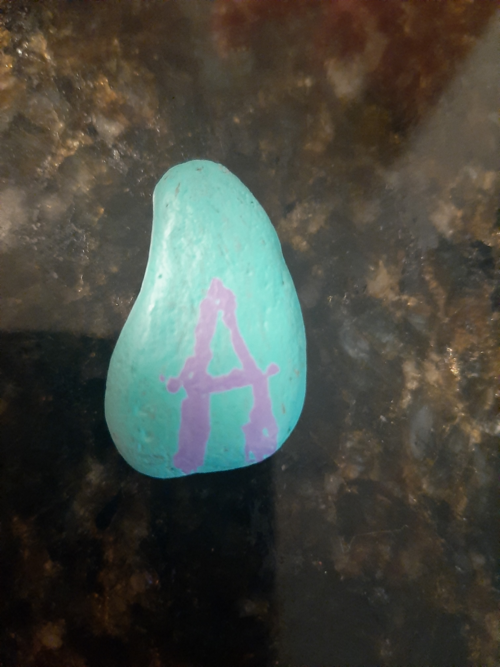
How to Paint Alphabet Magnets
Painted rock magnets can be a learning toy as well.
-
Choose a vibrant color to paint a solid color background on the magnet.
-
Pick a contrasting color and paint a letter on the rock.
-
Alphabet rock magnets can help your little one learn letter sounds and spelling as he/she moves them around on the fridge.
How to Paint an Autumn Tree
A tree with falling leaves is the perfect picture to paint for the fall.
-
Start by painting a thick brown line in the middle of the rock. Paint thinner smaller lines coming out of the middle one.
-
Add yellow, orange, and red dots around the thin lines.
-
Paint the bottom of the tree with a lighter brown to signify the ground. Once that dries, add more yellow, orange, and red dots. These dots will look like leaves falling on the ground.
-
Now you have a fall magnet to celebrate the beauty of fall colors!

Great Tips for Painting Magnets
-
After the paint dries on any of your designs, think of applying glitter nail polish over your design as a way to protect the paint from wearing off.
-
It doesn't matter your painting skill level when you create a painted rock magnet; it's about having fun and getting creative. Explore with colors and patterns to make a beautiful set you can keep or give as a gift!
Choose What Magnets to Use
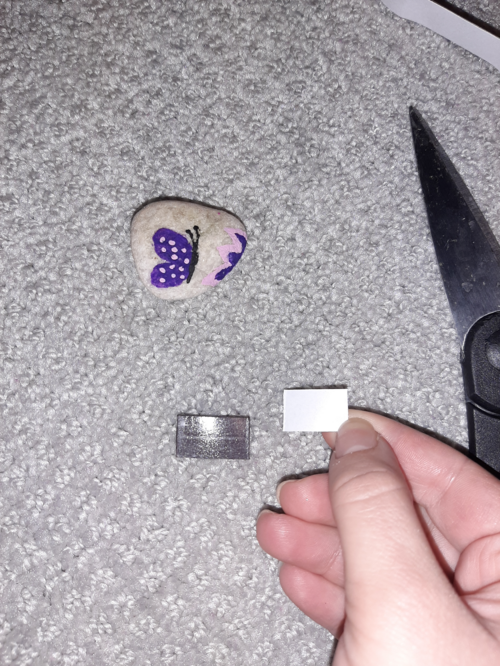
There are a few choices to use for the magnets on the back of the rock.
-
A magnetic strip with adhesives can be cut and placed on the rock so it hangs in place.
-
Small rare earth magnets can be glued on the back of the rock. Simply dab a blot of super glue on the back of each magnet and attach it to the rock. Stay away from a hot glue since the heat makes magnets lose magnetism.
A Final Tip
Painted rock magnets are all about choices. You're the creator. You choose what type of rock you want to paint on. You choose the design and colors for your rock. You choose what magnet you want to attach to your rock and then enjoy your creation!
More Recycled Crafts You'll Love
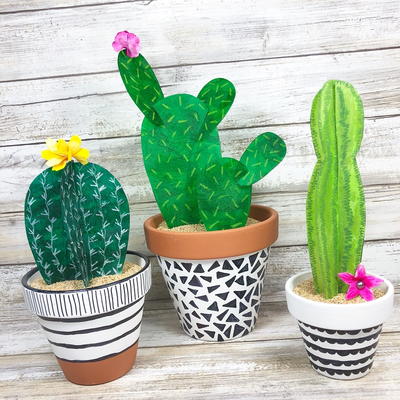
One fun project we recommend for those who enjoy making rock magnets is creating painted rock cacti magnets. This project is perfect for those who love succulents but don't have a green thumb. It's a great way to add a pop of color to your fridge or magnetic board.
Another great idea is to make inspirational quote rock magnets. You can paint uplifting messages or words on the rocks to keep you motivated throughout the day. These make wonderful gifts for friends or family members who may need a little extra encouragement.
For those who enjoy a more natural look, why not try making photo transfer rock magnets? You can transfer your favorite photos onto small rocks to create personalized magnets. This project is a great way to showcase your favorite memories or loved ones in a unique and creative way.
No matter which project you choose, making rock magnets is a versatile and enjoyable craft that can be tailored to your personal style and preferences. Happy crafting!
Read NextModern Recycled Faux Cactus

![Pill Bottle Crafts: Reuse Pill Bottles [15 Ideas]](http://irepo.primecp.com/2017/06/334076/PILL-BOTTLE-CRAFTS-Header_Category-CategoryPageDefault_ID-2274135.jpg?v=2274135)