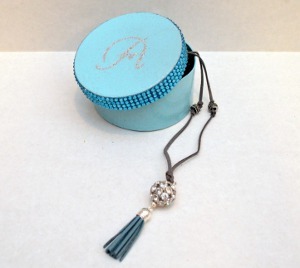
Monogram Jewelry Box and Statement Necklace
 Visit Amy at One Artsy Mama.
Make a beautiful piece of jewelry and a dazzling gift box with this Monogram Jewelry Box and Statement Necklace tutorial. This set is the perfect gift for your friend, sister, or cousin. Since this DIY tassel necklace is so chic and versatile, it works with practically any wardrobe. As if a handmade accessory wasn't personal enough, you can put this one-of-a-kind necklace in a monogrammed gift box. Learn how to make a jewelry box with rhinestone edging on the top. It's a delightful detail worthy of your fabulous friend.
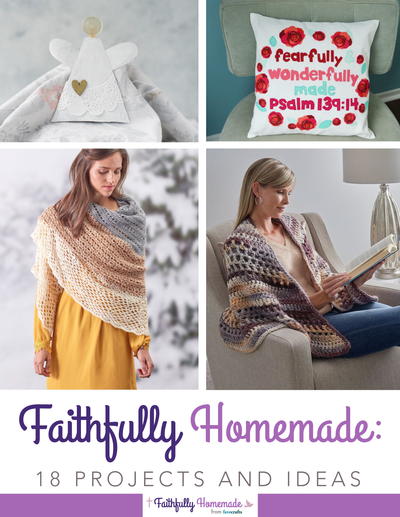
You can find this project, as well as many other fabulous blogger projects, in our new eBook, The Best Blogger Craft Ideas 2014: Decoupage, Sewing, Jewelry Making, and More free eBook. Download your own free copy today!

Materials:
- Plaid Mod Podge Gloss
- Plaid sponge brush
- Plaid Martha Stewart monogram stencil
- Plaid Martha Stewart fine silver glitter
- Krylon round box
- Krylon aqua spray paint
- Darice David Tutera adhesive rhinestone sheet
- Leather cord
- Darice tassel
- Darice beads
- Scissors
- Eye pin
- Jump ring
- Needlenose pliers
- Wire cutters
Instructions:
Monogram Jewelry Box
- Spray paint box using several light coats of Krylon aqua spray paint. Let dry.
- Trim rhinestone sheet and adhere to edge of the lid.
- Place a monogram adhesive stencil on the lid and apply Mod Podge to the letter.
- Remove the stencil, then sprinkle fine glitter onto the Mod Podge. Shake off excess.
Statement Necklace
- Place small silver bead and round rhinestone bead on an eye pin. Create wire loop at top of pin.
- Attach eye pin to aqua tassel.
- Attach jump ring to other end of the eye pin.
- Place rhinestone and tassel accent on leather cord. Tie a knot above the accent.
- Tie a knot in each side of leather cord. Place a small bead above each knot.
- Tie a knot on each side of the cord above the small beads.
- Knot leather cord at the top.
Read NextBasket Hostess Gift Ideas
Your Recently Viewed Projects
Thanks for your comment. Don't forget to share!
flowergirl
Apr 30, 2017
I love this project. Its step by step tutorial is so handy. This makes such a cute gift for my sister's engagement party. The round box is so vintage.
Report Inappropriate Comment
Are you sure you would like to report this comment? It will be flagged for our moderators to take action.
Thank you for taking the time to improve the content on our site.