Quick Seed Book
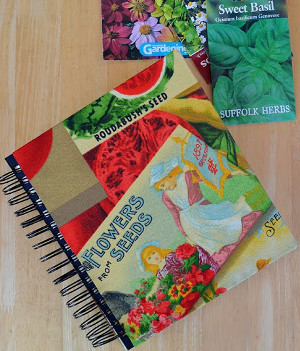
Thanks to digital photography, our homes are now filled with empty photo albums that nobody knows what to do with. With this Quick Seed Book for Organizing Gardens, however, you can turn your unused photo albums into a DIY garden project. This tutorial will show you how to decorate a photo album and turn it into a cute place to store your seeds. This fun DIY garden idea will have you feeling inspired, organized, and ready to roll up your sleeves and get growing.

Materials:
- Album
- Acrylic paint (optional)
- Fabric (enough to cover the album)
- Newspaper (for protection)
- Spray mount
- Seeds
Instructions:
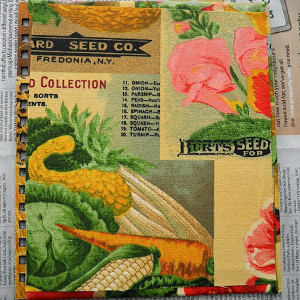
- Gently pull the front and back covers of the album off the spiral connector. If the inside covers are a neutral colour then just visualise in your mind that the insides are now going to be turned around and used as the outward facing sides. If the design on the inside isn't neutral I'd consider painting the spine area with acrylic paint before continuing onto step 2.
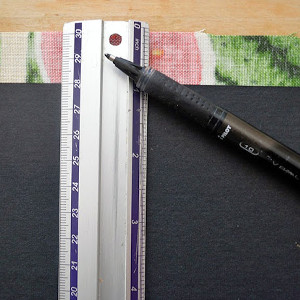
- Cut two pieces of fabric - one for each of the covers. Leave an extra 2-4cm of margin for the top, bottom and one of the sides.
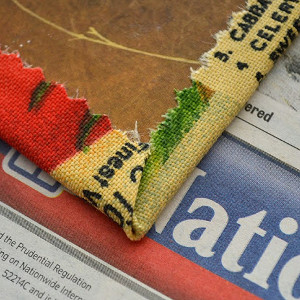
- Lay newspaper over your work space and spray the 'wrong side' of the fabric with spray mount. Wait thirty seconds for it to dry and become tacky and then align and press the front side of the cover on top. Using spray mount is very forgiving since you can peel the fabric off and reposition if need be. Remember at this point that you don't want the fabric overlapping the spiral holes.
- Fold the excess fabric in and create your corners. Start by folding the long side in and pressing down. Then take the corner fabric along the bottom side and fold it in. With that done, fold the bottom piece up and over the cover and press down. Repeat with the top side to create the second corner.
- Create inside panels. Cut two pieces of fabric that will comfortably cover the inside panels. Spray the 'wrong side' of the fabric with the spray mount, wait the thirty seconds and press the panel into place. Repeat with the second cover.
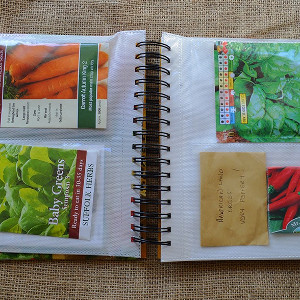
- Place the dapper new covers back on the spiral connector and your project is finished. All that's left to do now is fill your new organiser with seeds. Happy crafting!
Read NextFruit Inspired Mason Jars