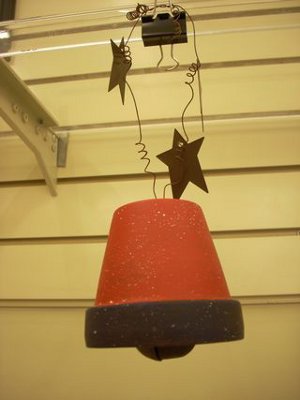
July 4th Clay Pot Bell
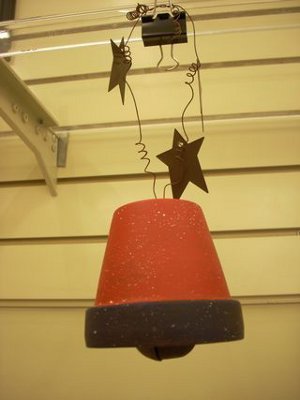
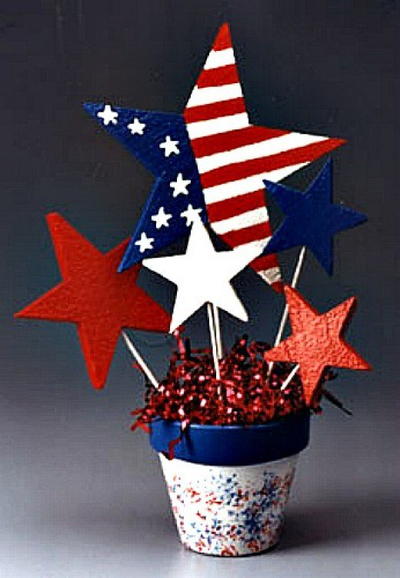
Turn an ordinary clay pot into a July 4th clay pot bell with some paint and patriotic stars. This 4th of July craft idea by Vicki O'Dell is a great way to decorate your home this 4th of July.
Materials:
- 3 1/2" clay pot
- Acrylic Paints: Moroccan red, Blue Velvet, White, Burnt Sienna
- Rusty Stars
- 40mm Rusty Jingle Bell
- 30' Rusty Wire
- Crop-a-dile
Instructions:
- Paint the rim of the pot with Blue Velvet, let dry. Paint the bottom of the pot with Moroccan red, let dry. (I'm an impatient person so I use a heat gun to speed the drying process!) Splatter the whole pot with white paint. NOTE: To splatter paint load a stiff brush with paint and with the end of another brush or a craft stick quickly flick the end of the loaded brush causing paint to splatter onto the pot surface. Remember to splatter AWAY from yourself! :)
- After the splattered paint dries, use a damp sponge and Burnt Sienna and give the whole pot a "wash" of Burnt Sienna. Wipe off any excess. You don't want the wash to be too dark. This helps age it and make it look more primitive.
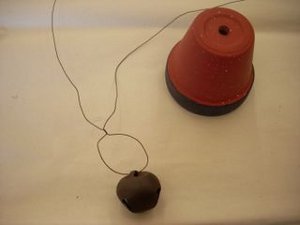
- Cut a 3' length of rusty wire and put a rusty jingle bell in the center. I used the barrel of my heat gun as a form to make a large wire loop. This gives the jingle bell plenty of movement but the big loop also keeps it from pulling up next to the pot where it won't make any noise at all. Give the wire a few twists as shown to hold it in place and then thread the wire up through the hole in the pot.
- Use the crop-a-dile to put holes in the rusty tin stars. It takes quite a bit of muscle but it does work.
Find this project with 20 different 4th of July crafts in the 4th of July Crafts: Blogger Edition 2010 eBook.
Read Next48 Fun 4th of July Decorating Ideas
Your Recently Viewed Projects
Marilyn B
Jun 11, 2017
What fun to make your very own bell! I could see paint ting this several deferent ways, as this project provided S some great creative inspiration. How about some red, white or blue spirals around the body of the bell? Or you could add a band of glitter on the bottom by spreading some thick glue around this area and sprinkle it on, shaking off the excess. This would be a fun project to make with the kids.
Report Inappropriate Comment
Are you sure you would like to report this comment? It will be flagged for our moderators to take action.
Thank you for taking the time to improve the content on our site.

