Quilled Paper Easter Basket
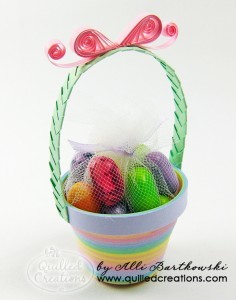
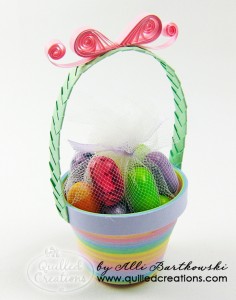
Make a three-dimensional miniature Easter basket with a tight coil of paper strips. The light pastel colors of these paper strips work perfectly for Easter decorating. A braided paper handle finishes this Easter basket.
Materials:
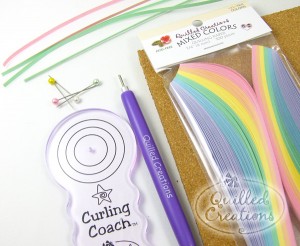
Available from Quilled Creations:
- 1/4″ (6 mm) wide – Lighter Shades mixed paper pack
- 1/8″ (3 mm) wide – Mint Green (three strips) and Pale Pink (three strips)
- Slotted Tool, Curling Coach, Cork
- Circle Template Board (optional)
Other Materials:
- Glue
- Pins
Instructions:
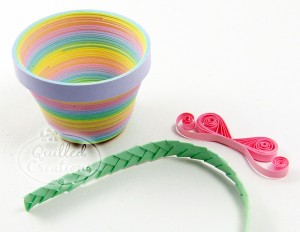
- For the basket’s handle, use the cork and pin to hold a single strip of Mint Green quilling paper. Then glue two more strips perpendicular to it.
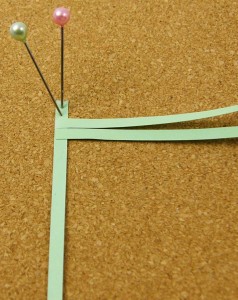
- Alternate folding the paper strips 90-degrees down and across, like braiding. Continue folding the strips until the braid is about 4-inches in length.

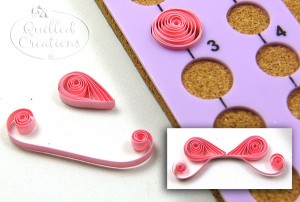
- For the quilled bow, roll two 8-inch (20 cm) strips of paper into teardrop shapes. I used my Circle Template Board (SIZE 3 hole) to help me create uniform coils or teardrops. Roll a 4-inch (10 cm) strip of paper into a “C” scroll. Glue the pieces together.
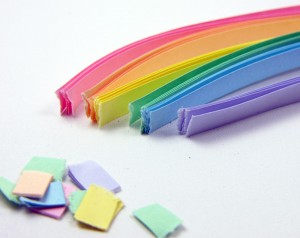
- For the basket, you’ll need 4 strips of each color in the Lighter Shades mix pack of paper or a total of 24 strips (Quilled Creations papers are about 17″ in length). I found it’s easier to separate 4 of each color first. Then I tear off the padded glue at BOTH ends, leaving a “torn or feathered” end. If you can remember the order of the rainbow colors, then get ready to roll! Otherwise, rearrange ALL the paper strips in the order first: pink, peach, yellow, green, blue, purple…pink, peach, yellow, green, blue, purple…etc.
- Next, put the slotted tool inside the Curling Coach and start rolling your first strip of paper. Be sure to roll with even and light finger pressure. TIP: Don’t squeeze the tight coil while rolling or later it will be difficult to shape.
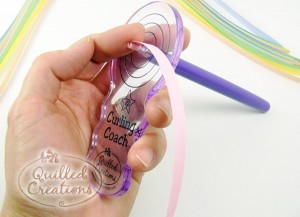
- When you get to the end of the strip, tuck in the next strip of paper! It’s that simple! Just remember to leave enough of the paper’s end sticking out before tucking in the next strip, otherwise the new strip slips right out. This is especially important as your roll gets bigger!!!
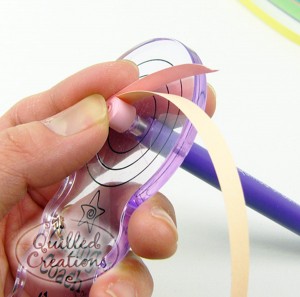
- Finally, 24 strips of paper rolled into a nice tight coil.
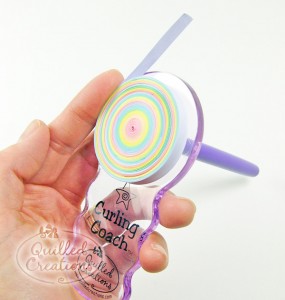
Glue the end to the coil. Hold the end until it’s dry! To remove the coil from the tool, place and hold the tight coil faced down on the table and pull the slotted tool straight up.
Note: If you accidentally let go or “pop” your coil when shaping the basket – don’t worry! The strips are all loose and you can re-roll them again! The Curling Coach tool is a lifesaver when it comes to making these large tight coils!!
- First, shape the coil into a dome. Then squeeze and roll the coil’s outer rim between your fingers to evenly shift the coils into a bowl. Keep an eye on the coils to make sure they shift evenly.
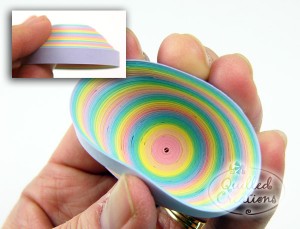
- Flatten the top or bottom by tapping it on a hard table surface. Check to see that it sits flat and the rim is even.
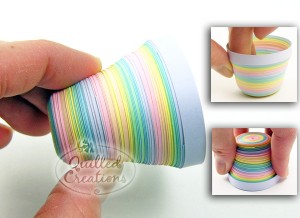
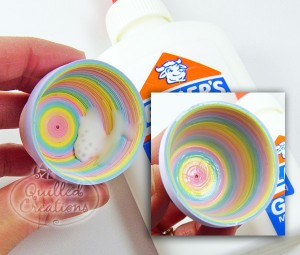
- To hold this shape, squeeze a generous amount of glue on the inside (use a glue that dries clear). Then use your finger to gently spread the glue around all of the inside and top edges. Let it dry.
- Now you have all of the pieces ready to glue together.
Tip: Try a different color combination, maybe all white for little wedding favor baskets or different shades of blues for a nice monochromatic look!
Read NextEaster Cardboard DIY Wreath
Your Recently Viewed Projects
Report Inappropriate Comment
Are you sure you would like to report this comment? It will be flagged for our moderators to take action.
Thank you for taking the time to improve the content on our site.

