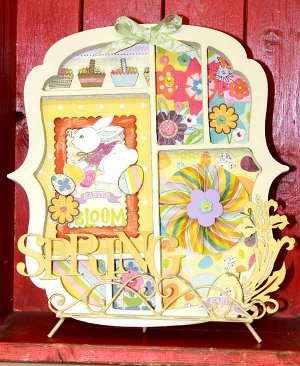
Easter Letter Press Tray
The colors of spring explode from this Easter Letter Press Tray. Perfect for adding a touch of whimsical decor into your spring decorations, this easy project from ADORNit is great for beginners and is a fun project to do with the whole family. This is also a great project for using up any leftover paper scraps or old spring/Easter cards that are just too beautiful to throw away.

Materials:
- ADORNit letter press tray
- Stamps and ink
- Various pieces of paper
- Adhesive
- Ribbon
Instructions:
-
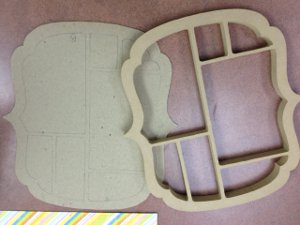
First step is to trace the chipboard provided to the outside shape of the wooden tray. At this step I also traced the shapes of the squares inside of the tray. This helped me know where I needed to lay the paper and give me an idea of my design space.
-
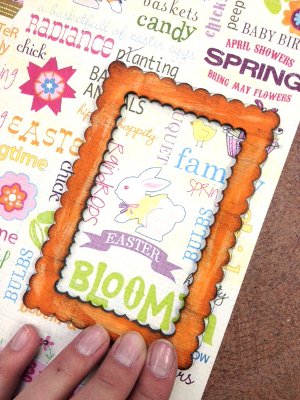
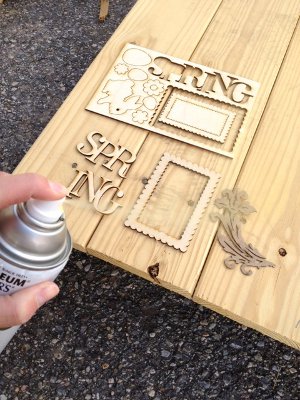
Inside the wood kit you will find darling Easter Wood Shapes. These wood shapes are easy to press and pop out. I used the largest scallop frame and painted it orange with craft paint. I’m really into vintage so I distressed it lightly with a brown stamp around the edges. I picked a spot on the word paper to go inside the frame.
-
I had a can of yellow spray paint on-hand which made painting the flourish chipboard and spring wood shape super easy!
-
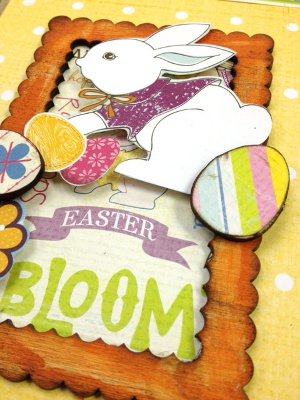
I used all the wood shaped eggs and covered them with paper.??The smaller eggs are placed next to the bunny and add a fun dimension. I also used the bunny wood shape to pop it out of the frame.
-
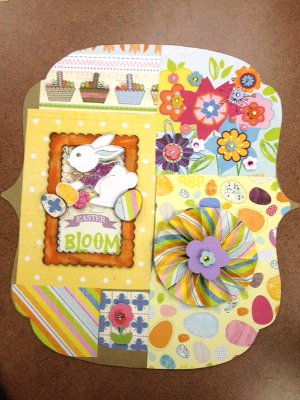
This picture is a finished view of when I was done laying the paper on the chipboard and how I adhered it with zipdry glue. It doesn’t look that pretty, but once the wood frame goes over top of it, you can’t even see the uneven edges! To create the pinwheel I cut the paper in two 3.5 inch squares and folded them like a paper fan and glued them together with the zipdry.
-
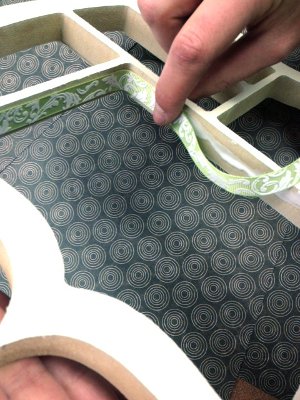
On the inside of the two large frames I lined it with the ribbon. I put a line of glue down first then added my ribbon.
-
For the flowers I simply cut it out a square from the Watering Can patterned paper. To dress them up I added cute ADORNit dimensional flower stickers.

- Feel free to be creative with this project and have fun with it!
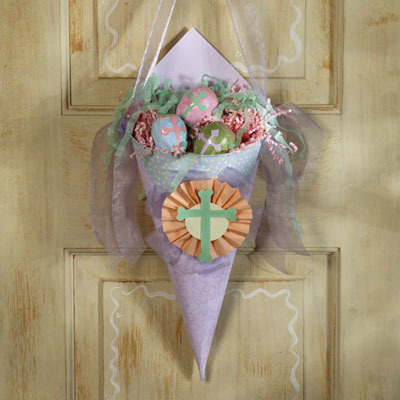
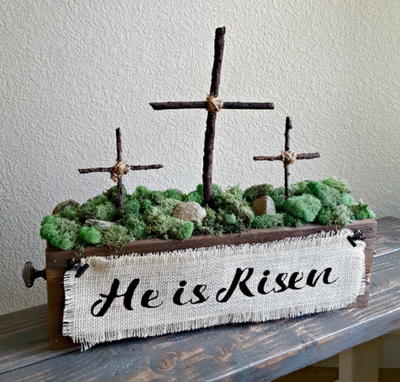
Read NextRustic Cross Centerpiece