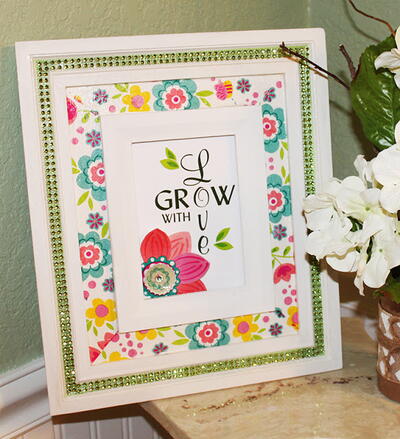
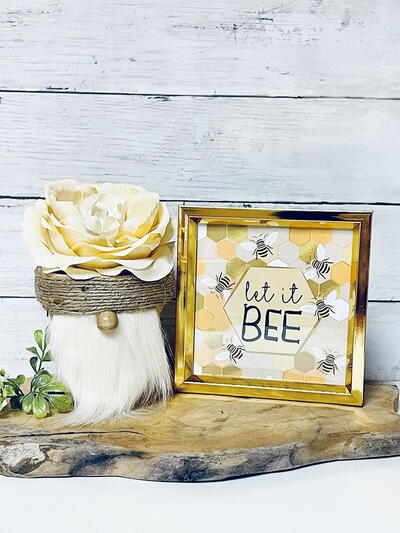
Grow with Love Decoupage Napkin Frame

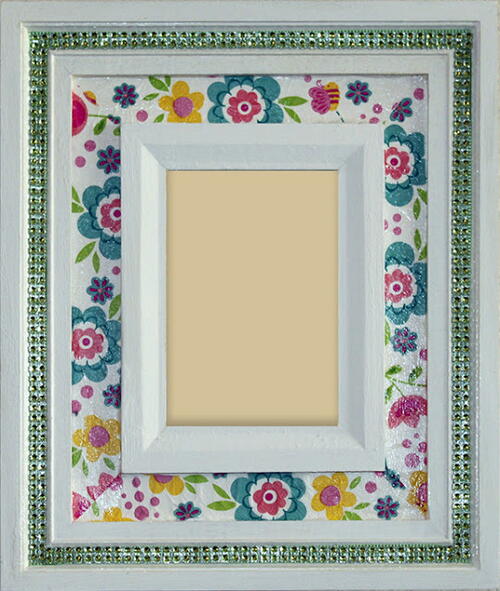
This multilayered frame is made gorgeous with decoupage! Add a bit of bling and a floral embellishment to create a wonderful piece of tabletop decor.
From the Designer: "Découpage is, in my humble opinion, one of the easiest ways to decorate and update pretty much any surface and Mod Podge® is the perfect product for doing just that! Today's project is to celebrate Mod Podge's 50th birthday."
Time to CompleteIn an evening
Main MaterialPaper

Project TypeMake a Project
Materials List
- Mod Podge® Gloss
- Mod Podge® Ultra Matte Chalk
- Mod Podge® Dimensional Magic
- Mod Podge® Brushes for Découpage and Furniture
- Ceramcoat® Chalk Paint - White
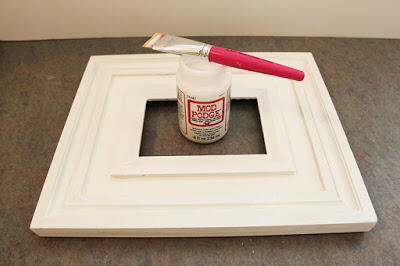
- Waverly® Wood Frame
- Napkins
- Scissors
- Clear adhesive dots
Instructions
-
Paint the frame with white chalk paint. Let dry then re-paint with a coat of the Ultra Matte Chalk.
-
Separate the layers of the napkin then cut strips for the border areas. Note: You only use the printed layer of a napkin for découpage unless it's a solid color.
-
Brush a coat of gloss over the area to be découpaged then gently place the strips on top. Smooth gently with the brush and more gloss. Trim the strips where they meet at each corner. Napkins are pretty delicate to work with so be gentle. Don't worry about wrinkles, some can be smoothed out, but those that can't will add a nice texture to your project.
-
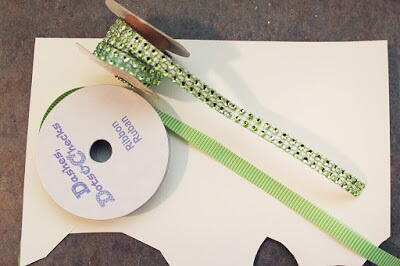
I started to découpage the narrow border at the outer edge, but decided a solid strip of color might look better, so I found some 3/8" green ribbon and glued it in place with the gloss then, who could resist this border of adhesive acrylic bling, perfectly sized to go on top......
-
I could have stopped there, but instead of putting a photo in the frame, I thought I'd print a short saying and add a flower in the corner. This step is optional, of course......
-
Coat a piece of poster board, large enough for the napkin with gloss. Separate the top layer from the napkin then adhere to the poster board. Pat gently in place with the brush, coat with gloss then let dry.
-
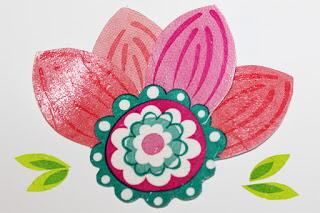
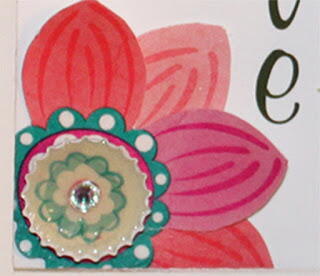
To make the flower, cut out the center with 2 adjacent petals. Cut 2 additional, individual petals then use a glue spot to adhere them to the back as shown. I also cut out some leaves.
-
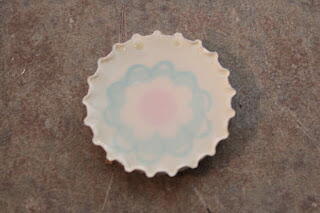
I love additional texture and dimension so I painted a bottle cap with the white chalk paint then glued a flower center to the inside of the cap. Following directions on the package, carefully fill with dimensional magic then let dry for at least 12 hours. The dimensional magic will dry clear and the "flower center" can be adhered on top of the flower you made. This part is optional of course...... When dry, I added another little jewel to the center.
-
I printed the saying on my computer, positioned it behind the frame opening then added the flower to finish.