


This project was submitted by one of our readers, just like you.
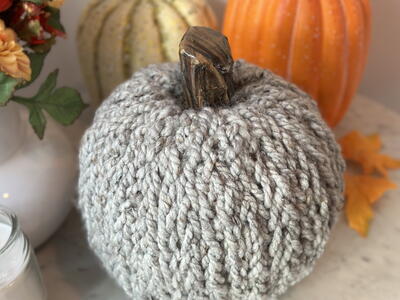
Finger Knitted Yarn Pumpkin

Finger Knitted Yarn Pumpkin
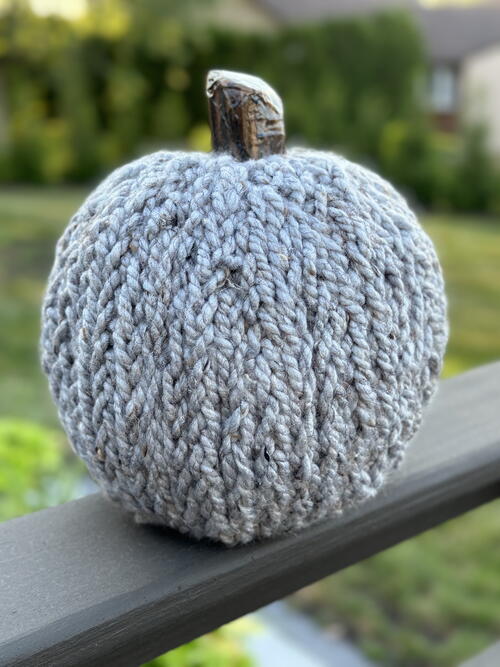
From the Designer: "The fall season is in the air and the sights of pumpkins are everywhere! If you’re anything like me, decorating, for fall, is one of my favorite things to do! Adding some festive pumpkins into your decor, is a must! This is a clever way to use your Lion Brand yarn to knit a new texture for your craft pumpkins. It looks professional, classy, and it’s easy to do! This clever hand knitting technique is really simple and adds a perfect texture to your craft pumpkin. All you need is your middle finger and index finger. So, if you’re ready, let’s make it!"

Primary TechniqueKnitting

Materials List
- Lion Brand Wool Jumbo Yarn
- Faux plastic Pumpkin
- KAI Scissors
- Brown, cream and black paint & small brushes
- Hot Glue
- Recycled paper or junk mail
Instructions
-
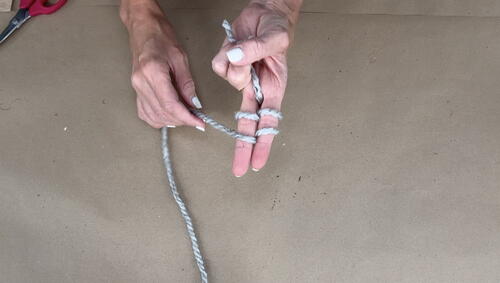
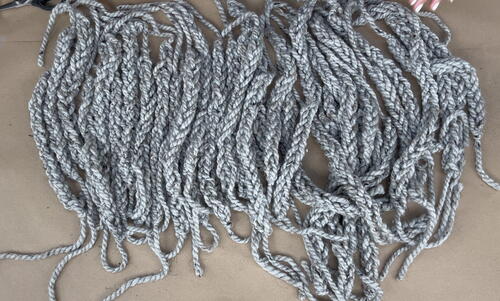
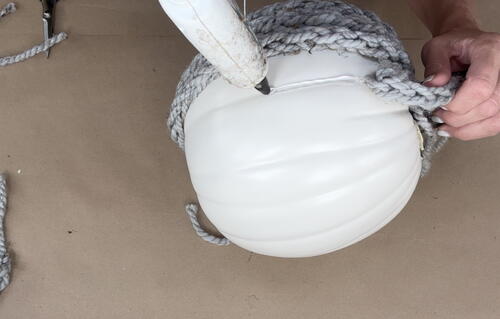
Start by finger knitting the yarn to create a chain long enough to cover the length of the pumpkin - from stem to base. You will need to make 30 or more knitted chains of yarn.
-
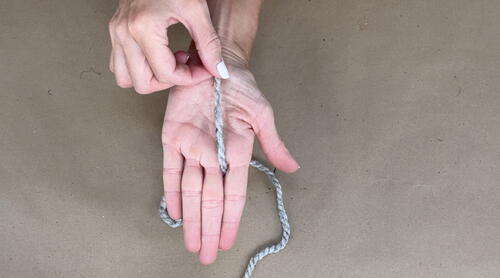
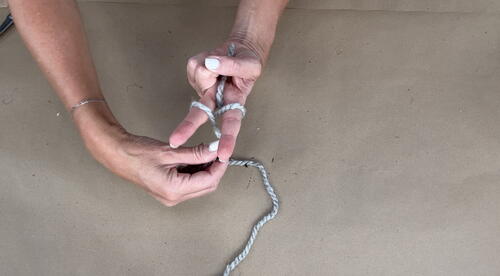
To finger knit, start by leaving the end of the yarn down the palm of your hand, then wrap the yarn around the back of your pointer finger and over the top to the back of your middle finger and over the top.
-
Do the same wrap one more time and then slip the top of your pointer finger over the first yarn wrap and under the second; then do the same with your middle finger. Do this process again and then pull the yarn chain to the back of your hand.
-
Continue to do this finger knitting process until your chain is long enough to fit the pumpkin.
-
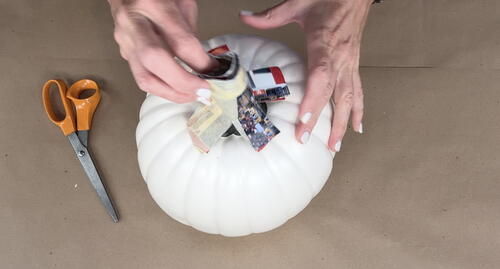
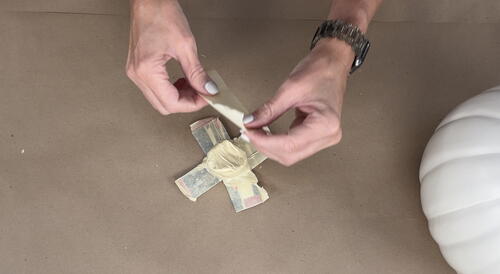
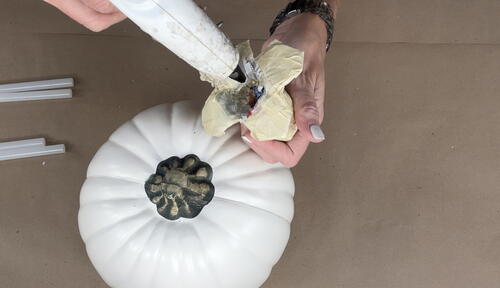
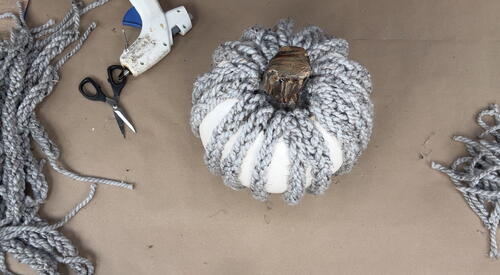
Meanwhile, create the stem by wrapping junk mail or card stock to create a stem shape and enough to cover the existing stem. Tape the paper and using masking tape cover the entire stem pattern. Cut slits up the bottom to create flaps.
-
Glue the stem on to the faux pumpkin.
-
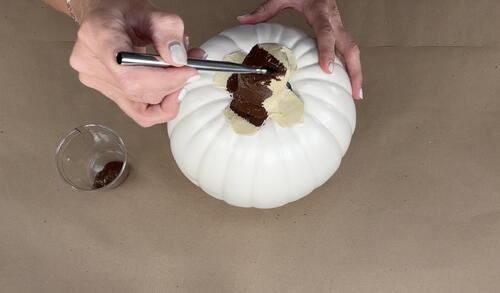
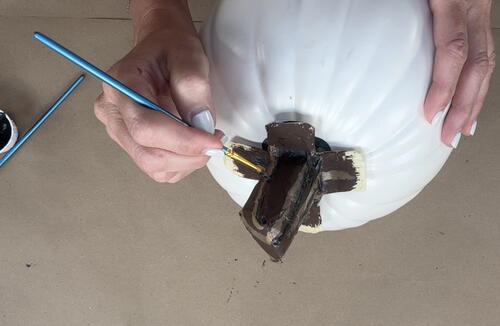
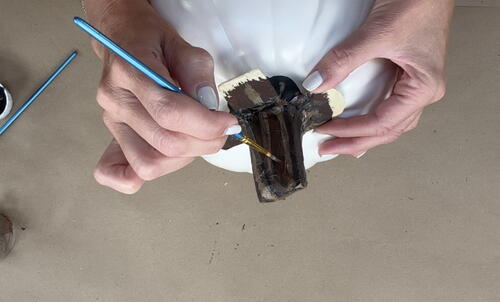
Paint the stem brown. After it dries use cream and black paint to add detailing to the stem to give it texture.
-
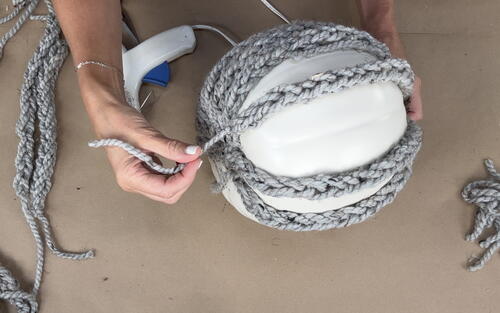
Once the stem is dry, start gluing the knitted yarn chains from the top of the pumpkin to the base. Continue to add knitted yarn chains to cover the pumpkin completely.
-
TOP TIP: Create smaller knitted chains to fill in the open gaps once the pumpkin is close to being covered.
-
Use different color yarn to add variety to your fall home decor.