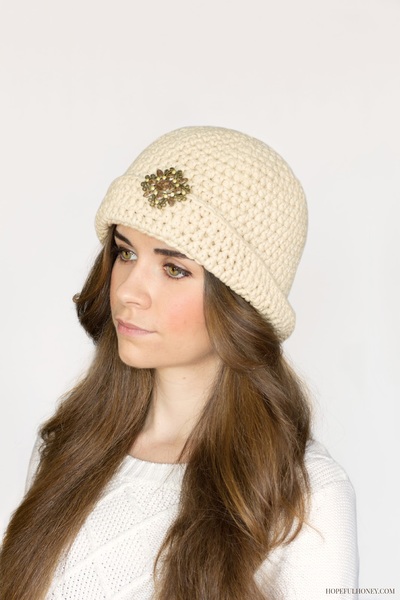
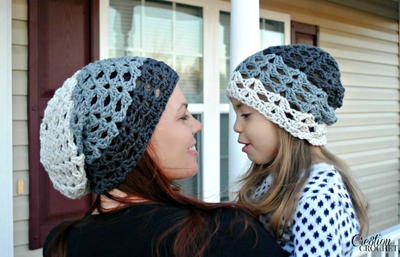
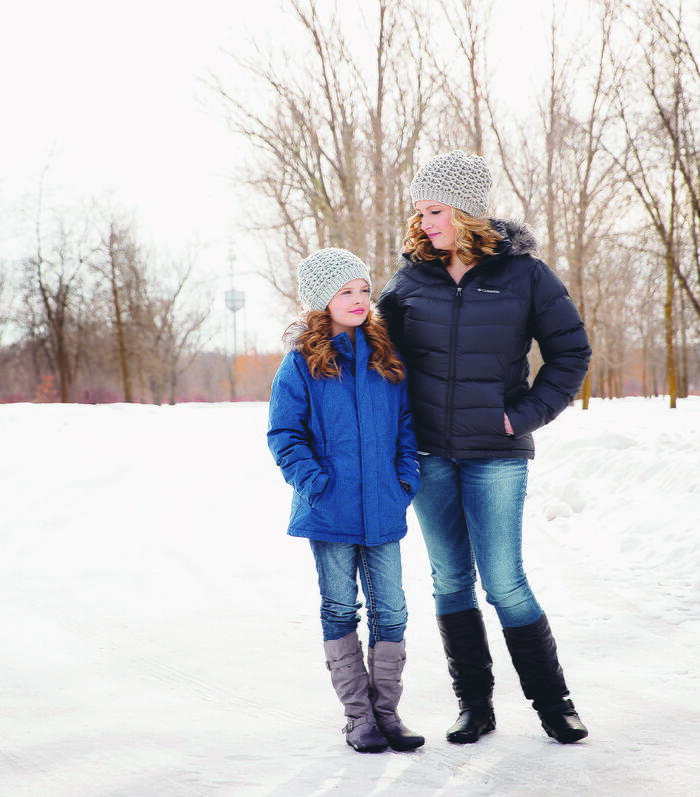
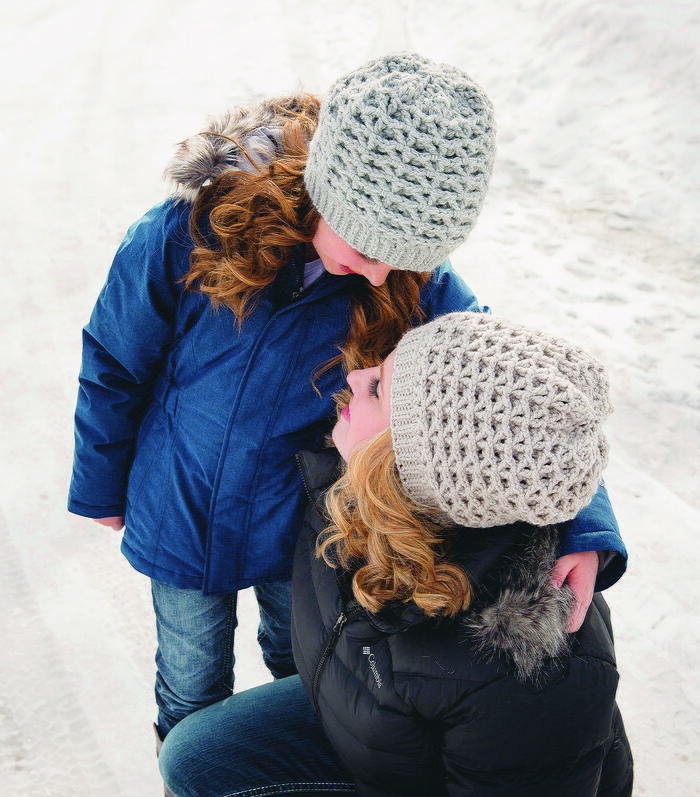
Chunky Kylie Slouch

Create a hat that is absolutely full of texture! Designed with many size options, this beautiful hat is the perfect intermediate pattern to try this winter.
From the Designer: "The amazing texture in this hat is achieved with a unique method of turning after each round. Working the hat in both rows and rounds enables the wonderful texture on both sides of this hat. Best of all, the “seam” from joining is virtually invisible. The end result is a wonderfully “squishy” and thick hat."

Crochet HookK/10.5 or 6.5 mm hook, N/15 or 10 mm hook
Yarn Weight(5) Bulky/Chunky (12-15 stitches for 4 inches)
Crochet GaugeRibbing and height of hat are worked to a specific measurement. If stitches are too open or loose, switch to smaller hook.
Materials List
- Measuring tape
- Yarn needle
- Pom-pom (optional)
- 7 oz (198 g) or less of #5 chunky weight yarn (Big Twist Chunky pictured)
- “K” (6.5 mm) for bottom ribbing, “N” (9 mm) for main portion of hat
CHUNKY KYLIE SLOUCH (ALL SIZES)
SIZE CHART
3–6 MONTHS
14–16" (36–41 cm) circumference, approximately 6–6.5" (15–17 cm) from crown to brim
6–12 MONTHS
16–18" (41–46 cm) circumference, approximately 6.5–7" (17–18 cm) from crown to brim
TODDLER
17–19" (43–48 cm) circumference, approximately 7–7.5" (18–19 cm) from crown to brim
CHILD
18–20" (46–51 cm) circumference, approximately 7.5–8" (19–20 cm) from crown to brim
TEEN/ADULT
20–22" (51–56 cm) circumference, approximately 8.5–9" (22–23 cm) from crown to brim
LARGE ADULT
22–24" (56–61 cm) circumference, approximately 9–10" (23–25 cm) from crown to brim
ABBREVIATIONS USED
ST(S) stitch(es)
CH chain stitch
SC single crochet
DC double crochet
FPSC front post single crochet
FPDC front post double crochet
SC2TOG single crochet 2 stitches together
SL ST slip stitch
RND(S) round(s)
BLO Back Loop Only
RS Right Side
USE #5 chunky weight yarn and a “K” (6.5 mm) hook for the ribbing. This pattern is worked from the bottom up.
BOTTOM RIBBING
-
ROW 1: (ch 5 for smaller sizes) ch 7, sl st in 2nd ch from hook (use back loops of ch) and each ch to end of row. (4, 6)
-
ROW 2: ch 1, turn, sl st in BLO of each st to end of row. (4, 6)
-
REPEAT ROW 2 until the following measurement is reached (measure lightly stretched). The sl st ribbing is very stretchy. If not sure on size, go smaller.
3–6 MONTHS 12–13" (30–33 cm)
6–12 MONTHS 14–15" (36–38 cm)
TODDLER 15–16" (38–41 cm)
CHILD 16–17" (41–43 cm)
TEEN/ADULT 18–19" (46–48 cm)
LARGE ADULT 19–20" (48–51 cm)
SEAM: ch 1 and sl st the short ends of the ribbing together (using one loop from each end). Turn right side out. The pattern is now worked in rounds instead of rows.
FOUNDATION RND: ch 2, work (64, 68, 72, 76, 80, 88) dc evenly around ribbing, join with sl st in first dc.
CONTINUE with Texture Section.
TEXTURE SECTION
SWITCH TO “N” (9 mm) hook
NOTE: Both combos of (dc, ch 1, dc) and (fpdc, ch 1, fpdc) are referred to as “v-stitch” in this pattern.
-
RND 1: ch 4 (counts as dc plus ch 1), dc in same st as ch 4 (“v-stitch” made), skip next st, sc in next st *skip next st, (dc, ch 1, dc) in next st, skip next st, sc in next st*, repeat between *. . .* to end of rnd, sl st in 3rd ch of beginning ch 4 to join. (16, 17, 18, 19, 20, 22 v-stitch and sc combos)
NOTE: This pattern is worked in rnds and joined at the end of each rnd. However, to create the unique texture, it will now be turned after each rnd and worked in the opposite direction. -
RND 2: sl st in ch-1 space of next v-stitch, ch 1, (counts as first sc), TURN, (fpdc, ch 1, fpdc) around post of next sc directly below, *sc in next ch-1 sp, (fpdc, ch 1, fpdc) around post of next sc*, repeat between *. . .* to end of rnd, sl st in top of first sc to join. (16, 17, 18, 19, 20, 22 v-stitch and sc combos)
-
REPEAT RND 2 until hat reaches measurement below, end with a rnd worked on RS.
3–6 MONTHS
Continue until hat measures about 6–6.5" (15–17 cm) from crown to brim
6–12 MONTHS
Continue until hat measures about 6.5–7" (17–18 cm) from crown to brim
TODDLER
Continue until hat measures about 7–7.5" (18–19 cm) from crown to brim
CHILD
Continue until hat measures about 7.5–8" (19–20 cm) from crown to brim
TEEN/ADULT
Continue until hat measures about 8.5–9" (22–23 cm) from crown to brim
LARGE ADULT
Continue until hat measures about 9–9.5" (23–24 cm) from crown to brim
DECREASING RNDS
-
RND 1: With RS facing, *sc in next ch-1 sp, fpsc around next sc*, repeat between *. . .* to end of rnd, do not join.
-
RND 2: *work sc2tog over next 2 sts*, repeat between *. . .* until there are only a few sts left in rnd. Use yarn needle to close up remaining stitches. Weave in ends.
OPTIONAL POM-POM: Attach pom-pom on top of hat. Pompoms can be purchased, made by hand using materials you have at home or made with a purchased pom-pom maker such as Clover brand pom-pom maker.
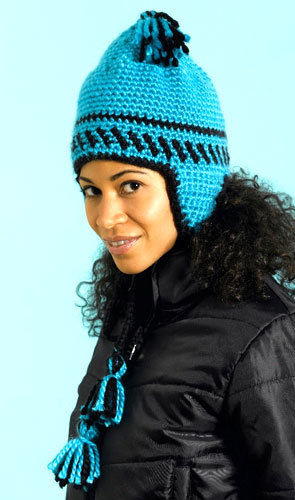
Read NextGrayscale Ombre Slouch