Guest Tutorial: Recycled Crayons
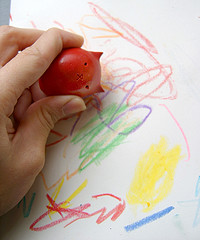
This great, guest tutorial for how to recycle crayon bits into new crayons comes to us compliments of Sara of Kitty Baby Love. You can also find the little, kitty-shaped crayons (perfect for child-sized hands) for sale in her Etsy shop.
If you like this project, you will love our collection of summer crafts for kids in our Summer Crafts for Kids free eBook. You can also find this project and more kids' crafts in our free eBook, Family Fun Crafts: 16 Craft Ideas for Kids!
Cost: $0 - $20
Time: 15 minutes
Materials:
- Crayons (tip: recycle the broken bits and ends of crayons that end up being tossed)
- Heating source (Oven, microwave, stove...)
- Mold (tip: cupcake pans or tin foil will work just fine)
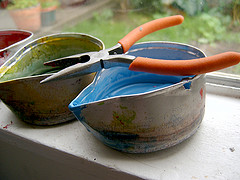
- Baking glove or some kind of protection from the hot wax (we used a pair of pliers)
Instructions:
- Make time. This makes a perfect rainy day activity with items you can already find around the house. Make this an opportunity to bond with your children or even your partner.
- Find crayons. Standard crayons are easy and cheap to find at any drugstore. Make sure they are non-toxic!
- In our experience, specialty crayons may not work as well, i.e. glow-in-the-dark crayons, or glitter crayons. You don't have to buy new crayons for this activity though, just use the ends and broken off bits you already have at home.
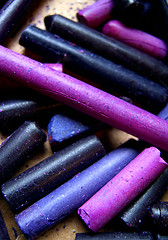
- Peel paper off crayons and melt. You can melt them in a variety of ways: Heat lamp, oven, etc. We used the double boiler method- empty crayons in a heatable container and boil the container (with the crayons in them) inside another pan of water. Make sure you watch the crayons as they melt, which will happen fairly quickly (around 3-5 minutes).
- We encourage using recycled cans. We molded ours to have a pouring spout and used an old meatloaf pan to boil it in. If you want to reuse the same can for making multiple crayon molds, we recommend using a pot that you don't mind tossing at the end as it can get a little messy. Depending on the size of your mold, melt between 7-20 crayons. This part takes some experimenting. Also crayons will act like paint and colors will mix together- so unless you want brown, make sure to seperate the reds from the greens!
- After crayons are melted, pour the heated crayon wax into the mold. This is where the baking mitts come in. Always use caution and common sense when handling hot objects. Don't have a mold? Don't worry, you can make your own- be creative! Tin foil or a cupcake container can work just as well as a store bought mold.
- Let the crayon wax cool. The wax will instantly start to cool and shrink a little. If necessary, refill the mold and let it cool again. The mold will take around 5 minutes to cool, however you can pop them in the fridge or freezer for a quicker time.
- When cooled, release crayon from mold and start coloring. That's all! Experiment with techniques and create custom colors, crayons with swirls, or layers of multi-colored crayon bars. This is just a general guide; have fun with it!
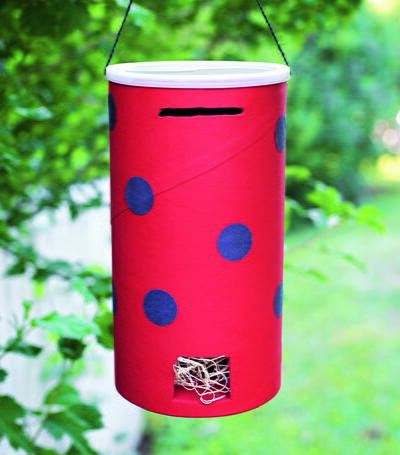
Read NextTin Can Piggy Bank

Thanks for your comment. Don't forget to share!
vsb2of6
Jun 17, 2011
I have made crayons similar to this. I covered a small cast iron corn stick mold with aluminum foil and used that for my mold. I would put small pieces of different colored crayons in the mold then use another color to pour into the mold. They looked like miniture Indian corn. They were used to make a fall flower arrangement for my kids teachers. After the flowers died, the teachers could use the crayons. I had asked the teachers for the crayons at the end of the year plus crayons we have saved in an old popcorn canister. It was alot of fun.
Betson
Jan 07, 2010
What a great VBS project! Teaches recycling, taking care of God's green earth and is inexpensive. Use old plaster molds (what Sunday school supply closet does,t have them?) or candy molds. I'll bet you could make some cute Christmas Tree ornaments, too. They just shouldn't be stored in a hot attic.
Report Inappropriate Comment
Are you sure you would like to report this comment? It will be flagged for our moderators to take action.
Thank you for taking the time to improve the content on our site.