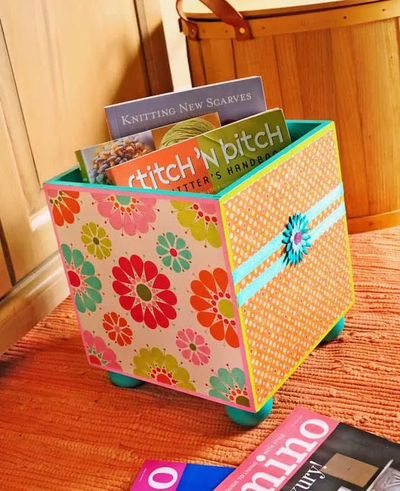
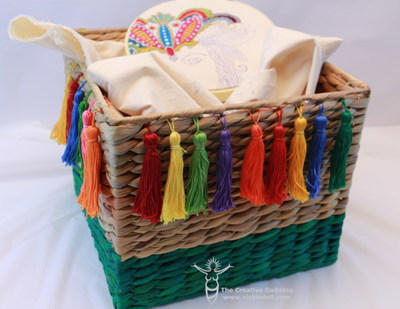
Decoupage Sewing Storage Box
Clever decoupage enthusiast Amy Anderson uses paper sewing patterns to cover a plain wood box and turn it in into decorative storage for fabric and sewing patterns. Decorate your own sewing storage with this technique or make as a gift.

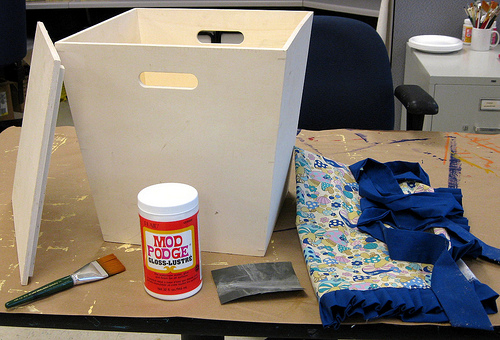
Materials:
- Wood storage bin (Michaels or Jo-Ann, don't forget to use a coupon)
- Big flat paint brush
- FolkArt paint in Linen, 8 oz.
- Fabric pattern(s) (Jo-Ann always has some on sale for $.99! Get two just to be safe)
- Mod Podge
- Sandpaper (optional)
- Cute mushroom apron (also optional)
Instructions:
BEFORE you begin painting, you may need to sand your wood surface to reduce nicks and rough spots. That is your call. I always do or I end up regretting it.
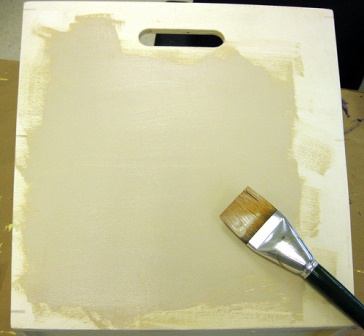
Step 1 is really easy but takes some time. Basecoat the box with the Linen paint. Do it inside and out, and on the bottom of the lid too. Don't try to cheat - I'm watching and will know if you don't paint it all! Let it dry for a few hours.
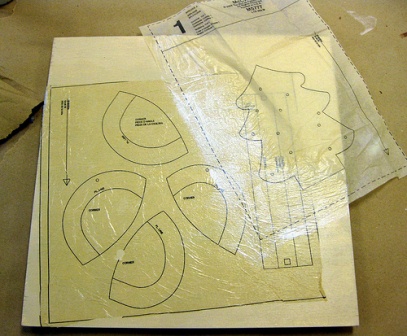
Unfold your pattern and don't worry about the creases. They will go away as you Mod Podge. Cut out pieces in the sizes and shapes that suit you and begin to apply to the storage bin. Here's the way to do it. Lay the pattern pieces down and Mod Podge over the pattern piece. Hold one side down with your hand and apply a thin coat with a brush on top. The Mod Podge soaks through and adheres the piece to the bin - this method keeps it from tearing.
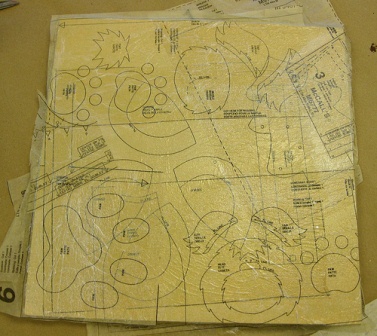
Keep overlapping the pieces with Mod Podge. Don't worry about the pieces going over the sides - I actually glued them down around the edges and corners, but I left them hanging over the top and bottom of the bin to cut off later. Note that the pieces become transparent when you glue them down. Kind of cool! Keep doing this until you have covered the entire outside of the bin and lid. I didn't do the inside or the bottom of the lid. Allow the tote to dry.
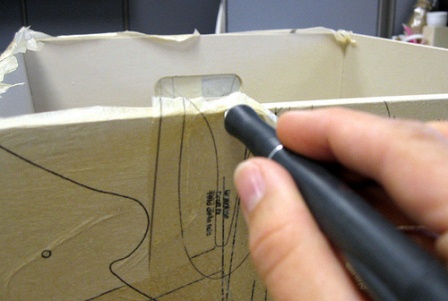
Okay, so this is the fun part! I normally hate trimming things with an X-acto, but this was kind of fun. I trimmed the top, bottom and inside the handles. "Saw" carefully and it will work well! Once you are done trimming, coat the entire thing with one final coat of Mod Podge - inside and out.
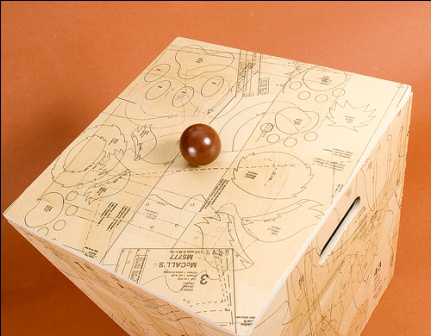
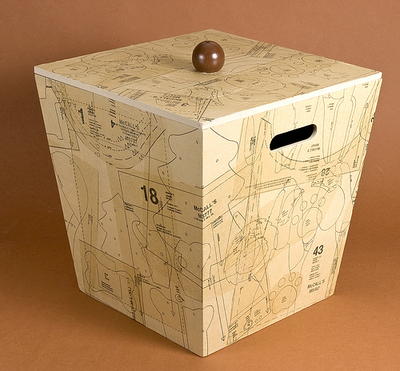
Here she is! The finished piece. One last thing I did was paint a 2-inch knob and glue it on top with craft glue. I hope you like it! The great thing is that it really wasn't that expensive. Less than $20 when I used a craft store coupon for the bin.
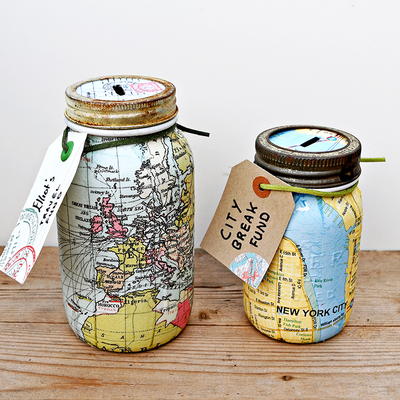
Read NextRepurposed Map Mason Jar Banks

Thanks for your comment. Don't forget to share!
mulberrygalprinces s
Jul 12, 2018
So many ideas floating around in my head. I have a few of these boxes in my closet. I just used them for storing odds and ends. And here in Florida you have to have a bug out box. A box with important papers in case you have to evacuate in a hurricane. One of these with a decoupage map on the outside would be cute.
Delphine Bryant
May 30, 2018
I not only see these boxes at the craft stores but I see containers at the local thrift stores. I always pass them by because of how beat up they are. Using the method of decoupage could easily give that beat up item a new lease on life. From now on I will have to look at these items in a different light.
Morehouse17
May 29, 2018
Decoupage is a great technique. For those of us like me that can not paint this is a great way to apply color to an other wise bland item. It is not even necessary to work with a smooth surface. I have a decoupage project in my head and on tomorrow when in town, I know just were to go to get my supplies.
Weberme
Feb 25, 2018
I have been searching forsommething that looks nice to store some fplders,my sewing projects and patterns and this decorative sewing storage box is just the perfect thing. You can get patterns at thrieft stores and yard sales for 20 cents and sometimes even a storage box. I think I will make it a different color for the base paint and this can even be done with a jewelry box to store sewing supplies. So simple and fast. I am going to be on the lookout for some storage boxes. I already have some patterns I am not using anymore. Clever idea.
Linda
Dec 03, 2016
This project is a great storage bin for keeping any item dust free, or storing patterns.
SylviaC
Jul 24, 2013
Great idea. I have fabric in cardboard storage boxes that have seen better days. I have patterns still from the 60's that I just hate to throw out. What better use for them than a box related to sewing. Love this, thank you. I may have to make 3 or 4 though. :)
gardenlady55420 32 23334
Jan 03, 2012
I have done this to the walls in my sewing room..came out wonderful!
CraftyBobbie 73082 36
Jul 12, 2011
THINKING YOU COULD ALSO DO THIS TO SHELVING FOR YOUR NEW ROOM :) Will definitely try this!
Ronie
Feb 21, 2011
at first I was thinking about my very old and beloved sewing machine.. its a portable but must weigh 10 pounds or more, anyway the cover for it has seen better days and I think this idea is just perfect for it... thanks for the idea...
ladyredhawk
Apr 19, 2010
this is cool I would like to do this to a small sewing table. Ty fo the ideal. Tommye
Crafter 3193713
Apr 19, 2010
Cool ,love the pattern pieces , would like to cover boxes using the same pattern (get some Photo boxes with lids) to store sewing supplies. PAT
twiceshy51
Mar 06, 2010
i have just created a sewing room for myself and have been looking for storage ideas. this one is perfect! and looks like fun. thanks.
Report Inappropriate Comment
Are you sure you would like to report this comment? It will be flagged for our moderators to take action.
Thank you for taking the time to improve the content on our site.