Wedding Cake Topper
A thrifty Wedding Cake Topper is a great way to decorate unique wedding gifts. The faux dessert is easy to make and has many uses to liven up your wedding decorations.

Materials:
- STYROFOAM™ Brand Foam Discs, two each: 4" x 1"; 3" x 1"
- STYROFOAM™ Brand Foam Sheet, 36" x 12" x 2"
- Metallic silver paint pen
- Paper, 12" x 12": blue toile-print; white card stock
- Small metal note clip
- Lace trim: white daisy, 1 yd.; ivory pearl, 1-1/2 yds.
- Ivory satin ribbon flowers with leaves, three Dimensional paints: white puff-finish; iridescent white pearl-finish
- Trims of choice: ribbon, silk, or porcelain flowers; satin ribbon; lace; pearls; pearl string
- Craft foam, 9" x 12" sheets, one each: white; pink, or color of choice
- Metallic poster board, gold or silver
- Round metal cookie cutters, 1" thick: 2"; 3"; 4"; 5" OR Serrated knife
- Candle stub or paraffin
- Compass, or round household items of appropriate diameter (see instructions)
- Pencil
- Ruler
- Scissors: regular; scallop decorative-edge
- Low-temp glue gun and glue sticks
- Thick, white craft glue
- Fine-line black permanent marker
- Rubber bands or chenille stems, three
- Scissors: straight edge; decorative-edge
- Glue for plastic/craft foam
Instructions:
- Stack and glue 4" foam discs together; repeat for 3" discs. Do not glue stacks together yet.
- Trace discs onto toile paper, 3" disc once and 4" disc twice; use scallop-edge scissors to cut out circles just beyond traced lines. Glue 3" circle to top and 4" circles to top and bottom of appropriate discs.
- Cut two 2" x 12" strips from toile paper; wrap and glue strips around disc edges, piecing as needed to cover foam and allowing ends to overlap.
- Refer to photo to wrap and glue trims around cake tiers. Glue flowers to top of cake.
- Use paint pen to paint note clip; let dry. Handwrite, or use computer to print, recipient's name onto card stock. Trim name into decorative shape as shown; insert into note clip.
- Glue note clip to top of cake.
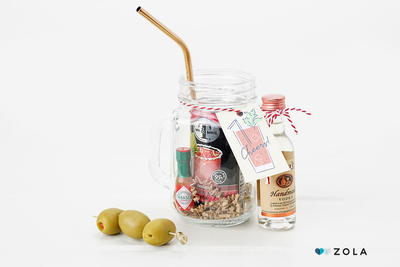
Read NextMason Jar Cocktail Kit