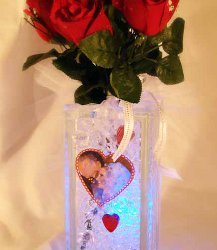
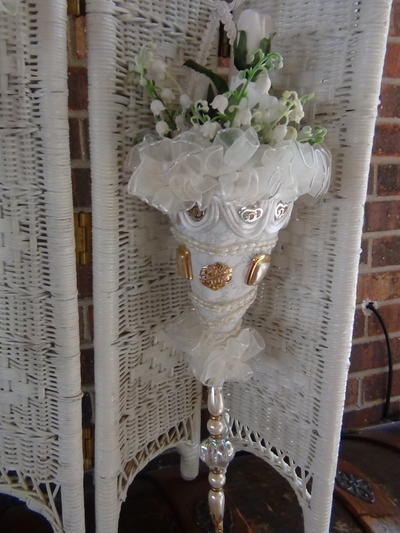
A Love Vase
Diamond Tech's Love Vase is one of those wedding centerpiece ideas that will add a unique touch to your reception hall. This is your day, make sure it's personalized with decorations that capture your love.

Materials:
- KraftyBlok™ Rectangle
- KraftyBlok Image Art™
- Glass Charmers – Hearts 2 Red and 3 Clear
- White Satin Ribbon 3/8” with rhinestone embellishments
- White Tulle Ribbon 4” x 20”
- Artificial Roses with Baby’s Breath –1 bunch
- Aqua Gems Liquid MarbleSubmersible LED Blue Tea Light(www.888acolyte.com), there are many colors available.
- Needle & White Thread
- Glass Adhesive (i.e. E6000)
- Hot Glue
Instructions:
- Clean the KraftyBlok™ with glass cleaner and a paper towel.
- Choose your photo and a special font for the word “love.” Place it into any program on your computer that allows you to manipulate and print images.
- Set up your printer following the instructions on the KraftyBlok™ Image Art package. Place photo on the page and resize to 2 ½” X 2 ½”. Type the word “Love” so the font measures ½” x ¼”. Copy and paste font three times on page.
- Follow printers’ instructions and print transfer. Allow paper to set 10 to 15 minutes to dry. Place a heart stencil over the image and lightly draw an outline of the heart around the photo. Cut out along the outline and around each word with scissors.
- Place transfer in a bowl of water and wait approximately 1 minute.
- Lay the KraftyBlok™ flat on your work area with the opening at the top. Moisten the face of the block. Center the photo on the block. Gently slide the heart shaped photo transfer from the backing paper onto the surface, using a finger to smooth the decal as you peel away from the backing paper.
- Gently pat and smooth the transfer with a moist paper towel, eliminating air pockets and wrinkles.
- Apply “Love” transfers randomly on the surface of the block around image. Allow to dry overnight.
- Once dry, permanently set the transfer by preheating a conventional oven to 345°F. Place the tile on a baking rack with the transfer facing up. Bake for 15 minutes. Turn off oven, prop door open slightly, and allow the tile to cool for 20 minutes. Remove from oven and allow to cool completely.
- Apply a small amount of clear adhesive to the back of 3 clear glass hearts and place them over each “Love” word. Randomly glue the red glass hearts on the surface around the photo. Allow to dry.
- Use glue to affix tiny red rhinestones around the photo.
- Use a rubber band to secure several rose buds together. Thread a needle with white thread and knot the end. Baste stitch ½” from the edge of a 20” length ribbon of tulle. Wrap the tulle ribbon around the flowers, holding the tulle close to the base of the buds. Pull the baste stitch until the tulle starts to gather. Continue to pull until it fits snuggly against the stem of the roses and the two ends of the tulle meet. Slipstitch the ends together and knot off thread.
- Tie a simple bow using satin ribbon and hot glue the bow into the tulle.
- Fill the KraftyBlok™ with the Aqua Gems liquid marbles, leave 1 inch from the top.
- When you are ready to use the vase; twist “on” a submersible LED tea light and push it to the middle of the Aqua Gems liquid marbles. Insert the rose bouquet with tulle and ribbon.
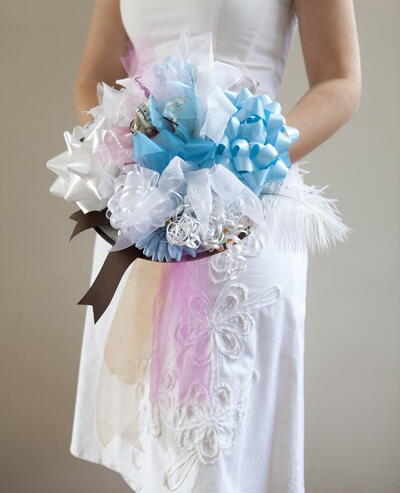
Read NextBridal Shower Ribbon Bouquet