This project was submitted by one of our readers, just like you.
Modern End Table from Wedding Keepsakes

Modern End Table from Wedding Keepsakes
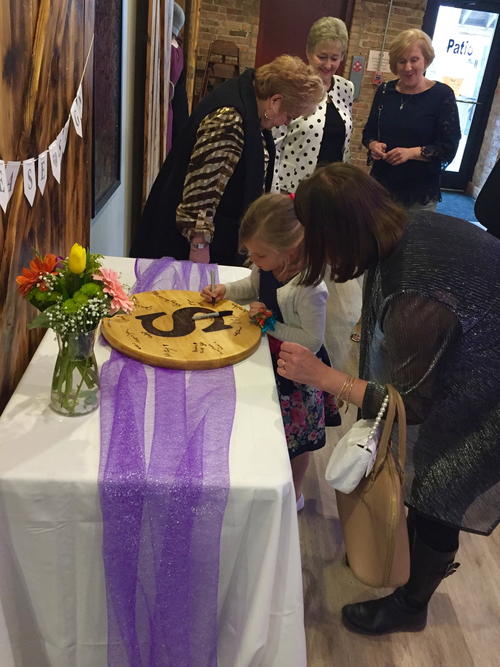
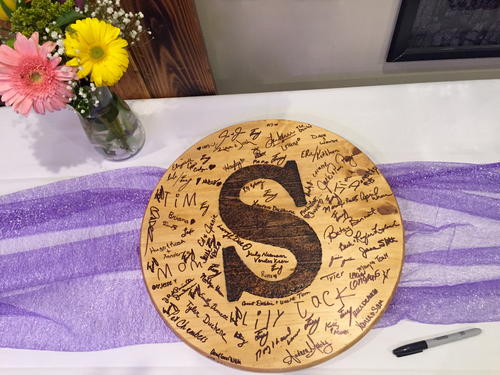
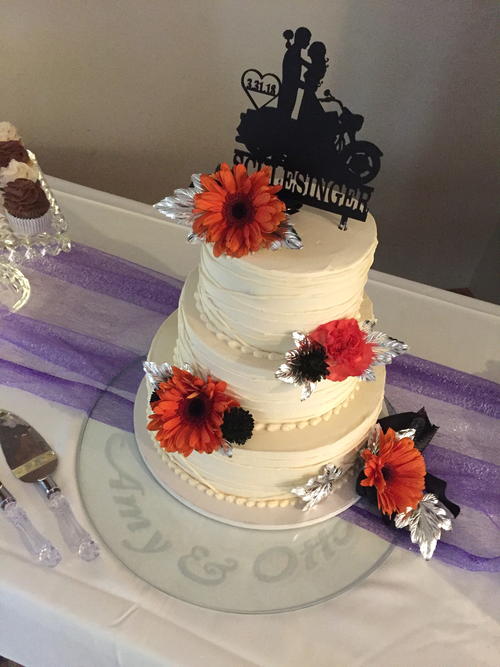
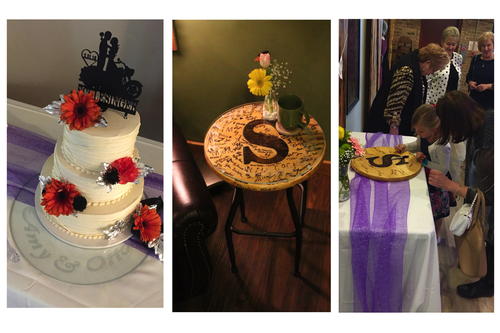
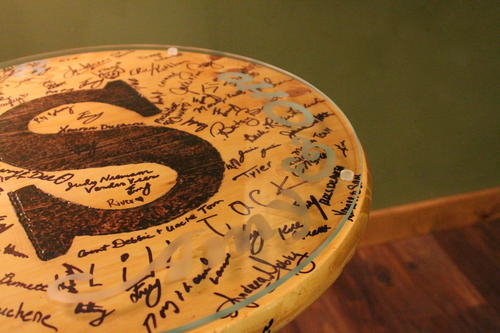
From the Designer: "Today's brides are looking for wedding decor that is more than “one time use” or a guestbook that is buried in a drawer after the wedding and forgotten. Practical and functional, yet elegant, this “guestbook” table is sure to become a treasured heirloom in the years to come. On the big day, the monogramed oak top becomes the guestbook to sign. The etched glass table topper doubles as an elegant cake platter for the wedding cake. After the celebration, the pieces are united to create an end table that will remind you of your special day and the loved ones that shared in it."
MaterialsGlass, Wood
Primary TechniqueWood Crafts

Materials List
- 17 1/2” Wood Circle (available at the local hardware store)
- Wood Burning Set with Variable Temperature Control-Plaid Crafts
- Wood Stain- Ultimate Wood Stain in “Summer Oak”-Rust-Oleum
- Brush and Rag to use with stain
- Letter stencil or template to trace monogram on wood
- Sandpaper
- Fine-tipped Permanent Marker (for guests to write with at wedding)
- Pencil
- Glass cut to match wood circle. (Be sure to mention it's to be used to top a table.)
- Etching Cream-etchall
- Squeegee-etchall
- Soft cloth and glass cleaner
- Electronic die-cut machine
- Contact Paper to create stencil with and cover glass surface during etching process.
- Masking tape
- Clear Rubber Bumpers (available in hardware section with "floor sliders"
- Drill/Drill Bits and or screwdriver (if necessary)
- Counter Height Bar Stool-the one shown in project had a round top which made altering easier
- Clear Sealer-Crystal Clear Enamel Spray- Rust-Oleum
Instructions
Directions for the Wood "Guest Book" /Table Top
-
Lightly sand the surface of the wood to remove any waxy residue and or rough spots on the wood.
-
Using pencil, in center of the wood, trace the letter you desire to burn into the wood.
-
Fit the the Plaid Wood Burning Tool with the “round tip” set the temperature to “medium to medium-high, Slowly trace over the lines you made in pencil with the wood burning tool and then using a circular motion begin to fill in the letter. *tip, gently blow on the tip of the wood burning tool to avoid getting a burned “circle” when you first set the wood burning tool on the wood. Go over the area a 2nd time if you wish to darken the burn.
-
Following directions on the stain apply to wood with brush, allow stain to penetrate the wood (around 5-10 minutes or until desired color is achieved) , and then wipe off the stain with the cloth in the direction of the wood grain. Allow to dry.
-
At the wedding allow guests to sign the wood piece with permanent marker.
Directions for the etched glass Cake Platter/Table Topper
-
Using die cutting machine, cut out contact paper with wedding date, and couples names to creating a stencil.
-
Clean the glass using a soft cloth and glass cleaner.
-
Position the contact paper stencils on glass. To help with positioning, lay glass over the wood table top. Make sure all edges of stencil are secured down, use squeegee to help. *tip because you are working on a flat glass surface it’s easy to flip the glass over and see any air bubbles around the openings of your stencil. A quick pass of the squeegee will help eliminate them.
-
Cover the remaining glass surface with contact paper and/ or masking tape as a precaution. *tip any glass area that comes in contact with the etching cream will become cloudy. So unless you like living on the wild side, covering the remaining glass surface with contact paper and masking tape will help you to get a clean etch.
-
Apply etchall- etching cream to area you desire to etch. Wait 15 minutes, then using the squeegee scrape off the etching cream and put back into the jar (it’s reusable) Then wash off your piece with soap and warm water until clean. Dry off and then remove stencil, and protective contact paper/masking tape.
-
Apply clear bumpers to backside of glass to cushion surface and help keep it from slipping.
Directions to Assemble Table - after the wedding
-
Lightly seal surface of table top with the Crystal Clear Enamel Spray Sealer to help preserve the signatures. Allow to dry.
-
Using the bench seat as your guide, replace the bench seat with the wood top you created. Use drill/drill bits and or screwdriver as necessary. Add glass topper.

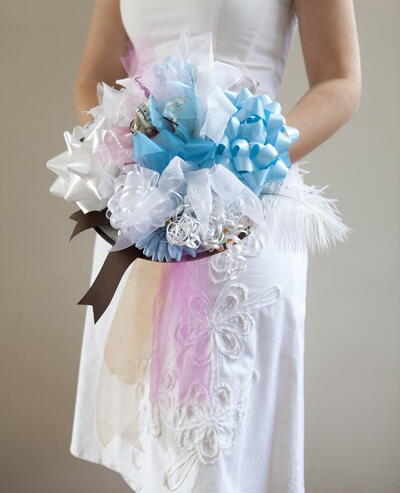
Read NextBridal Shower Ribbon Bouquet


Thanks for your comment. Don't forget to share!
Sharon S
May 14, 2018
My niece is getting married in June. What a beautiful keepsake this project could be! Inspires me to save up for the die-cutting machine I've been eyeing.
MargieH
Apr 02, 2018
What an amazing project and such an unforgettable keepsake of a special day. Great tutorial )
Report Inappropriate Comment
Are you sure you would like to report this comment? It will be flagged for our moderators to take action.
Thank you for taking the time to improve the content on our site.